How to Add Transit Cards to Your Wallet on iPhone
Stop forgetting or losing your physical transit card by going virtual. I’ll teach you how to create a new transit card or transfer one to your Wallet.


Public transportation makes getting around a city easier, especially now that you can add your Transit Card to your Apple Wallet! It doesn't matter if you already have a plastic or paper card that you want to convert to a virtual one or if you want to create a brand new one directly in your Wallet app while traveling.
Can You Add Transit Cards to Your Apple Wallet? Yes, It’s Easy!
It doesn't matter if you have a physical card already or if you're traveling and need to create a virtual one directly in your Apple Wallet; you can do either one by following the steps below. You'll need your iPhone updated to iOS 16 or later software for this to work. For more Apple Wallet tips and tricks, don't forget to subscribe to our free Tip of the Day newsletter!
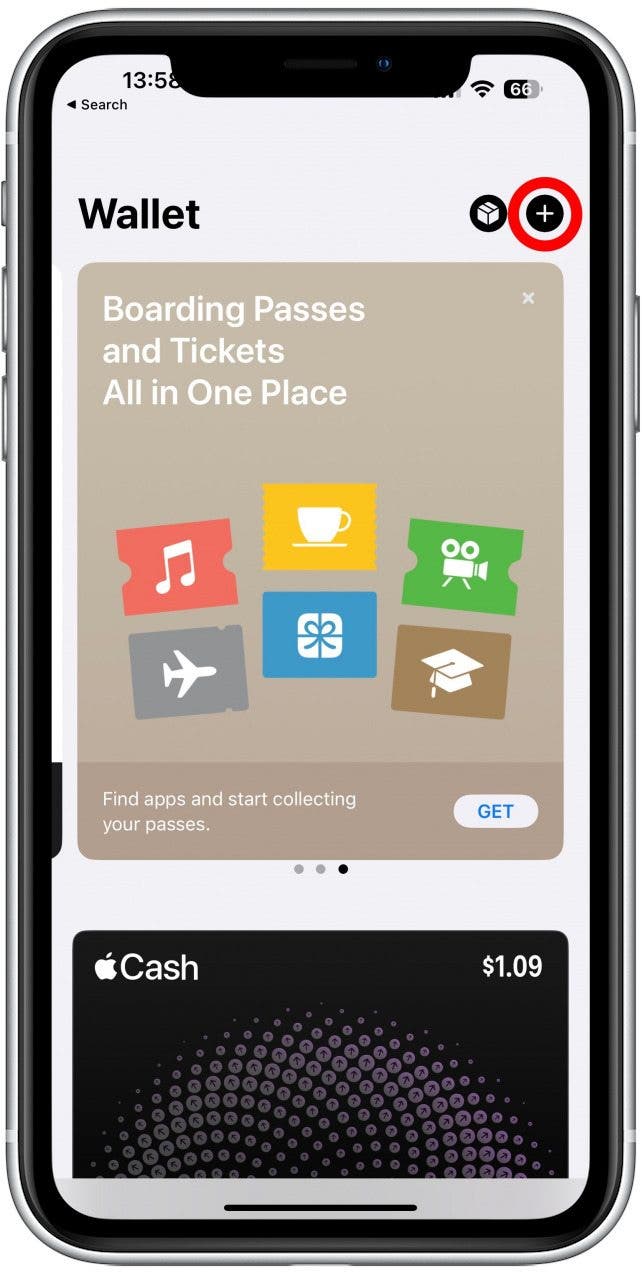
- To add a Transit Card to your Apple Wallet, you'll first have to open your Wallet app.

- Tap the Add icon to see the various types of cards that you can add.
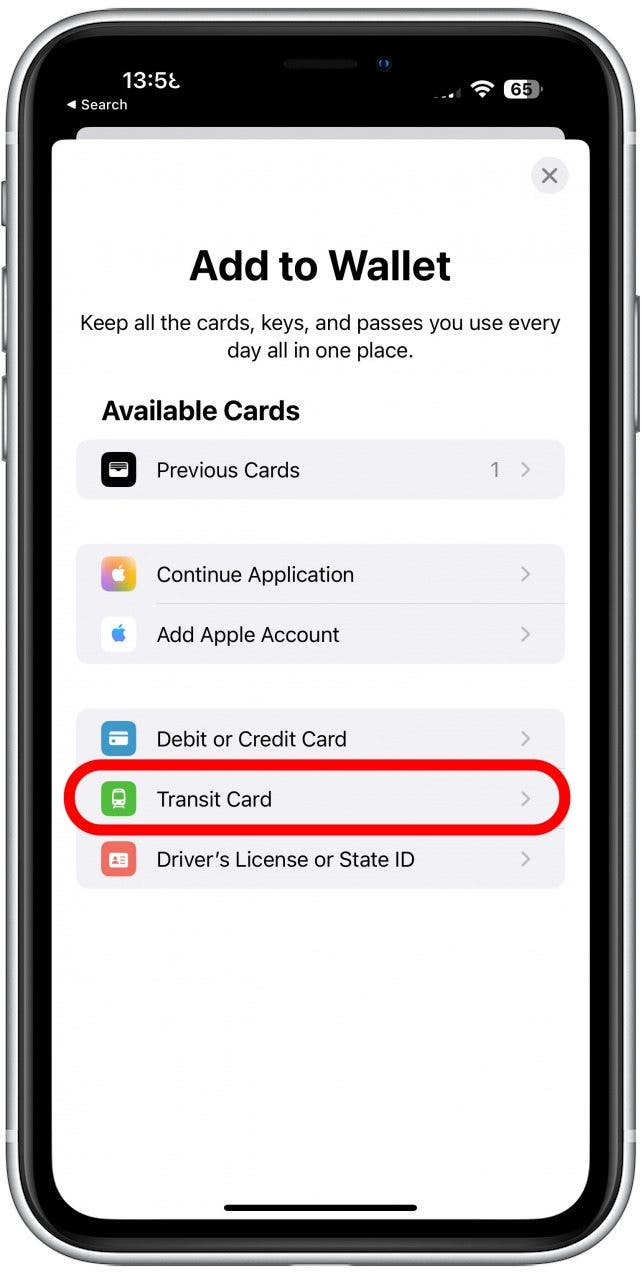
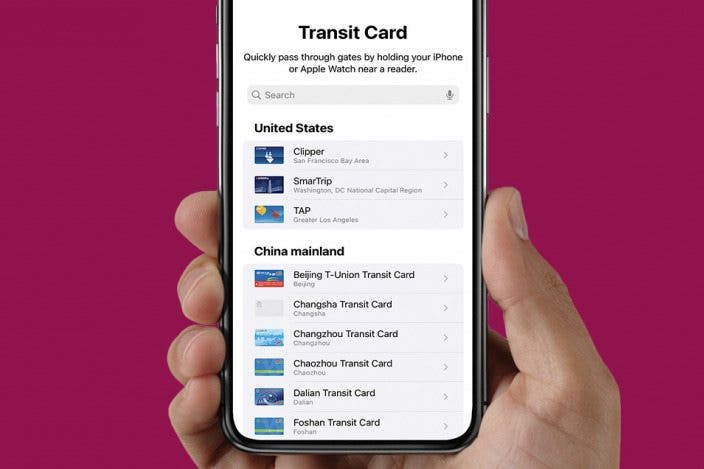
- Tap Transit Card.
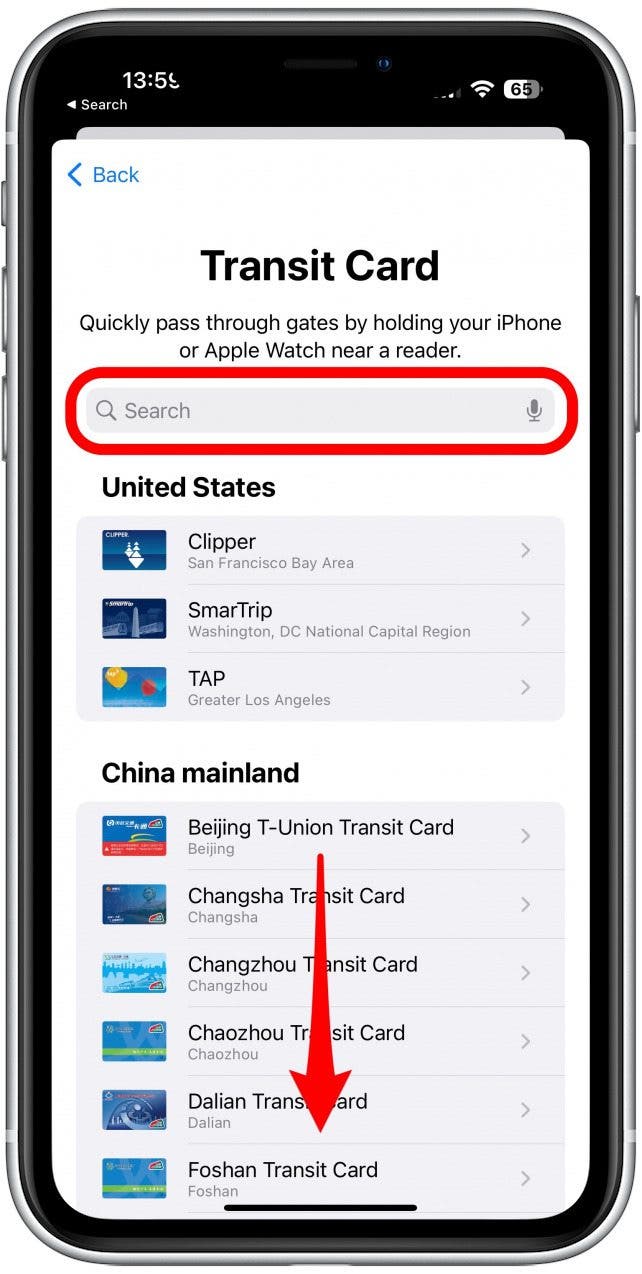
- Find the correct card from the list or search for it.
- Tap Continue.
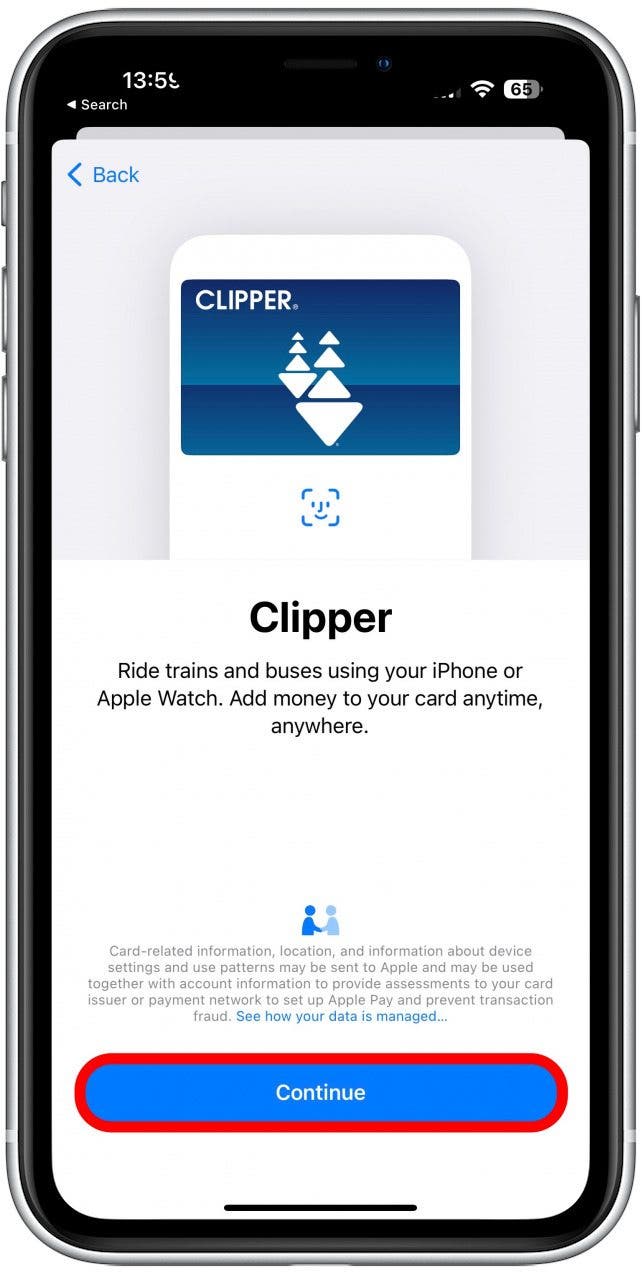
- If you already have a physical card, tap Transfer Existing Card and follow the on-screen directions to transfer the balance.
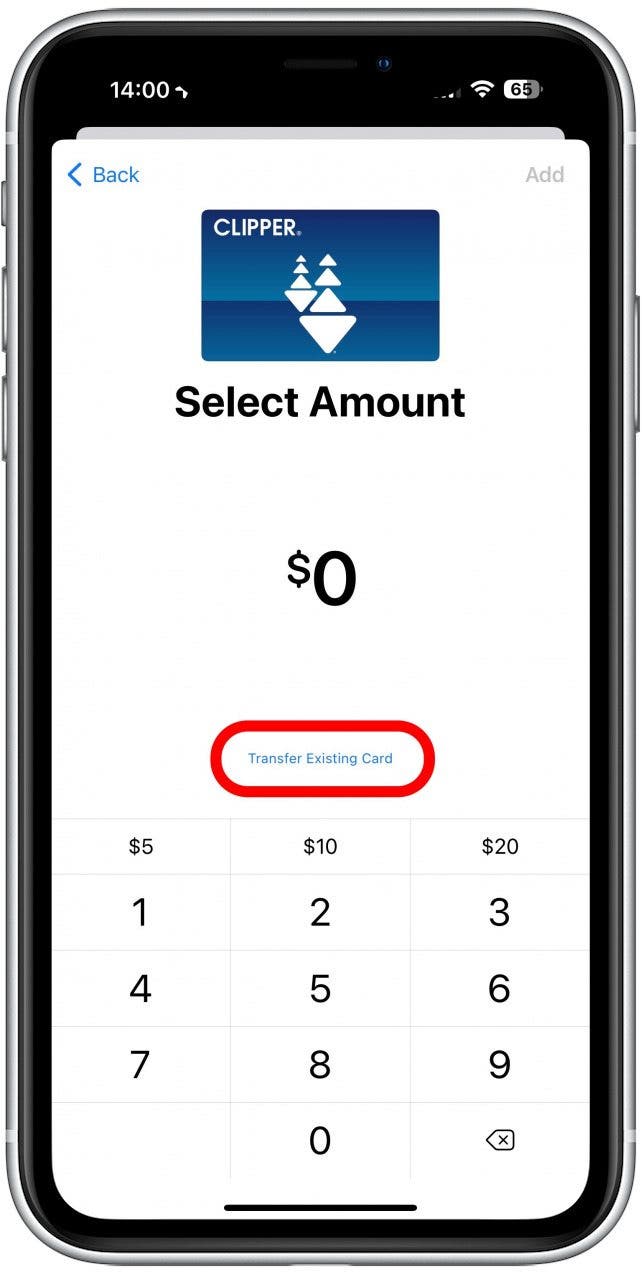
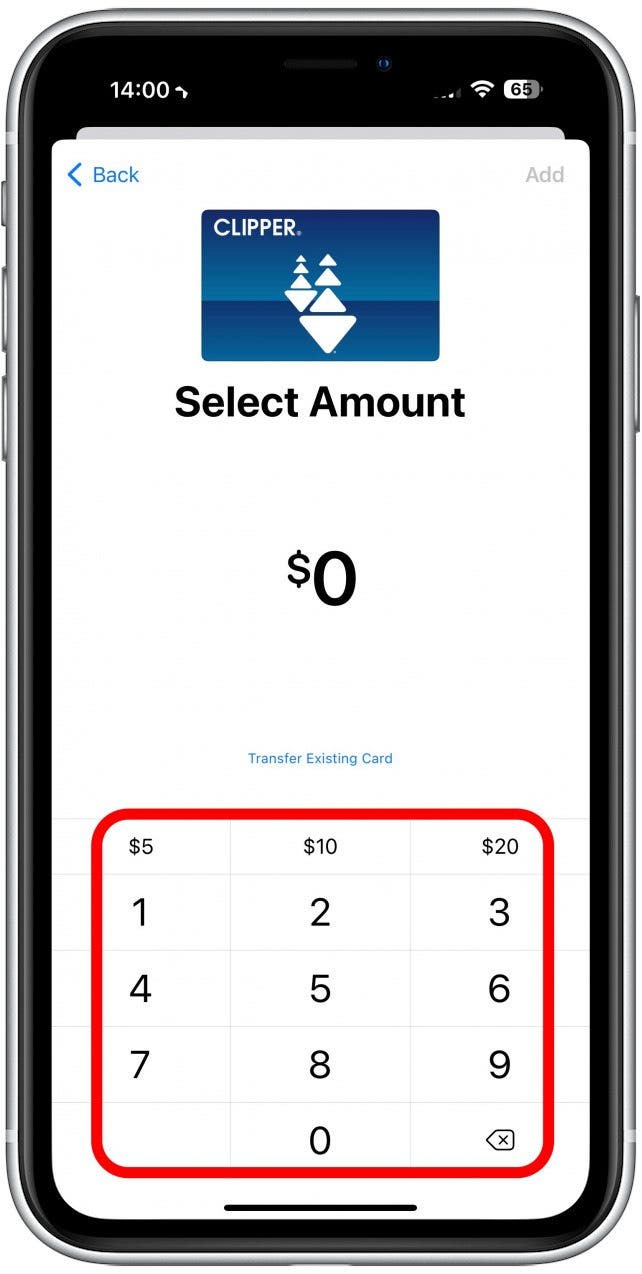
- If you are creating a new one, enter the amount you wish to add or select one of the pre-selected amounts that include $5, $10, or $20.
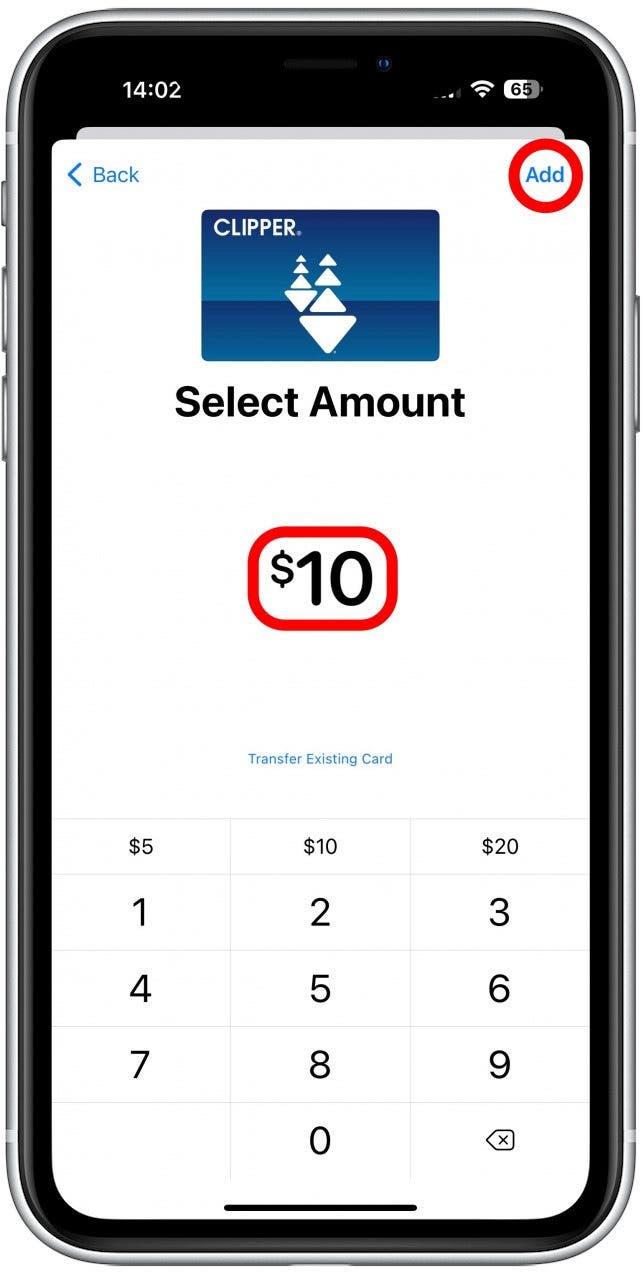
- Once you see the correct amount on your screen, tap Add.
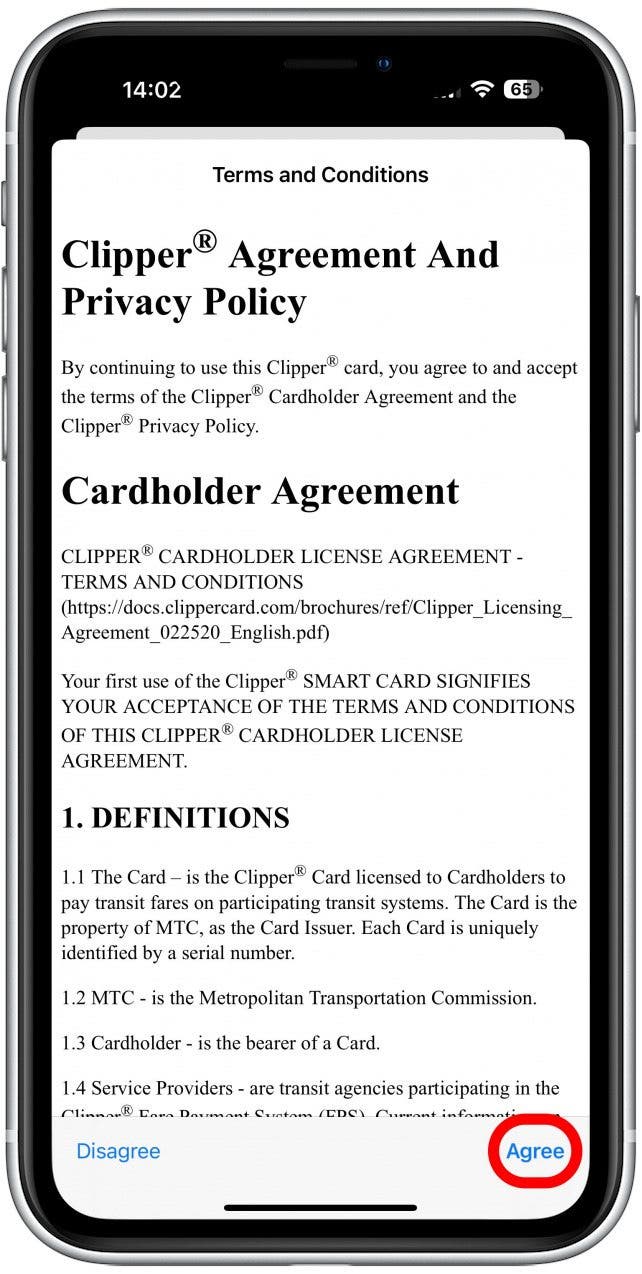
- Read through the terms and conditions and tap Agree. If you select Disagree, you won't be able to continue setup.
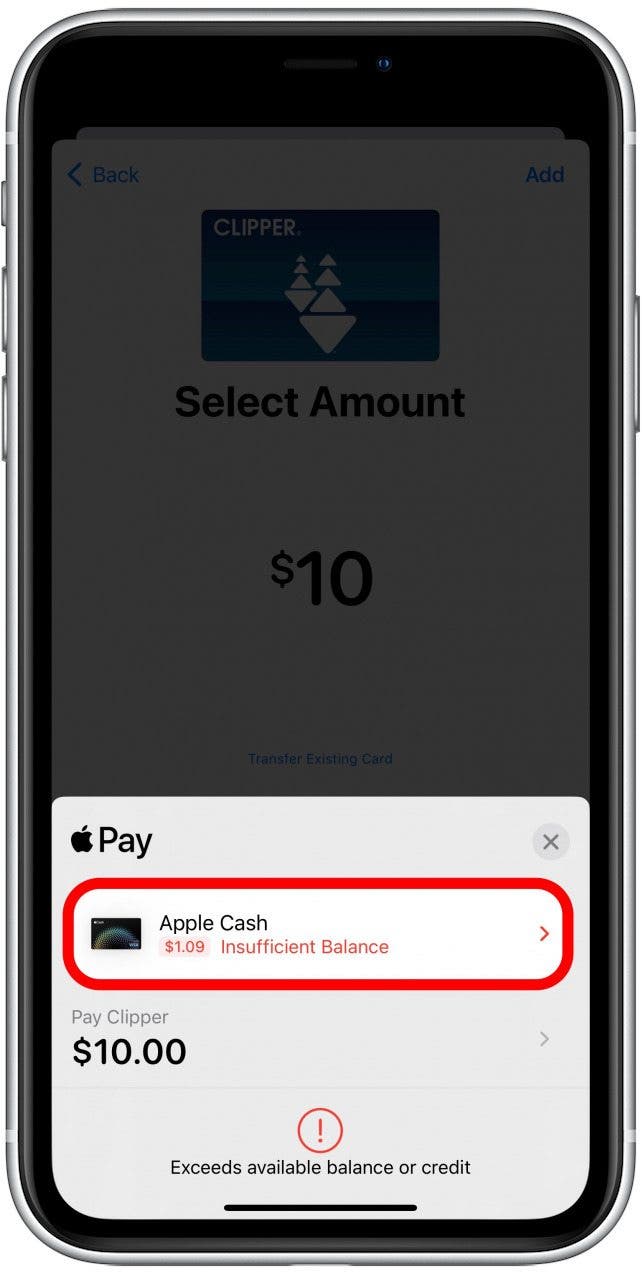
- By default, you’ll be able to use your most recently used payment method to top your transit card off. If you tap on it, you'll be able to select another option.
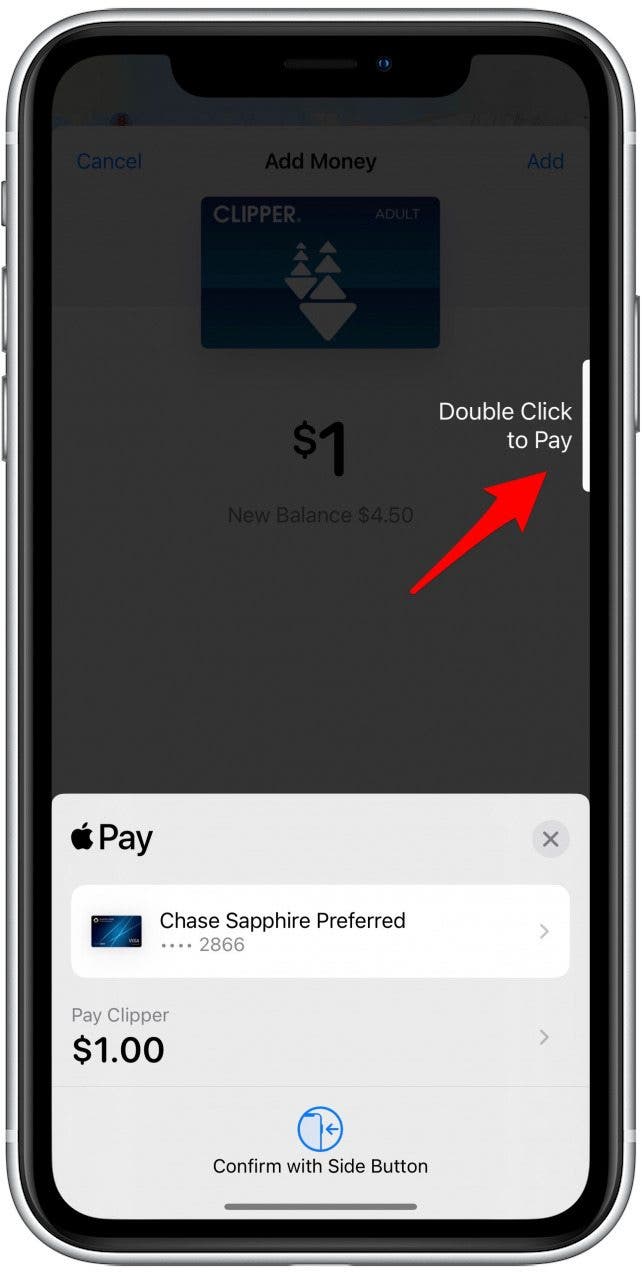
- Double-click your Side button (or the Home button on an older iPhone) to complete the payment. You may also need to use Face ID, Touch ID, or your passcode to authorize the payment.
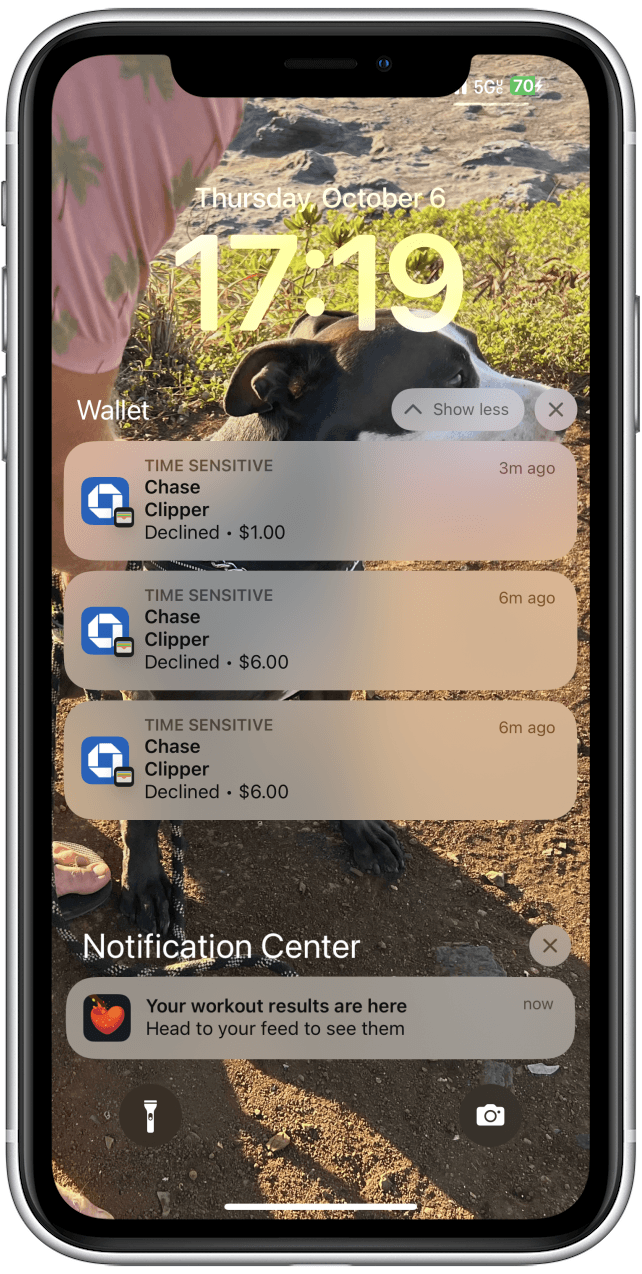
- If you’ve never used your credit card with Apple Cash or are in a new city/country, there is a chance that your payment may be declined. You can try using a different card, approving the payment via your banking app, or contacting your bank by phone to fix this.
Once you are ready to scan your card, simply double-click the side button (or the Home button if you have an older model iPhone), and you'll see your new Transit Card among your other cards and keys.
Pro Tip: While any credit card you add to your Apple Wallet will also show up on your Apple Watch, if you have one, transit cards can only be on either your watch or your phone. They can easily be transferred between the two but cannot be used on both at once, so if you want to use one card for two people, you'll have to go through the scanning process twice using either your iPhone or Apple Watch.
Now you know how to add transit cards to your Apple Wallet! Apple keeps adding more and more ways to use your virtual Wallet, such as adding hotel room keys, flight tickets, and even tickets to events. Sometimes concerts even have express lines for people who are getting in using a ticket in their Wallets, so keep an eye out and see if your iPhone can help save you time waiting in line! Next, learn how to refill your Transit Card directly from your Maps app.

Olena Kagui
Olena Kagui is a Feature Writer at iPhone Life. In the last 10 years, she has been published in dozens of publications internationally and won an excellence award. Since joining iPhone Life in 2020, she has written how-to articles as well as complex guides about Apple products, software, and apps. Olena grew up using Macs and exploring all the latest tech. Her Maui home is the epitome of an Apple ecosystem, full of compatible smart gear to boot. Olena’s favorite device is the Apple Watch Ultra because it can survive all her adventures and travels, and even her furbabies.
 Olena Kagui
 Leanne Hays
 Susan Misuraca
 Amy Spitzfaden Both
 Rachel Needell
 Rhett Intriago