How to Add a Smart Home Accessory to Your Apple HomeKit
Learn how to pair and add Apple HomeKit accessories to the Home app to easily control and monitor your smart home devices.


Adding HomeKit-enabled accessories to the Apple Home app lets you control, schedule, and monitor your smart home devices from anywhere in the world. We'll walk you through the steps to add a smart accessory to the Home app on your iPhone or iPad and pair the smart device using the app's Scan QR function (or by entering the code manually).
Related: How to Access Your Smart Home from Control Center
If adding a HomeKit accessory means you'll also want to change your HomeKit Hub, we can show you how to do that too. Now, let's start adding your Apple home accessories to your HomeKit setup.
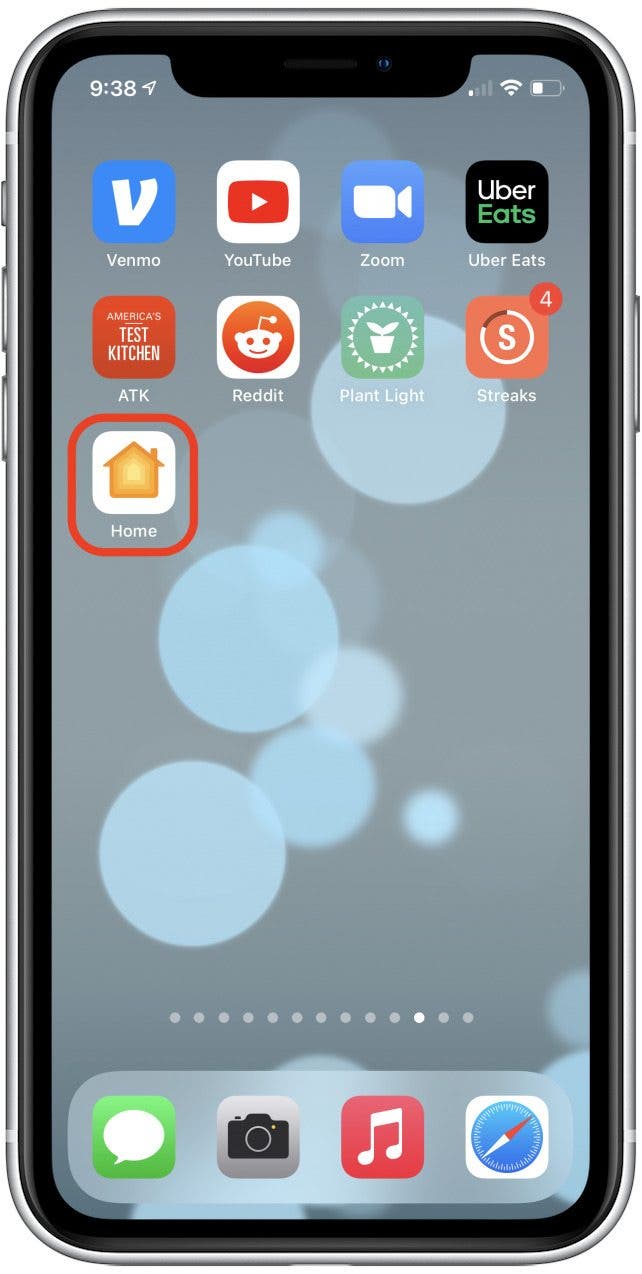
- On your iPhone or iPad, open the Home app.
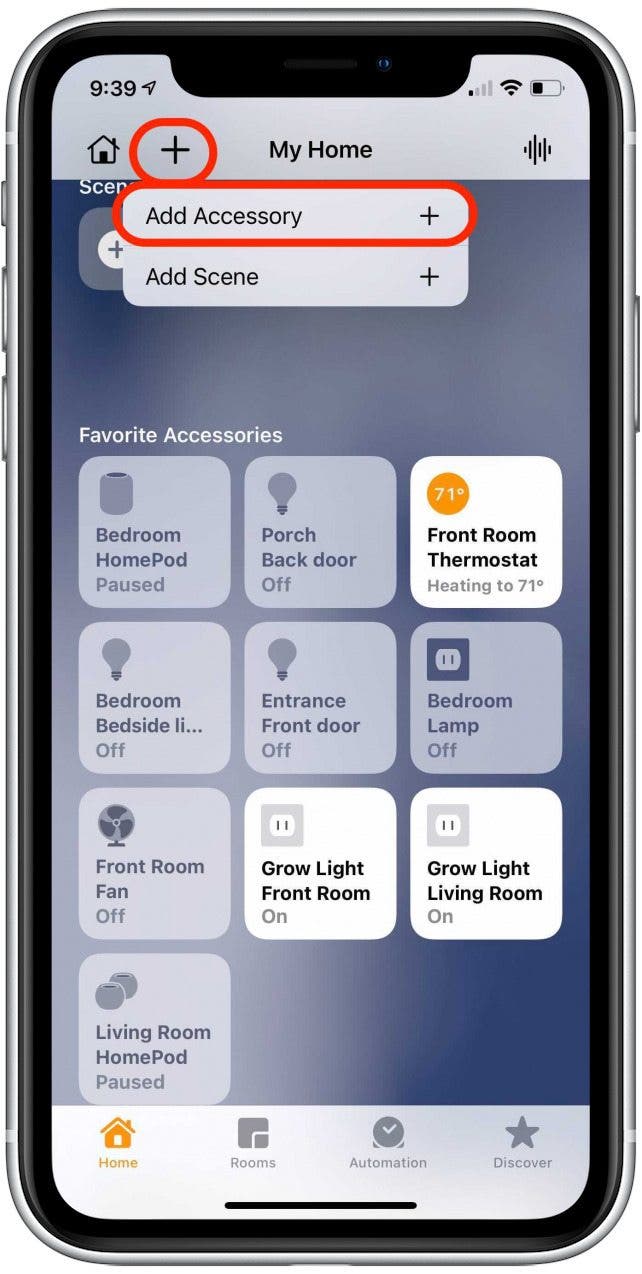
- Tap the + icon at the top of the screen and then tap Add Accessory.
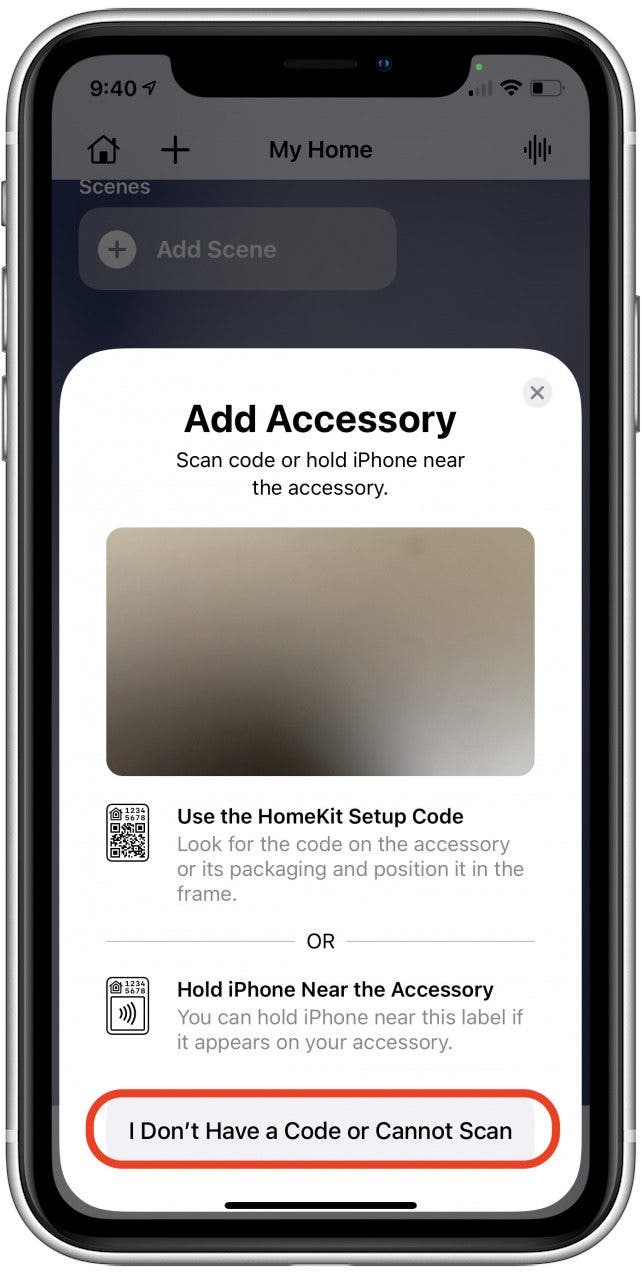
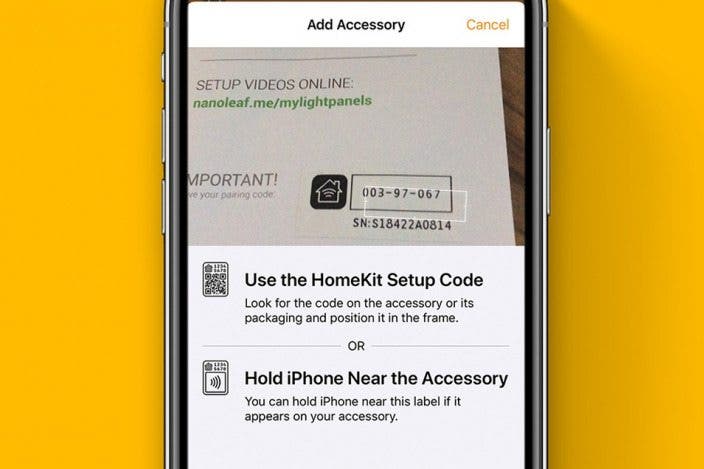
- If your new device has a HomeKit Setup Code, you can scan that code by placing the code in your iPhone's viewfinder.

- You can also hold your iPhone near a smart accessory with a HomeKit label. (Note that the accessory needs to be powered on for this method to work.)
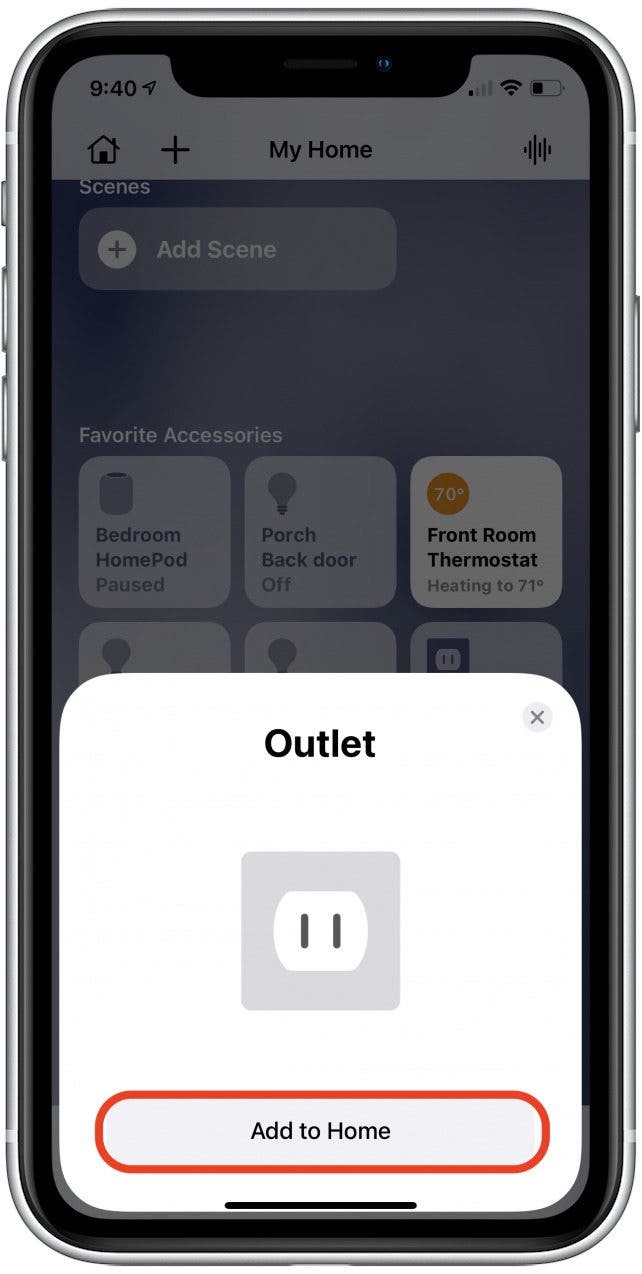
- Once the accessory is recognized, tap Add to Home.
- If you have trouble, tap I Don't Have a Code or Cannot Scan.
- Select your accessory from the list.
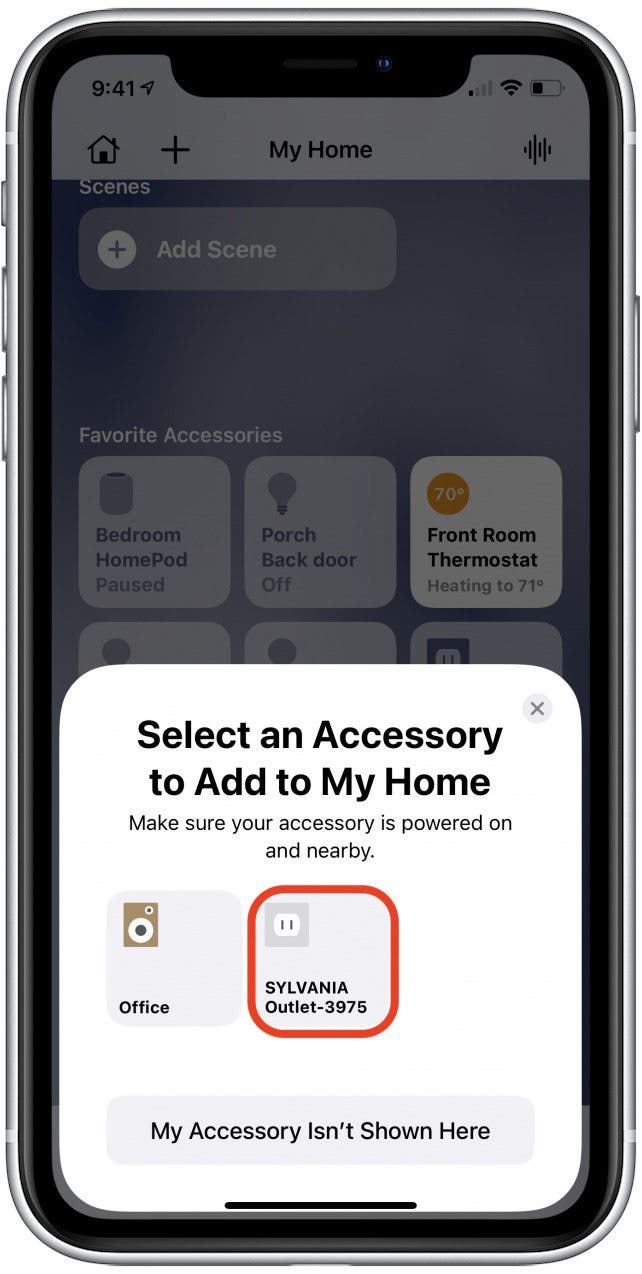
- Enter the eight-digit setup code found on the packing or on the accessory itself, then tap Continue.
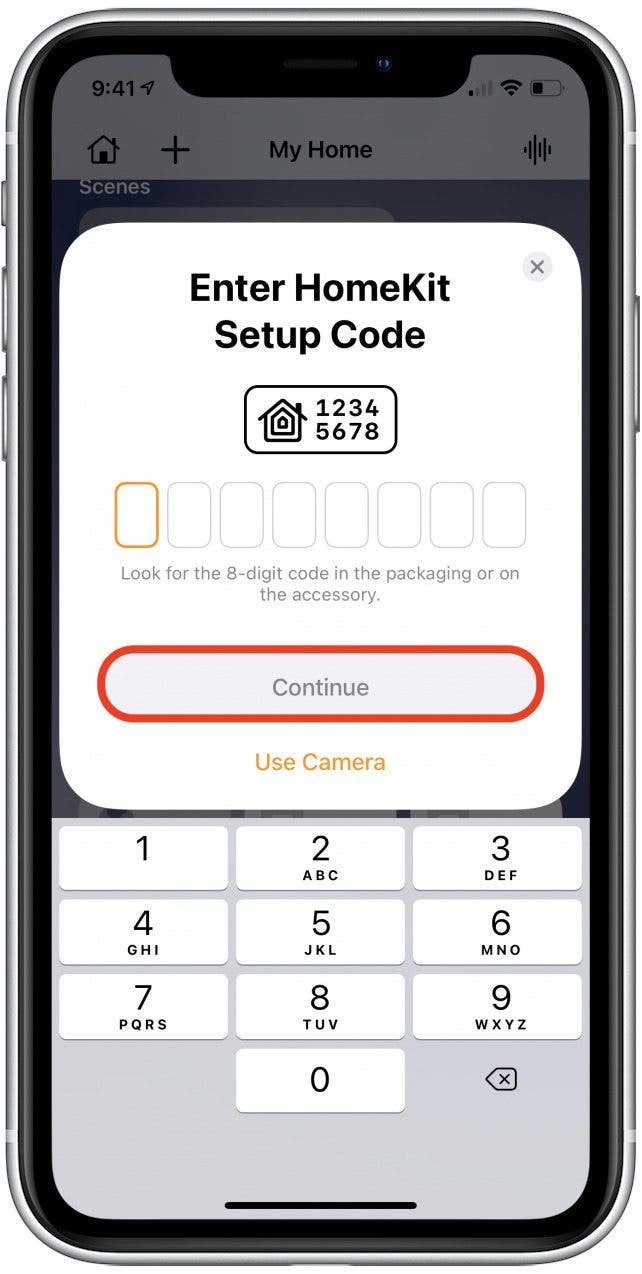
- After you scan your QR Code or correctly enter the code manually, Bluetooth pairing will start automatically.
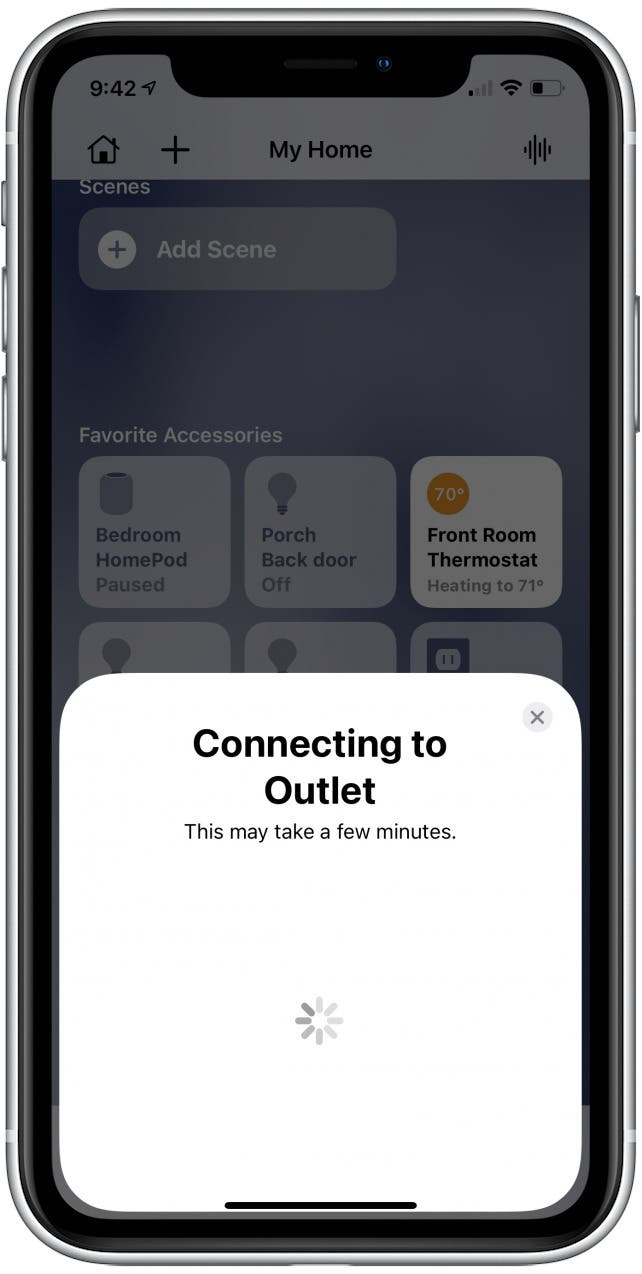
- Keep your smart accessory powered on and nearby until the progress indicator disappears, at which point the device is finished pairing.
- Assign the device to a room and tap Continue.
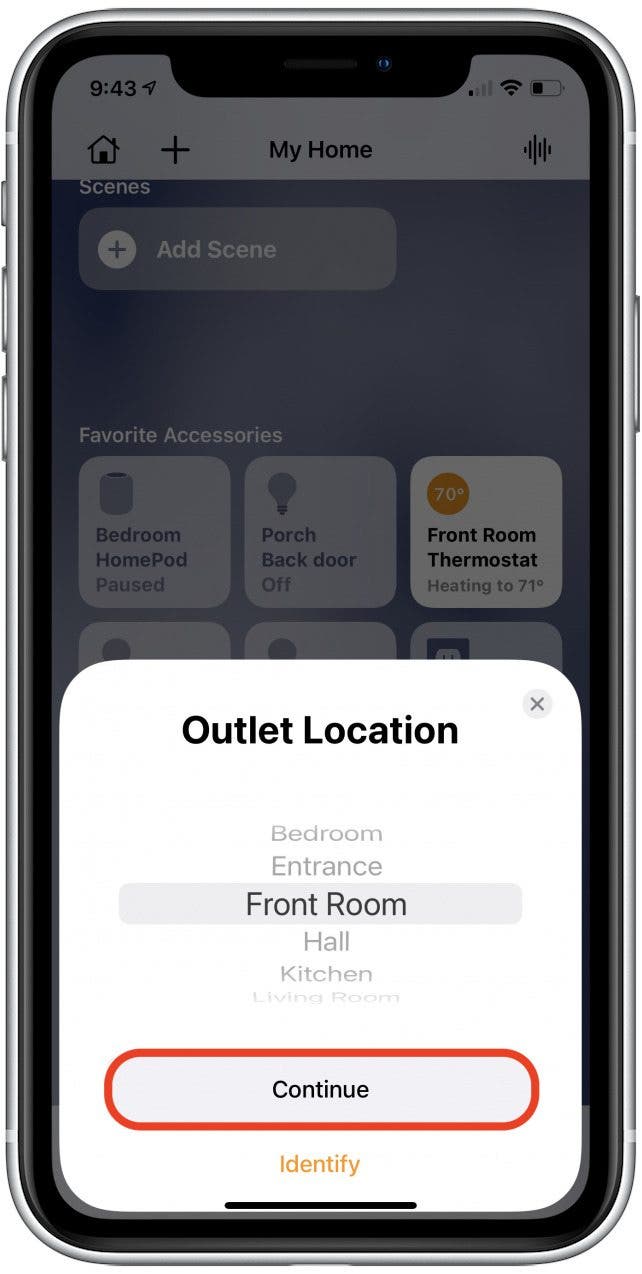
- Name the accessory and tap Continue.
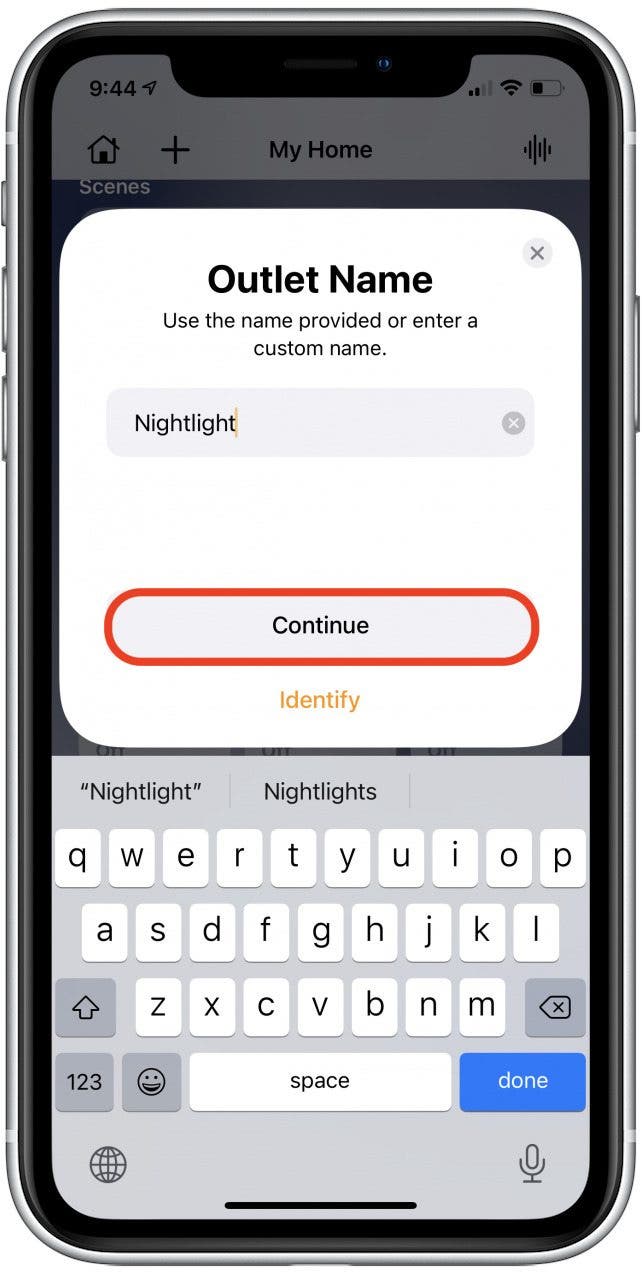
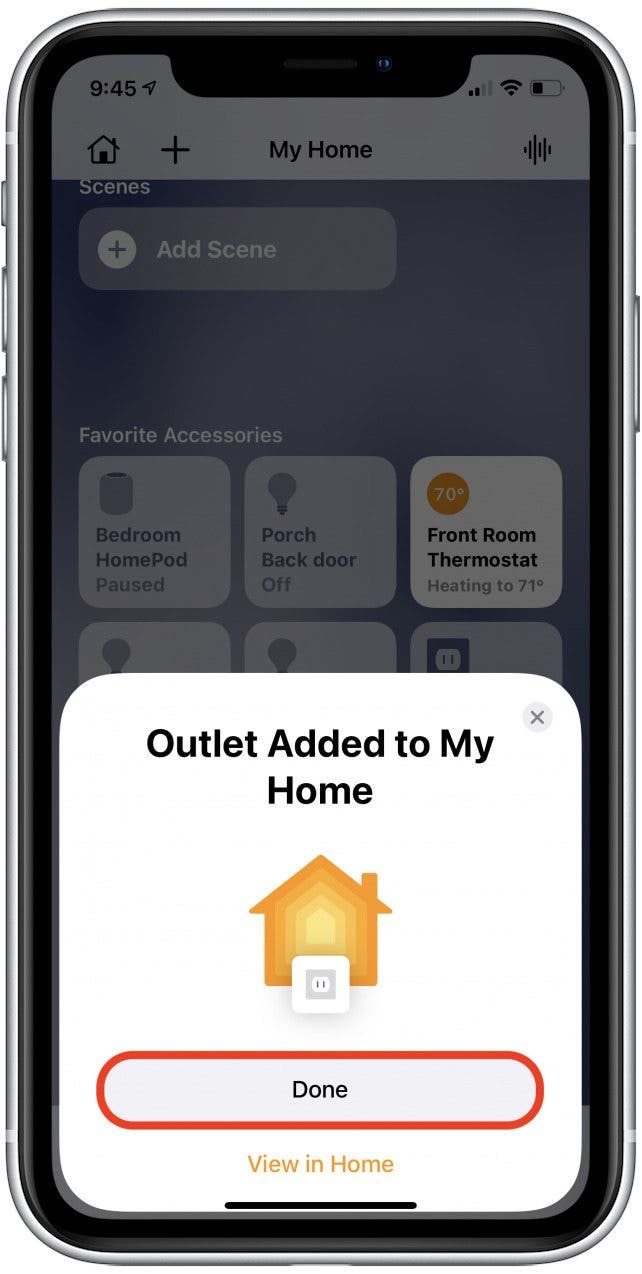
- The accessory is now added to your smart home.
- Tap Done to exit or View in Home to begin using your new device.
Congratulations! You've added your new smart accessory to your Apple HomeKit. If you want ideas for additional Apple smart home products, check out the growing list of HomeKit accessories.
Every day, we send useful tips with screenshots and step-by-step instructions to over 600,000 subscribers for free. You'll be surprised what your Apple devices can really do.

Hallei Halter
Hallei is a 2018 graduate of Maharishi University of Management with a BFA in Creative & Professional Writing. She's currently working on a novel about people using witchcraft to clean their houses.
 Rachel Needell
 Susan Misuraca
 Olena Kagui
 Amy Spitzfaden Both
 Rhett Intriago
 Leanne Hays
