Schedule an Email in Apple Mail on Your iPhone
Move over, Gmail! Now you can schedule emails in the Apple Mail app to send at a later date.


Do you frequently send emails for work or personal use? Whether you want to get ahead in your work week, or just avoid sending emails in the wee hours of the morning or late at night, scheduling an email can help you save time and get it off your to-do list! Let's cover how to schedule an email in your iPhone Apple Mail app.
How to Schedule an Email in Apple Mail on iPhone
For more handy email and messaging tips, sign up for our free Tip of the Day Newsletter. So, can you schedule an email in Apple Mail to send at a later time? Yes, provided you have updated your iPhone to iOS 16 or later. There's also one tiny caveat to this process: your iPhone needs to be on at the time your schedule email is set to send. Now, here's how to schedule an email to send in Apple Mail:
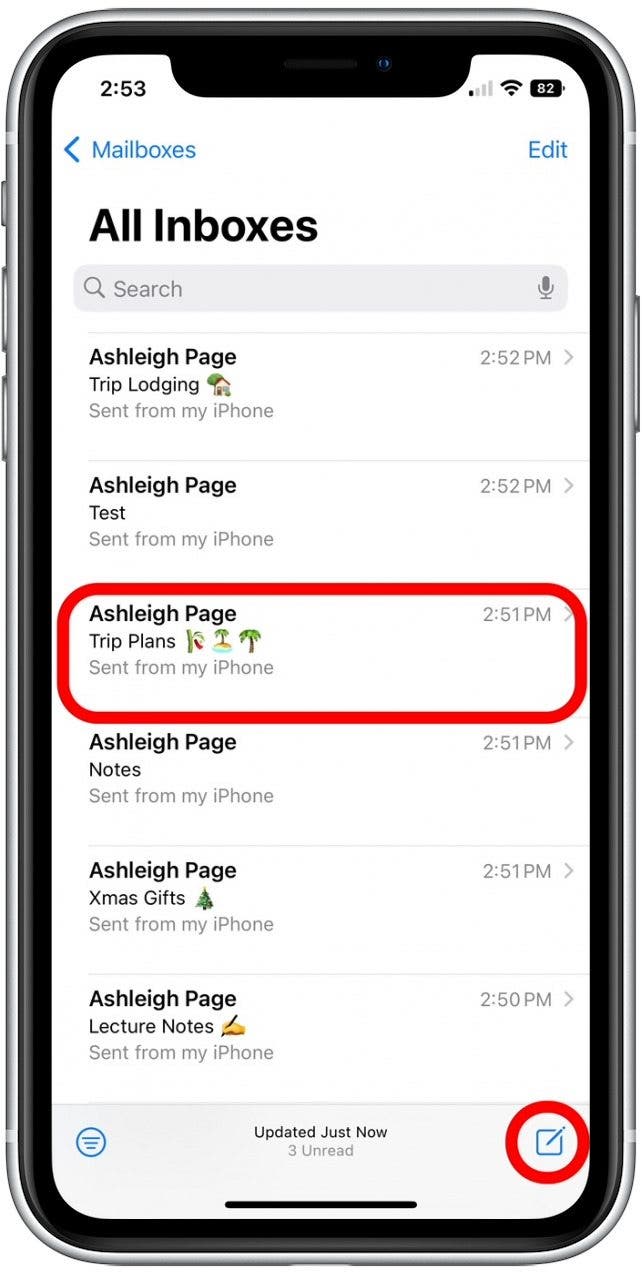
- Open the Mail app. Tap an existing email to respond or tap the Compose icon to draft a new email.
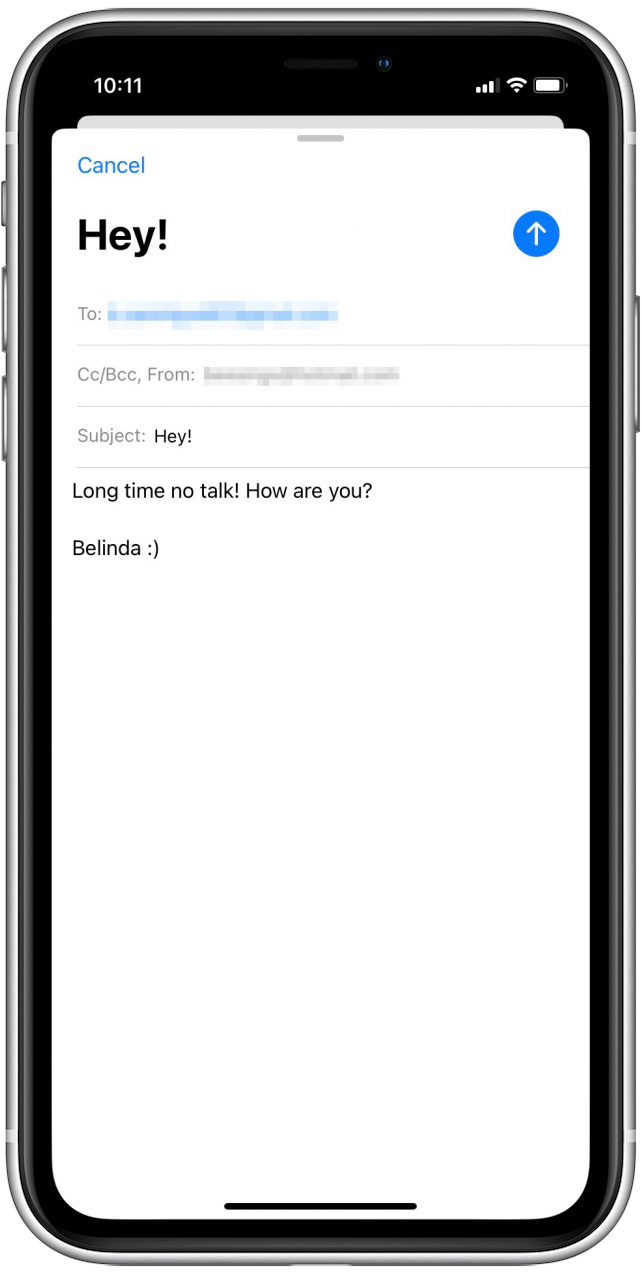
- Compose the email as you normally would, adding the recipients, subject line, and content of the message.
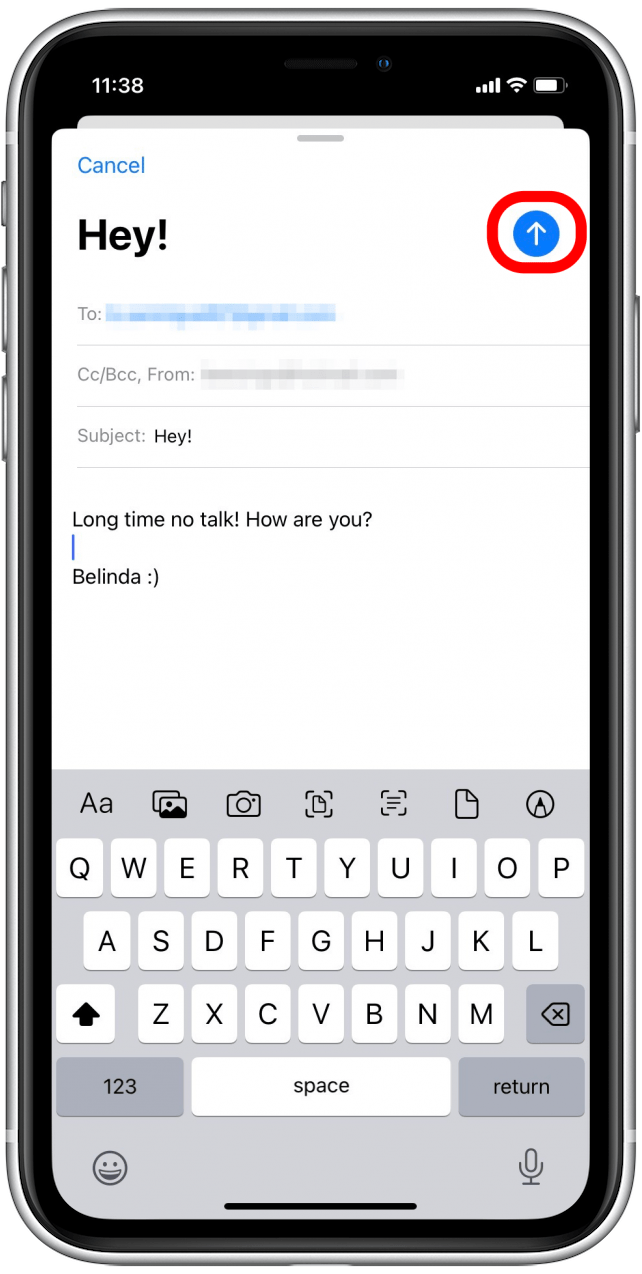
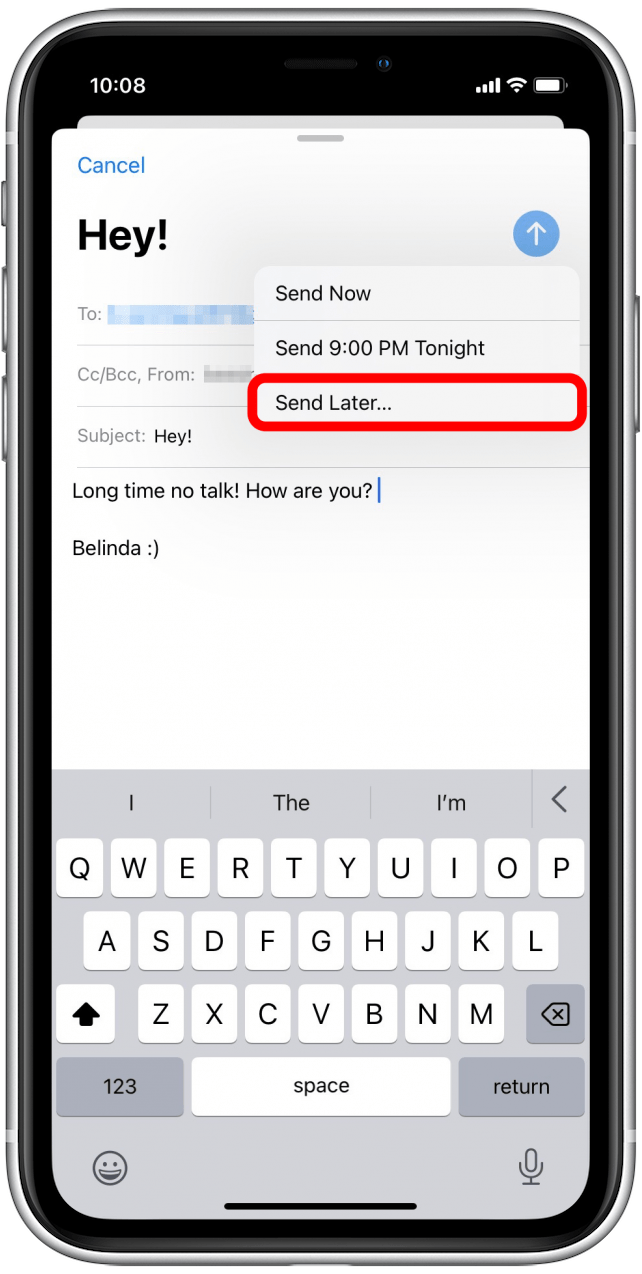
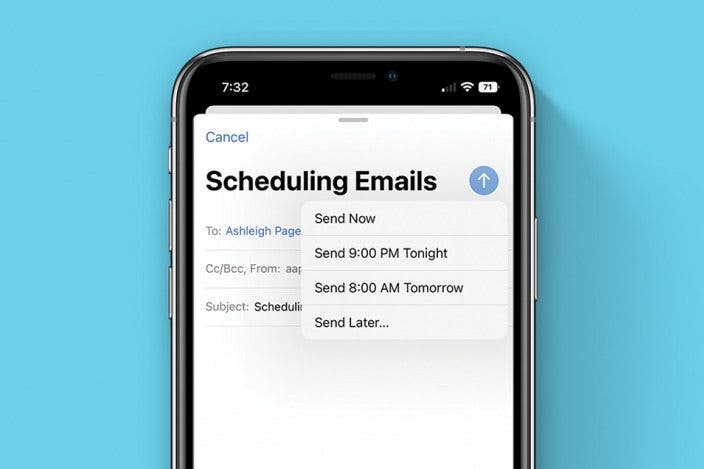
- Once you've finished composing your email, long-press the Send icon.
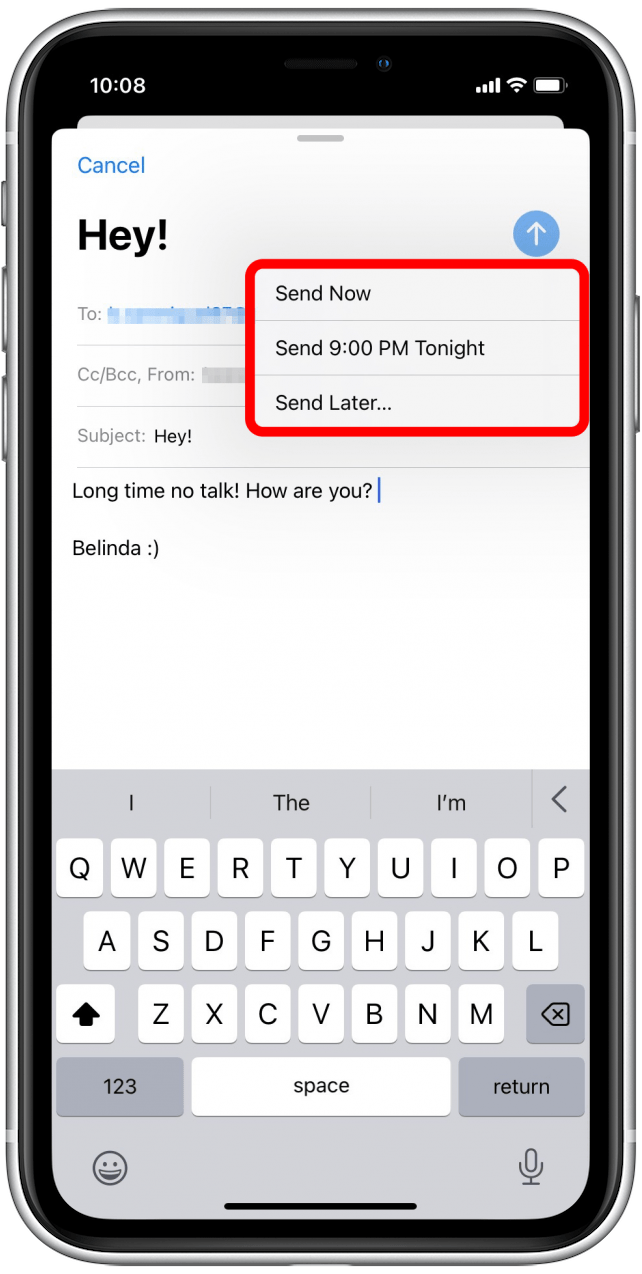
- You'll be presented with options to send your email now, at a later default time (these are automatically suggested), or to send later.
- To enter a custom date and time, tap Send Later.
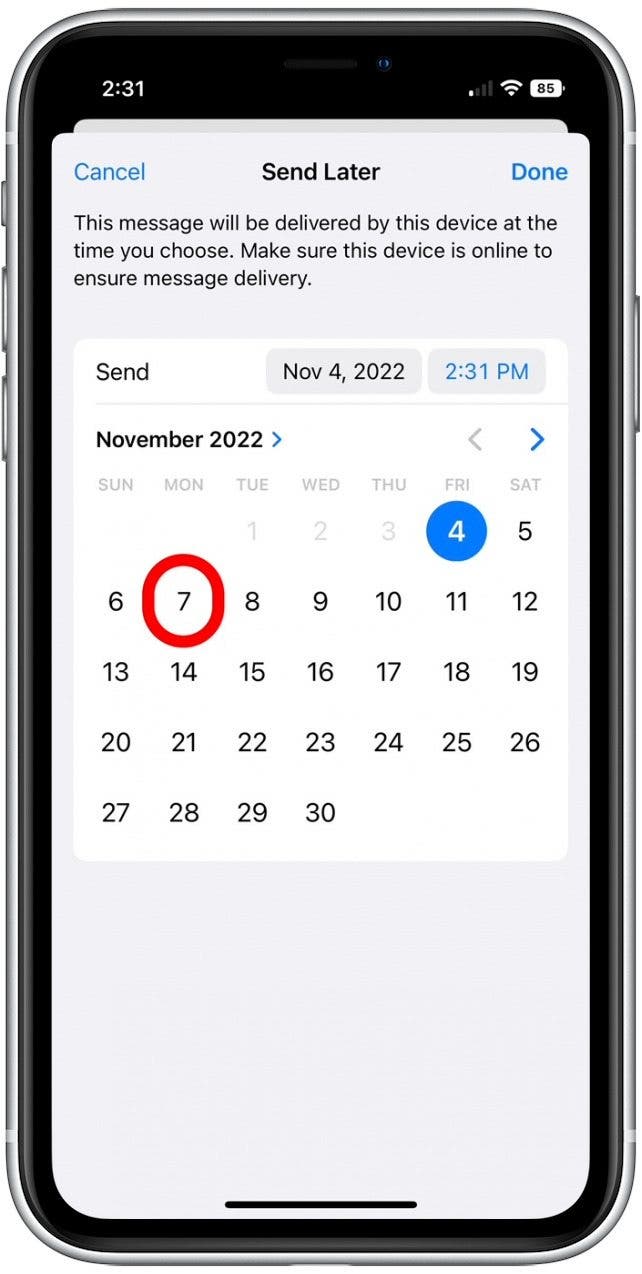
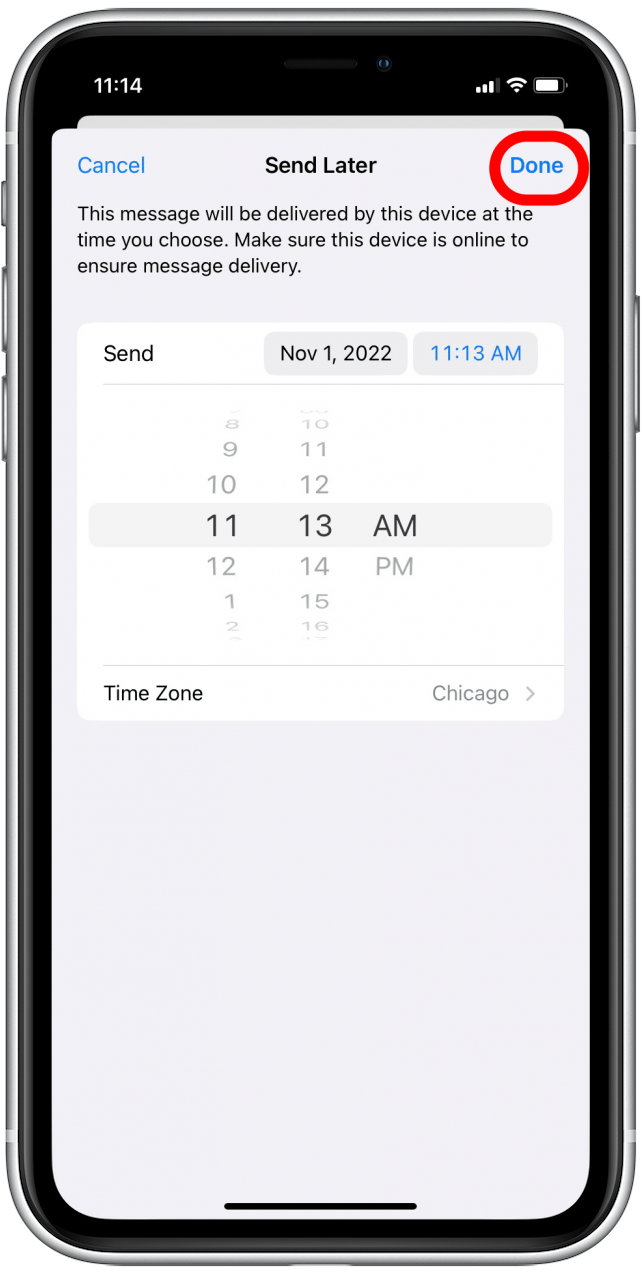
- If you want to send your email at a later date, tap to select the date you wish to send the email.
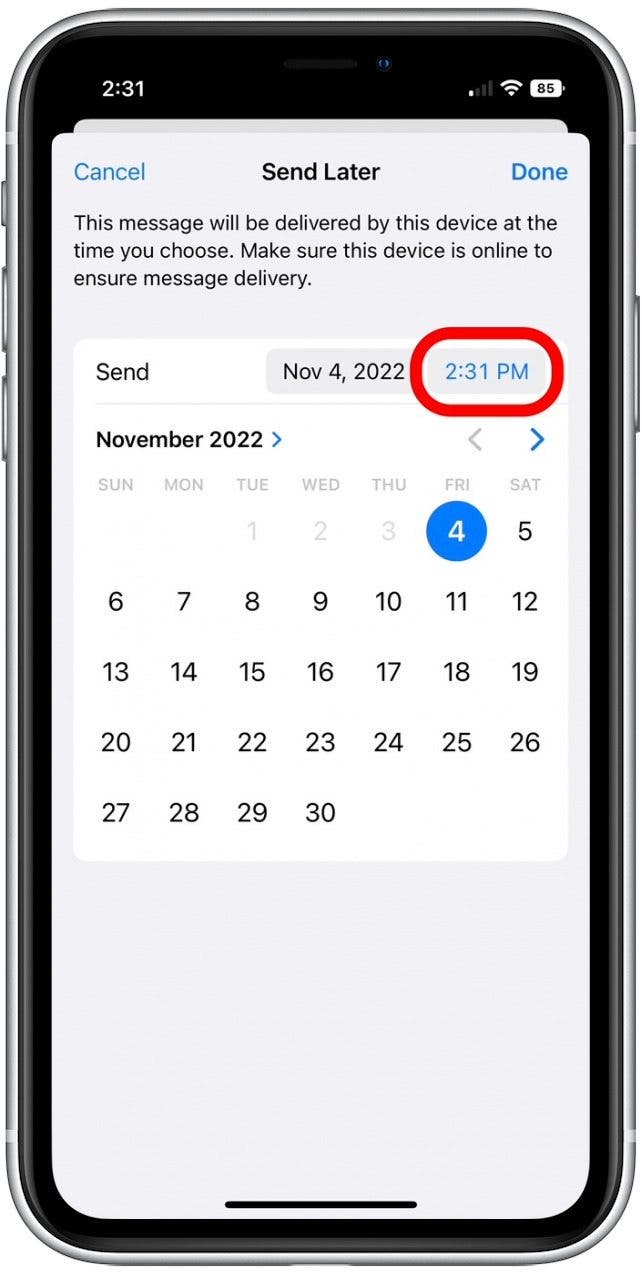
- If you want to send the emails at a different time than is shown, tap the time displayed to set a custom time.
- Swipe up and down to set the hour, minute, and AM/PM options.
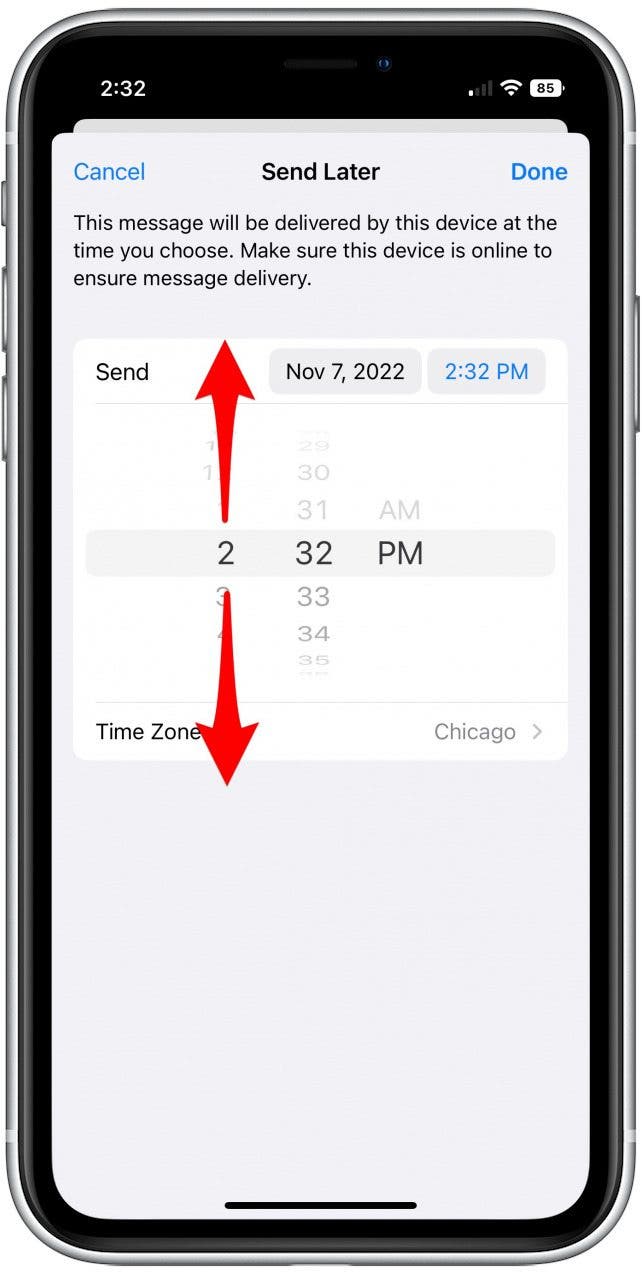
- Once you've finished selecting the date and time, tap Done.
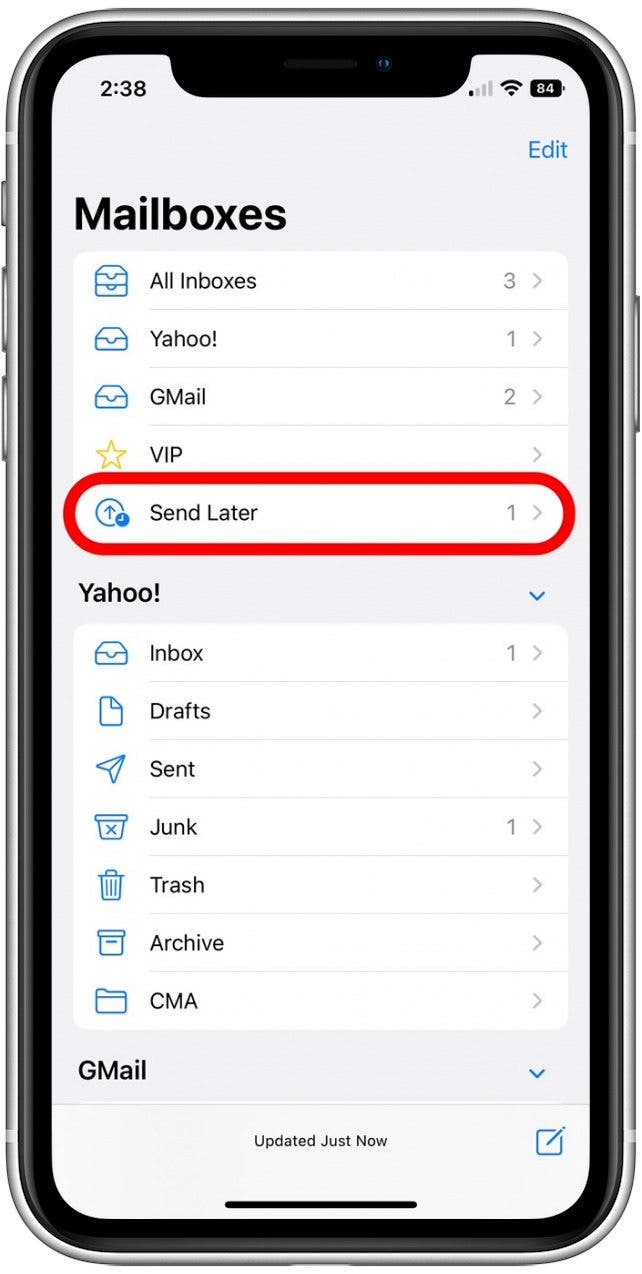
- Your scheduled email will appear in a Send Later folder.
After the email has been sent at the scheduled time, it will appear in your Sent folder, just like any other email. Now you can easily schedule emails in Apple Mail! If you enjoy learning about your iPhone's messaging features, you might also be interested in learning the new easy way you can recover deleted texts in your Messages app.

Belinda Sanmiguel
Belinda is a passionate digital marketer and content writer who loves creating unforgettable experiences for audiences with compelling copywriting and other forms of media. She used to live in England, has traveled to over 15 countries, and loves swimming in the ocean. In her free time, she enjoys planning women's events and trying new restaurants in Chicago.
 Rhett Intriago
 Olena Kagui


 Susan Misuraca
 Leanne Hays

 Rachel Needell