How to Create & Send an Invite in the New iPhone App

Apple has released a new app called Invites, which you can use to easily create digital invitations and send them to your friends, no matter what device they have. Here’s how to send free text invites with the Invites app on iPhone.
Why You’ll Love This Tip:
- Create fun invitations for any kind of event you'd like, right on your iPhone.
- Easily share photos from parties or other events with everyone who attended.
How to Create Free Invites on iPhone
System Requirements
This tip was performed on an iPhone 15 Pro running iOS 18.3.1. Find out how to update to the latest version of iOS.
To use the new free Invites app, you’ll need a device with iOS 18 installed and a subscription to iCloud+. This app is useful because when you receive an invite, you can add it to your calendar right from the Invites app and join a shared photo album, to which anyone who has been invited can contribute. Here’s how to use the free Invites app:
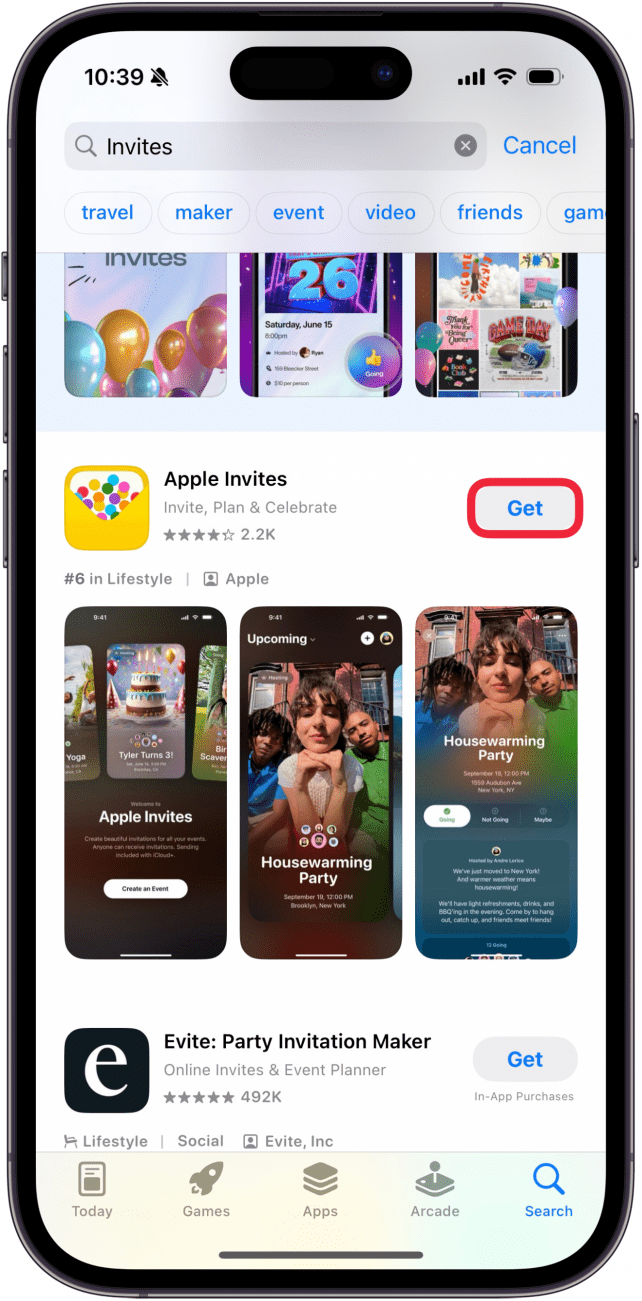
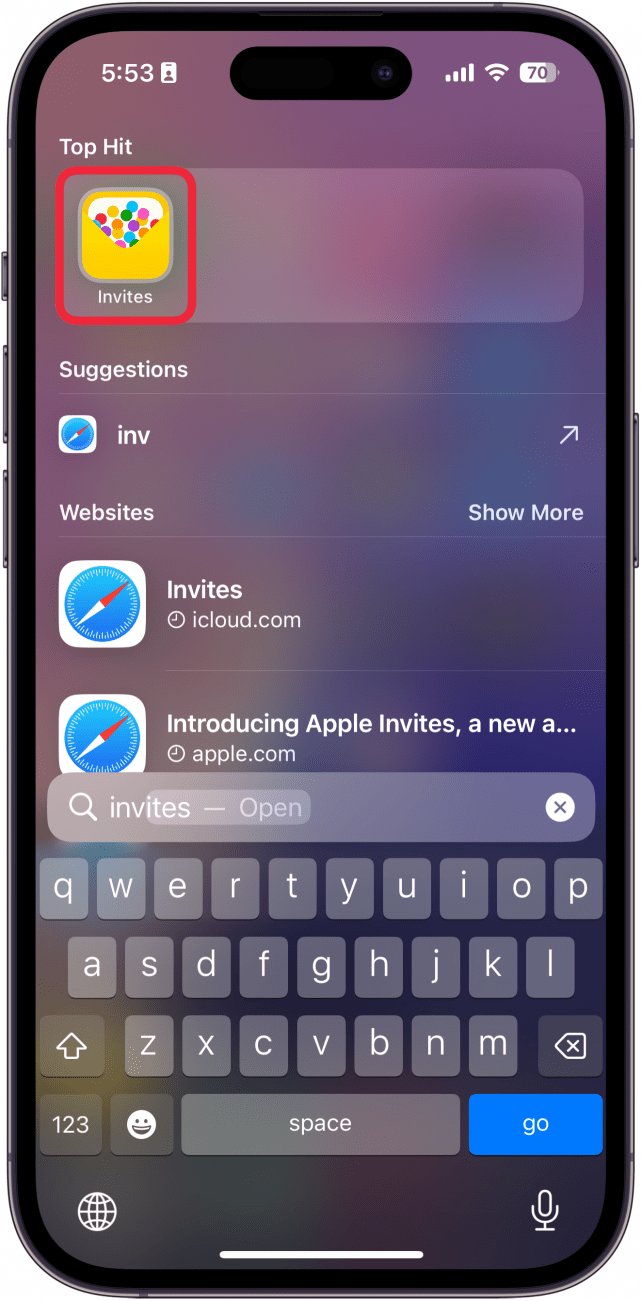
- Download the Invites app from the App Store.
- Open the Invites app.
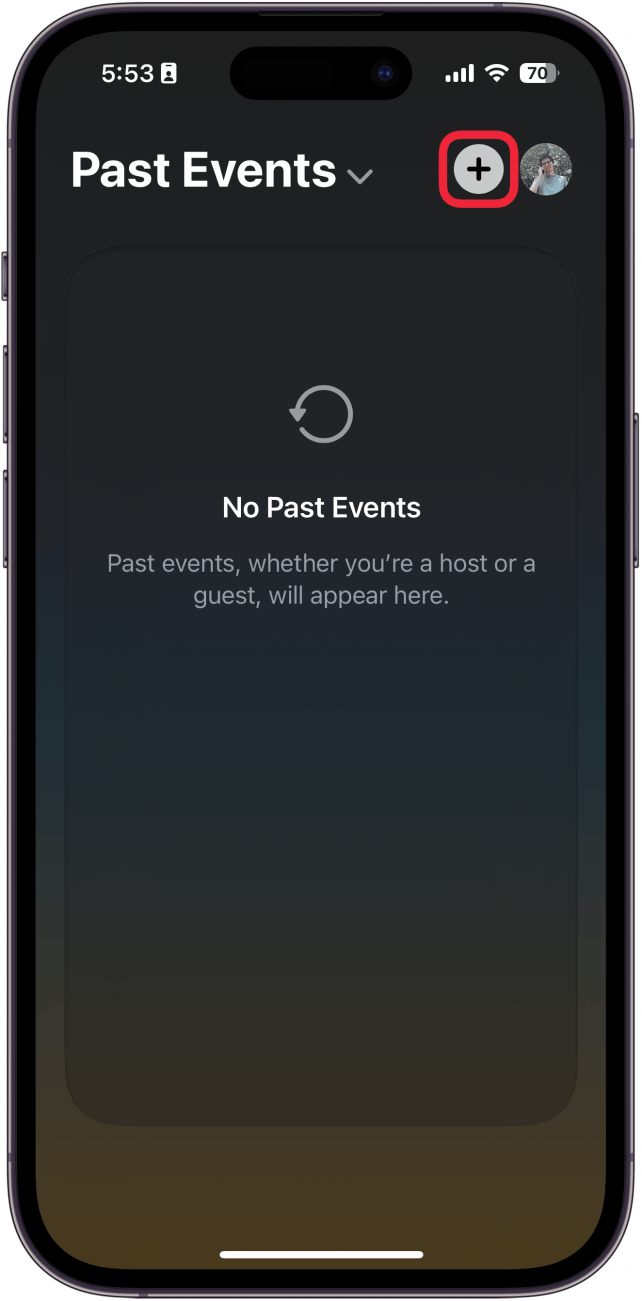
- Tap the plus icon.
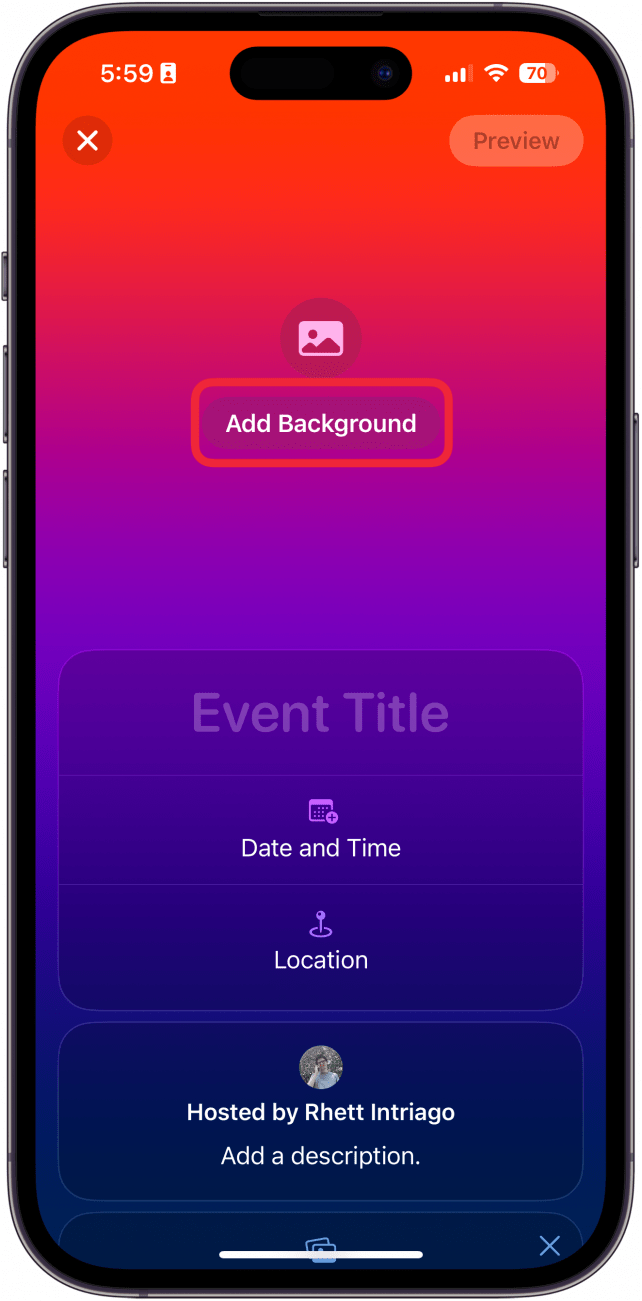
- Tap Add Background to add a backdrop to your invitation.
- You can choose from your own Photos, snap a photo with your Camera, or use Playground to generate an image with Apple Intelligence (iPhone 15 Pro lineup and iPhone 16 lineup only).
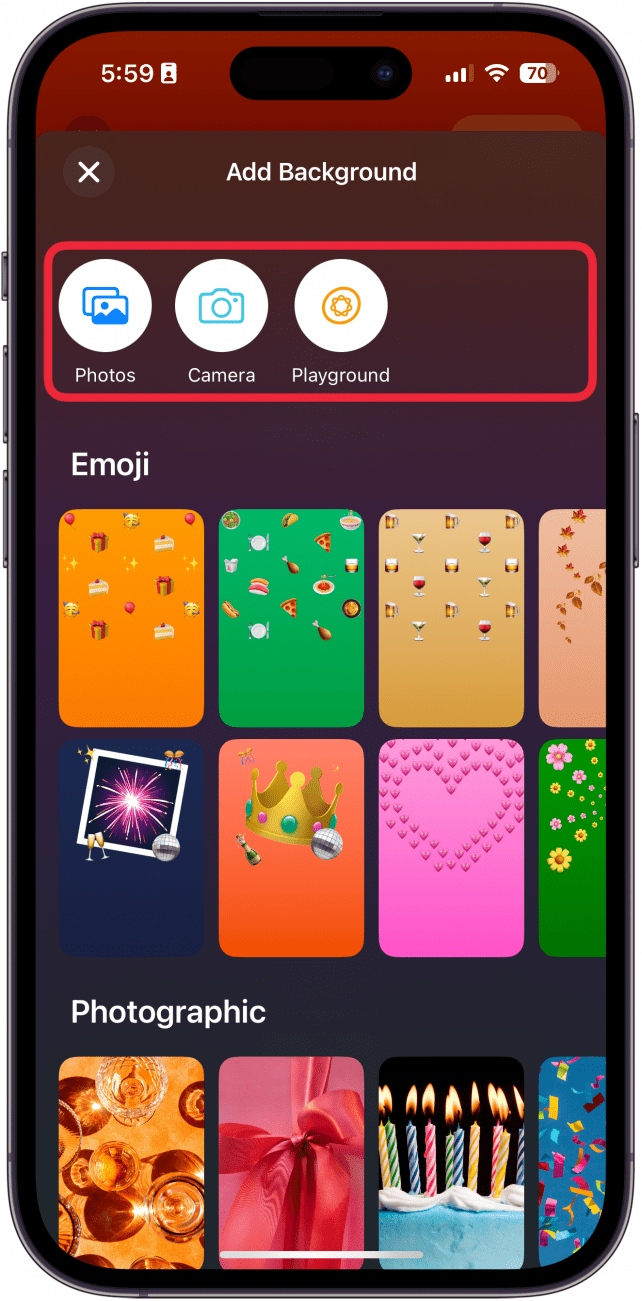
- You can also choose from Emoji, Photographic, and Color backgrounds. For this example, I chose a Photographic background.

- Tap Event Title to give your event a name.

- Tap Date and Time to set the date.
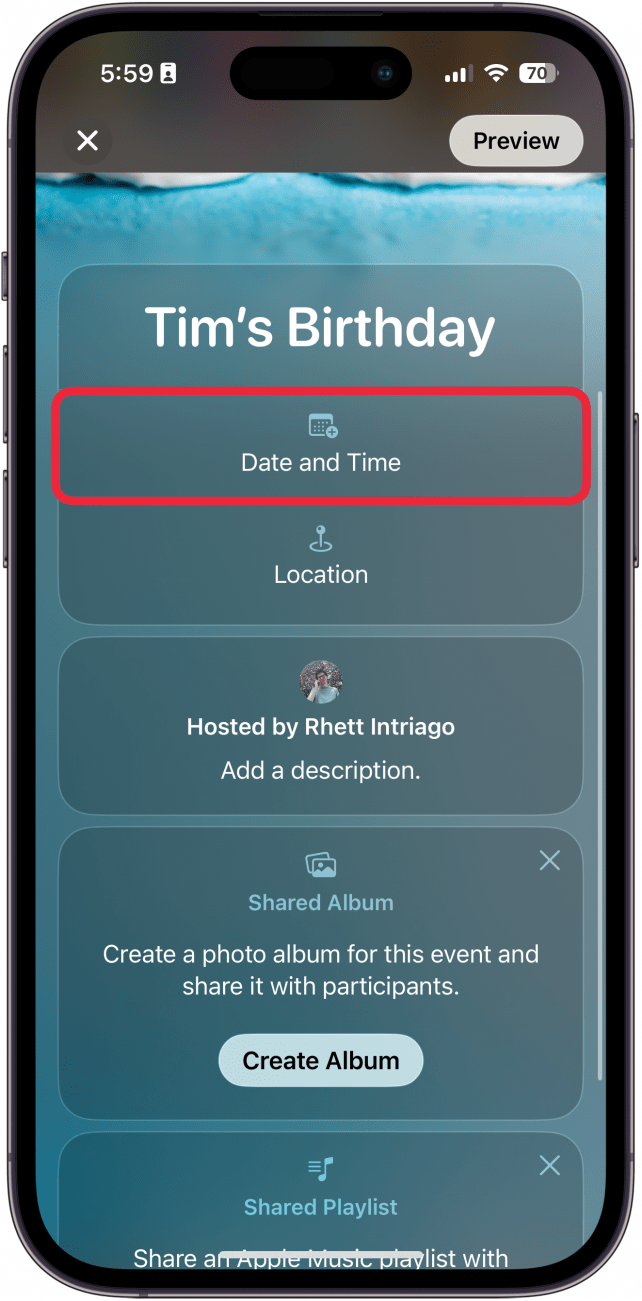
- Tap Location to choose a location for the event.

- Tap Add a Description if you want to add a description of what the event is.
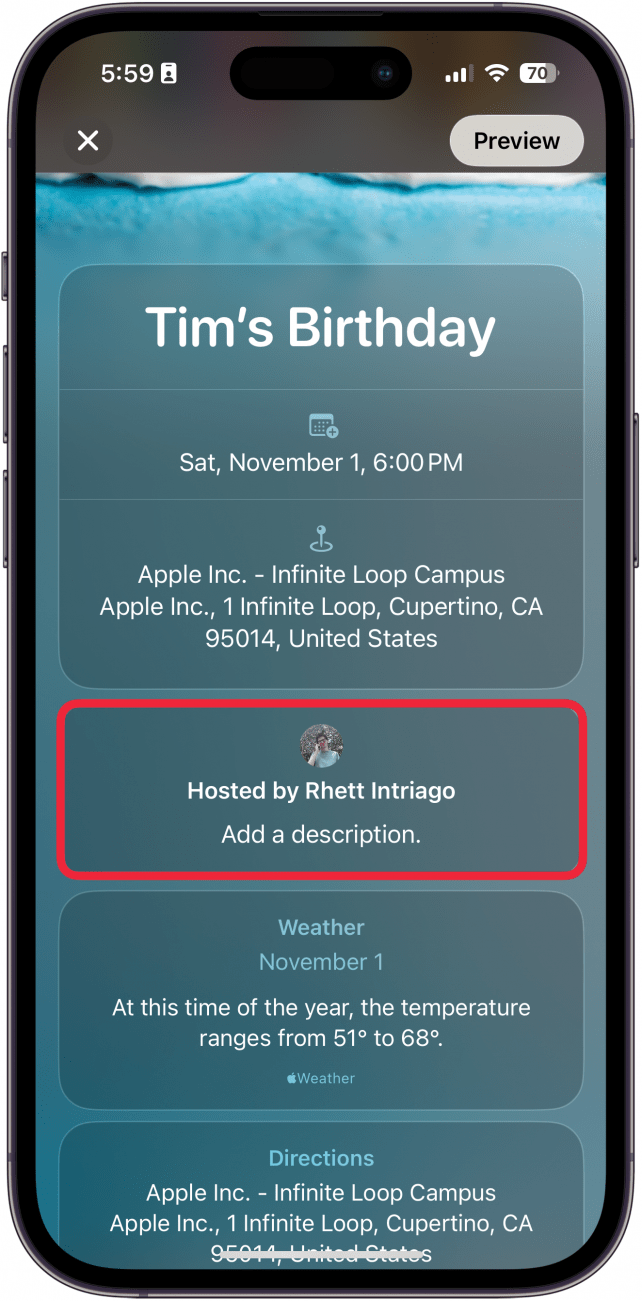
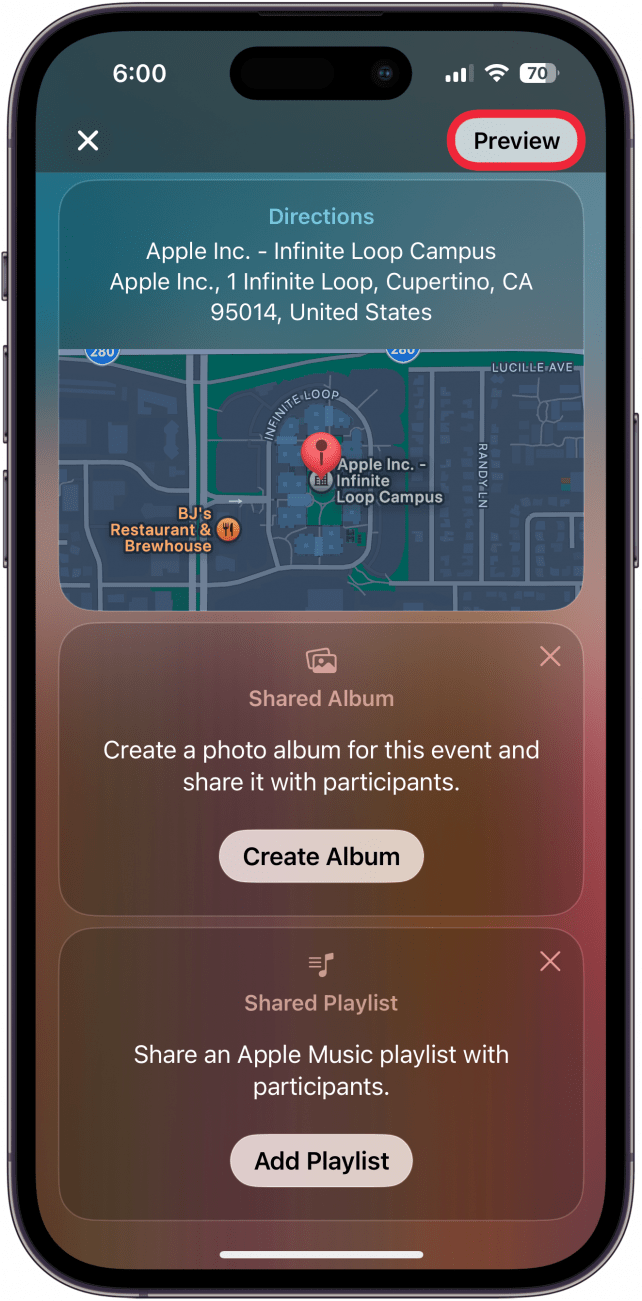
- If you have added a date and location for your event, next, you’ll see what the weather will be like on the day of the event, as well as a Maps link to directions.
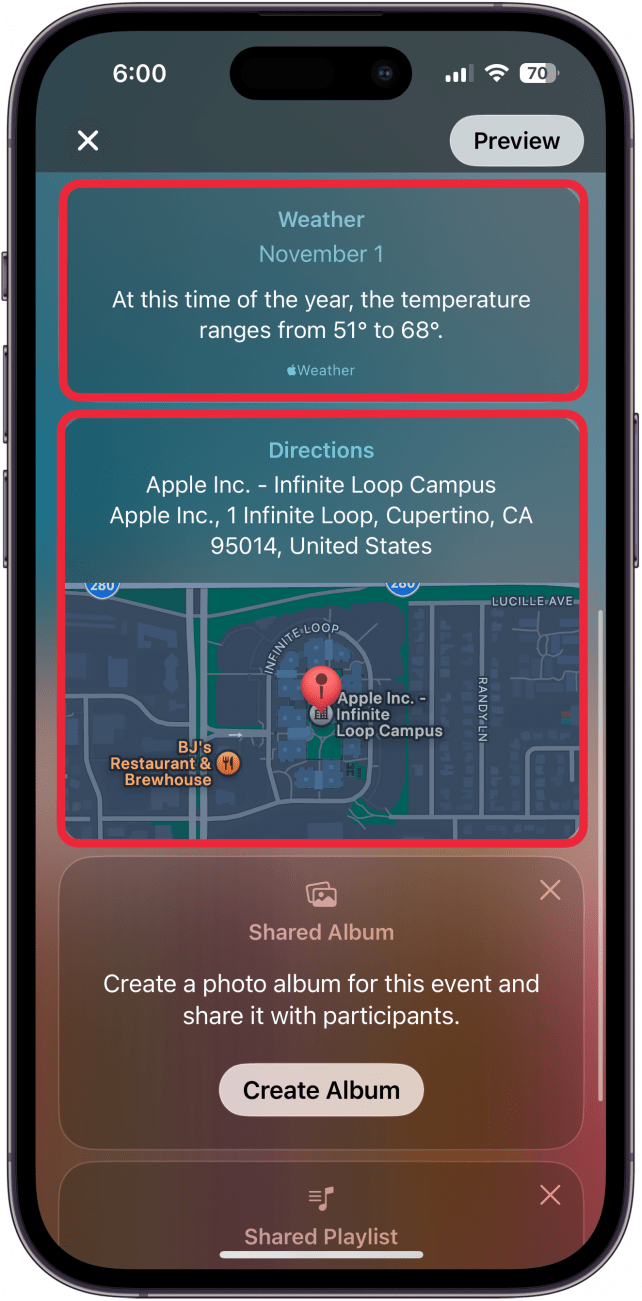
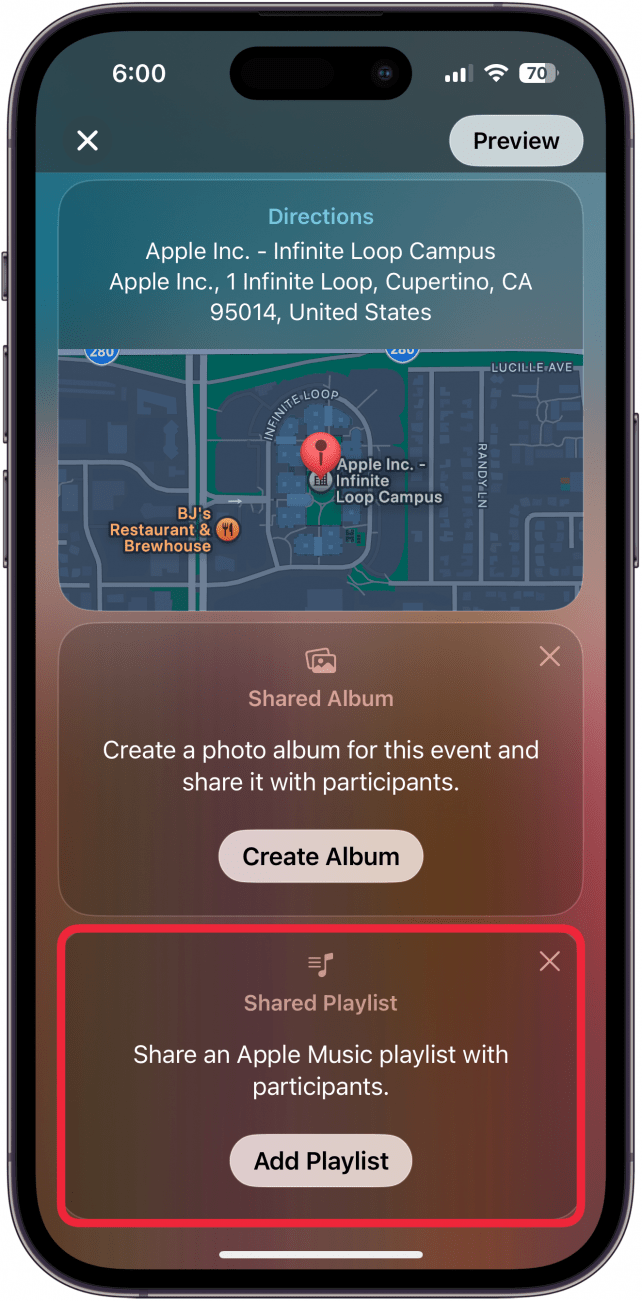
- If desired, you can create a shared album so that other people can contribute photos that they take during the event.

- You can also add a shared playlist and allow others to add songs that they want to hear during the event.
- When you are happy with your invitation, tap Preview.
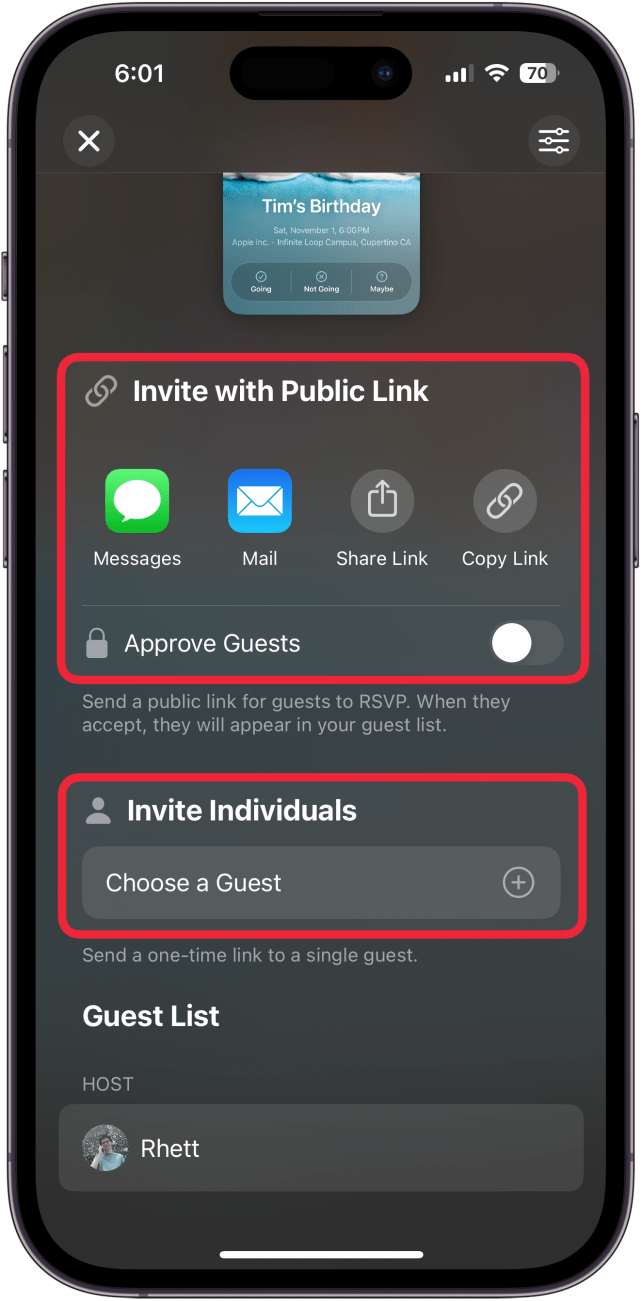
- You’ll see what the invitation will look like for others. Tap Next, in the upper right corner.

- You can invite others using a Public Link or invite people individually. If you opt to use the Public Link, you can choose to approve guests before they’re added to the guest list or allow anyone to join.
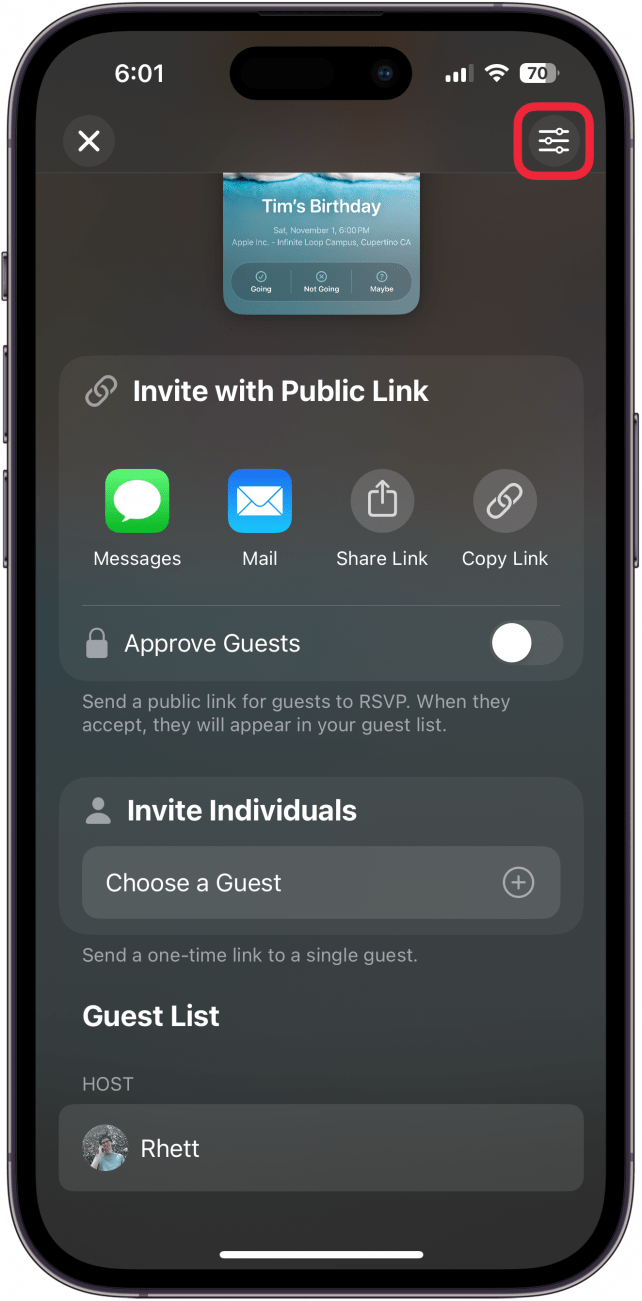
- Tap the Settings icon to adjust any settings for the event.
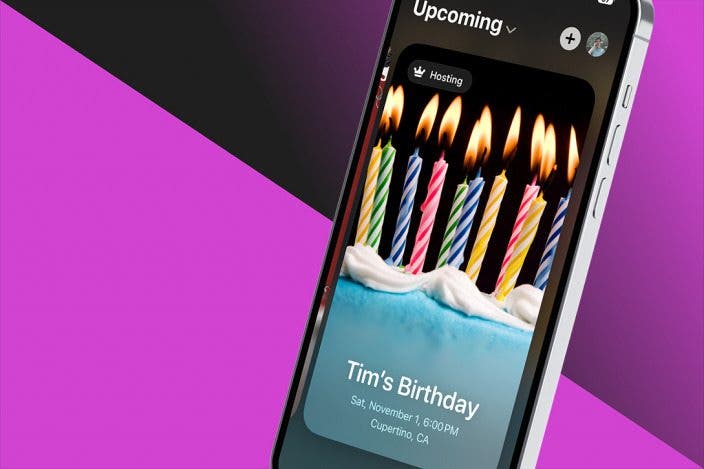
- The Invite will be on the home page of the app, under Upcoming.
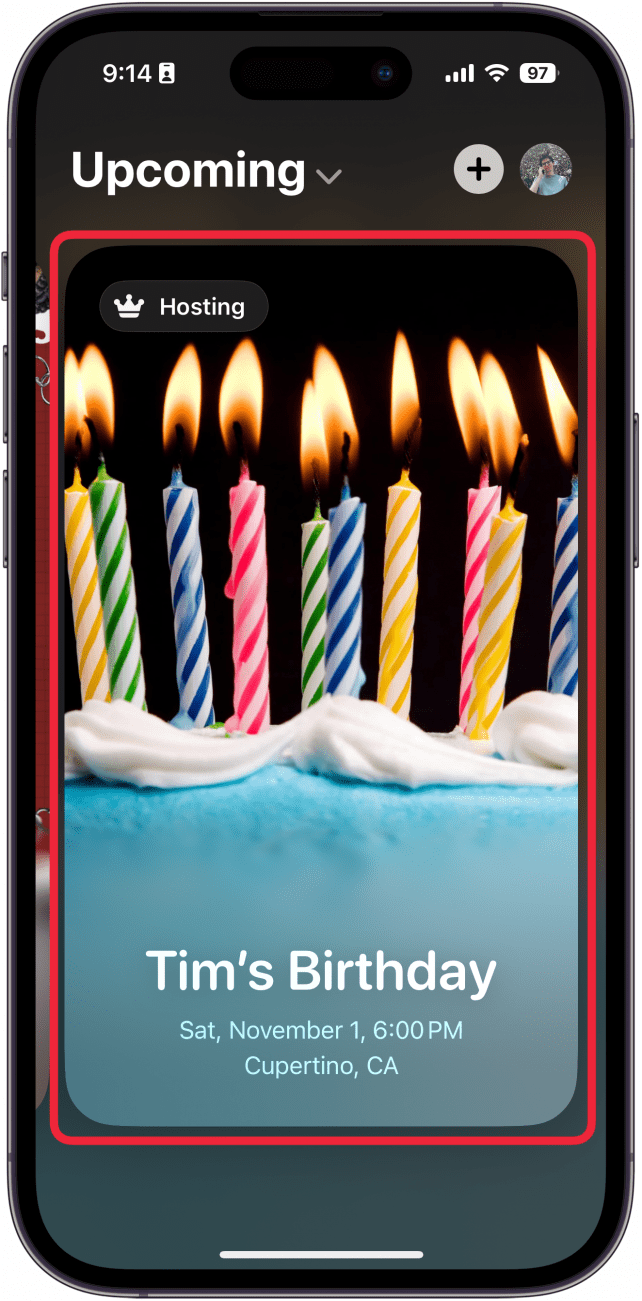
That’s how to create an invitation in the new free Invites app. Now, you can send invites for every big event in your life! Next, find out how to accept a shared album invite.
More On: iOS 18

Rhett Intriago
Rhett Intriago is a Feature Writer at iPhone Life, offering his expertise in all things iPhone, Apple Watch, and AirPods. He enjoys writing on topics related to maintaining privacy in a digital world, as well as iPhone security. He’s been a tech enthusiast all his life, with experiences ranging from jailbreaking his iPhone to building his own gaming PC.
Despite his disdain for the beach, Rhett is based in Florida. In his free time, he enjoys playing the latest games, spoiling his cats, or discovering new places with his wife, Kyla.

 Leanne Hays

 Ashleigh Page
 Olena Kagui
 Brian Peters
 Rhett Intriago

 Rachel Needell

 Amy Spitzfaden Both