iPhone 12 & 13 Pro Camera: RAW Photo Shooting Guide
Learn the what, why, and how of ProRAW photography, including how to enable, take, and edit Apple's ProRAW photos.


Apple's ProRAW photos are uncompressed images that give more editing flexibility than standard image files. Learn how to take full advantage of this iPhone camera feature, including enabling ProRAW, when to use the feature, how to use ProRAW to take a photo, and how to edit ProRAW photos.
Related: The iPhone Camera App: The Ultimate Guide to Taking Photos & Videos
What are ProRAW Photos
One of the most prominent features that sets the iPhone 12 Pro, 12 Pro Max, 13 Pro and 13 Pro Max apart from the iPhone 11 Pro is ProRAW. What is ProRAW, anyway? ProRAW photos are uncompressed images that don't go through any automatic iPhone filters. This puts all the creative control in the hands of the photographer. However, taking RAW photos doesn't automatically make the photograph look better. It merely gives you more control over editing them. To learn more about iPhone photography, sign up for our free Tip of the Day newsletter.
When to Use ProRAW
Should I shoot in ProRAW? The ProRAW feature is primarily used when the photographer plans on spending time editing. Since the iPhone 12 and 13 Pro Cameras automatically enhance photos, a RAW photo may even look worse at first glance. You should only use ProRAW if you are capturing something special worth the extra space on your phone and the time it takes to edit.
You cannot use ProRAW simultaneously with Live Photos or Portrait mode. So unless you are skilled at editing photos in external editing apps, you may prefer to use Portrait mode and let your iPhone do its magic.
Sometimes you may notice that your regular iPhone photos are coming out overexposed or losing the intricacies you want to capture. In this case, it is a good idea to switch to ProRAW and see if that fixes the issue.
Pro tip: Get in the habit of deleting bad RAW photos immediately to avoid wasting space. A RAW image can be well over 25 MB in size.
How to Enable ProRAW on iPhone
Before you enable ProRAW images, keep in mind that they are significantly larger than regular iPhone 12 Pro and iPhone 13 Pro pictures. It can be a good idea to get some extra iCloud storage. A single ProRAW image can be up to 12 times larger than the average HEIF or JPEG.
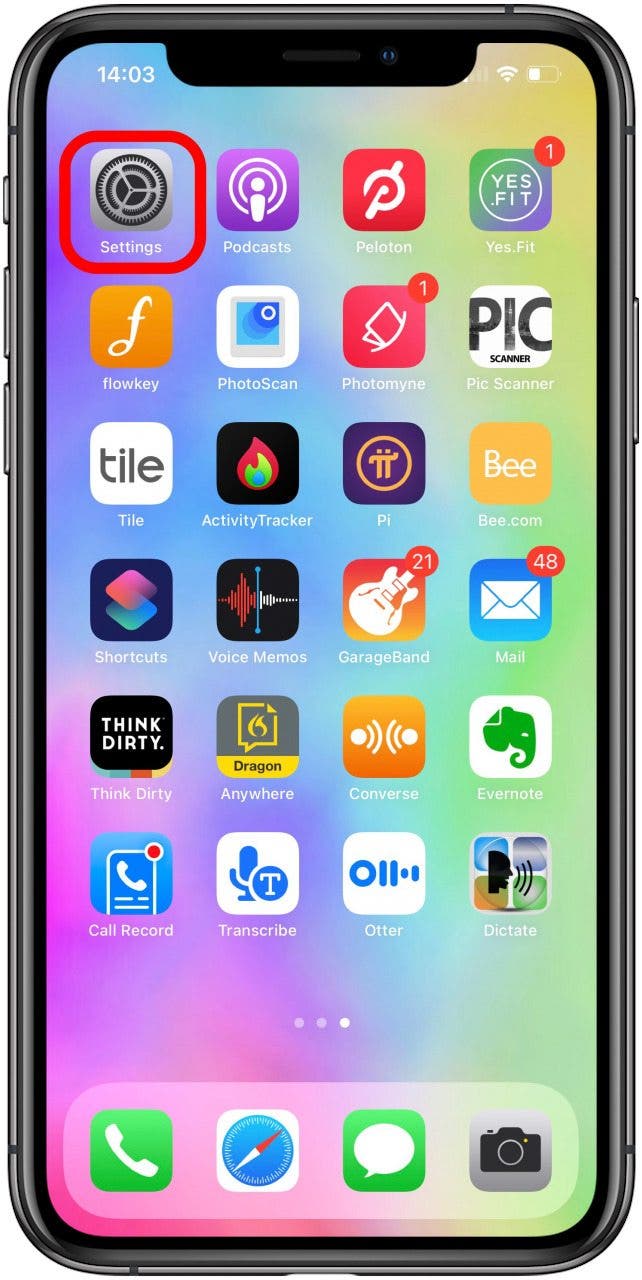
- Open the Settings app.
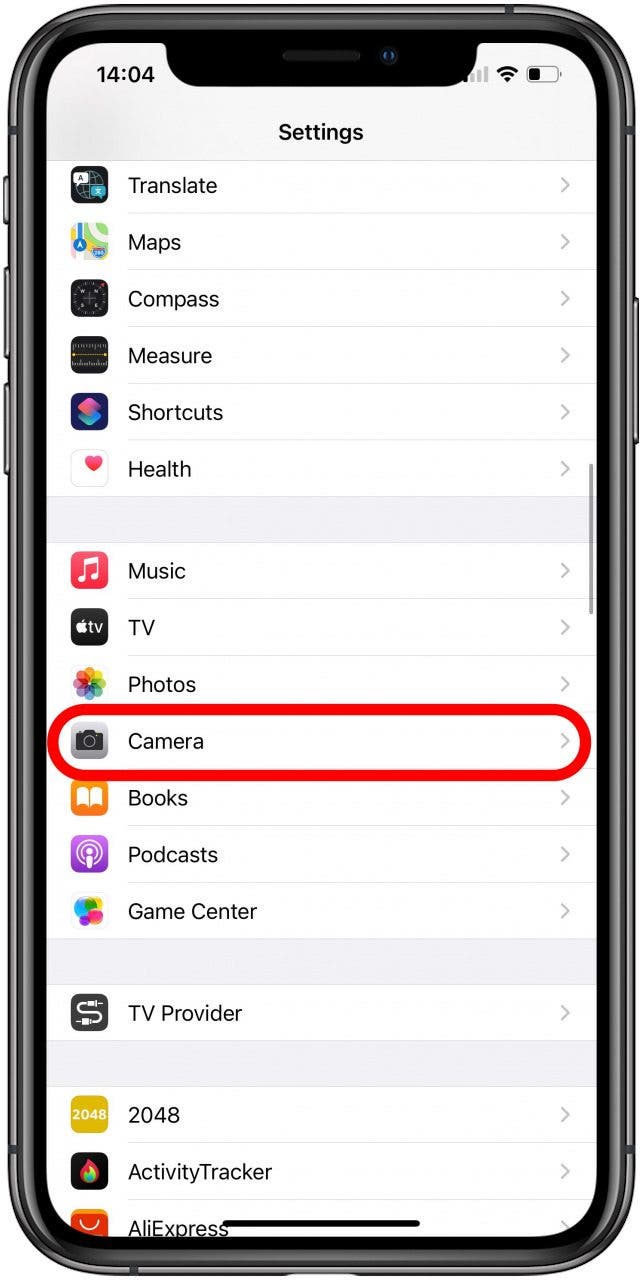
- Tap Camera.
- Tap Formats.
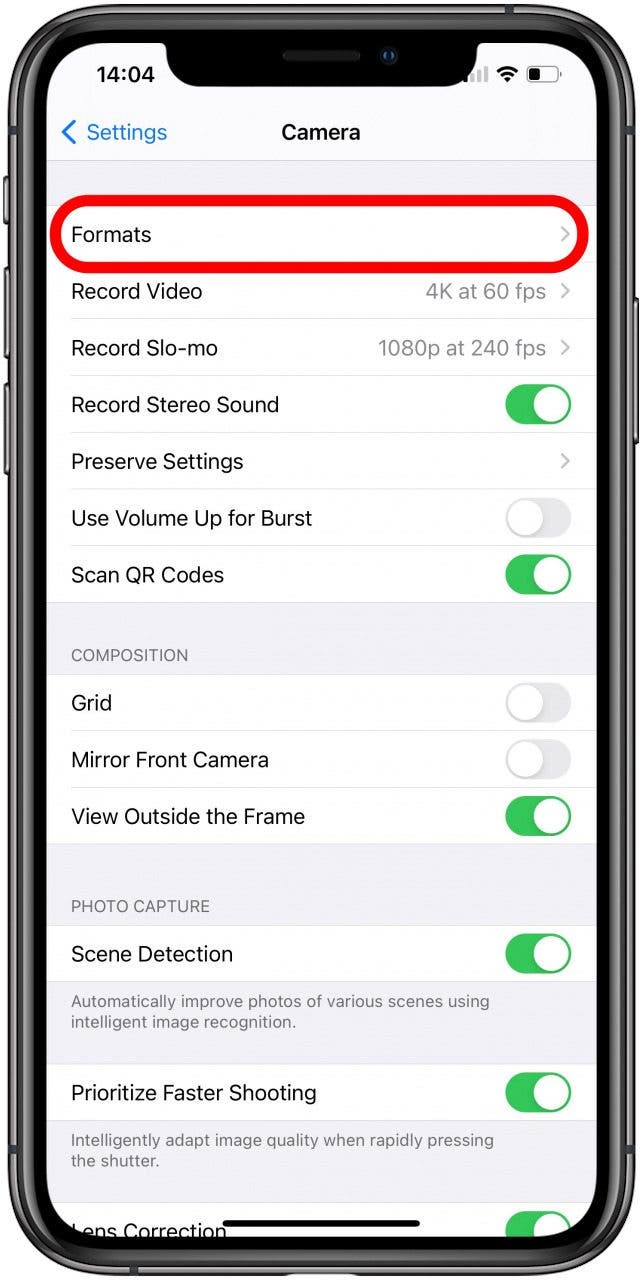
- Toggle on Apple ProRAW.
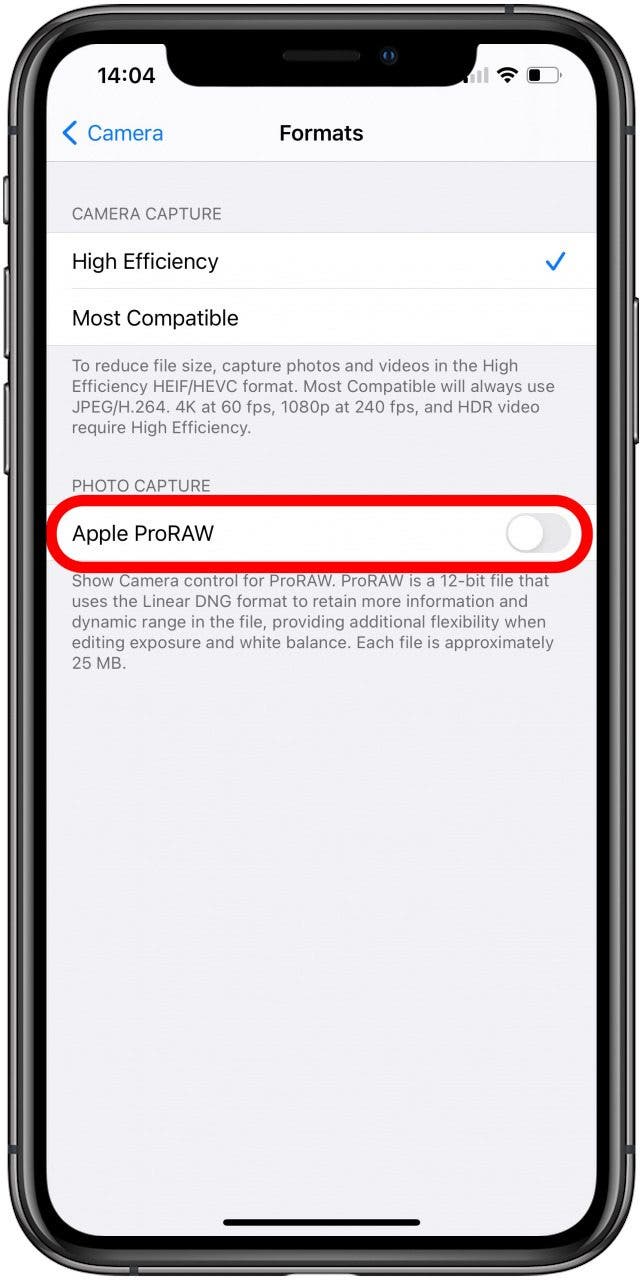
Even if you enable ProRAW, it will default to off after a few minutes of locking your phone.
How to Take a ProRAW Photo
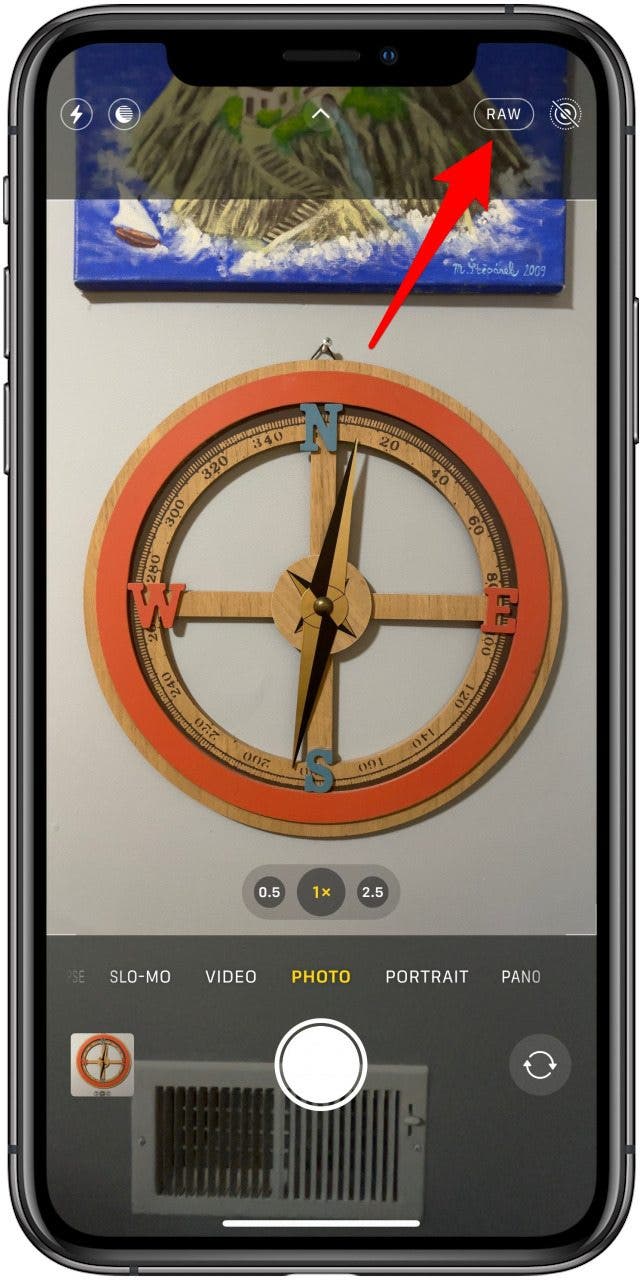
After ProRAW is enabled, you will see the RAW icon in your Camera app. You can tap it to enable and disable it as needed.
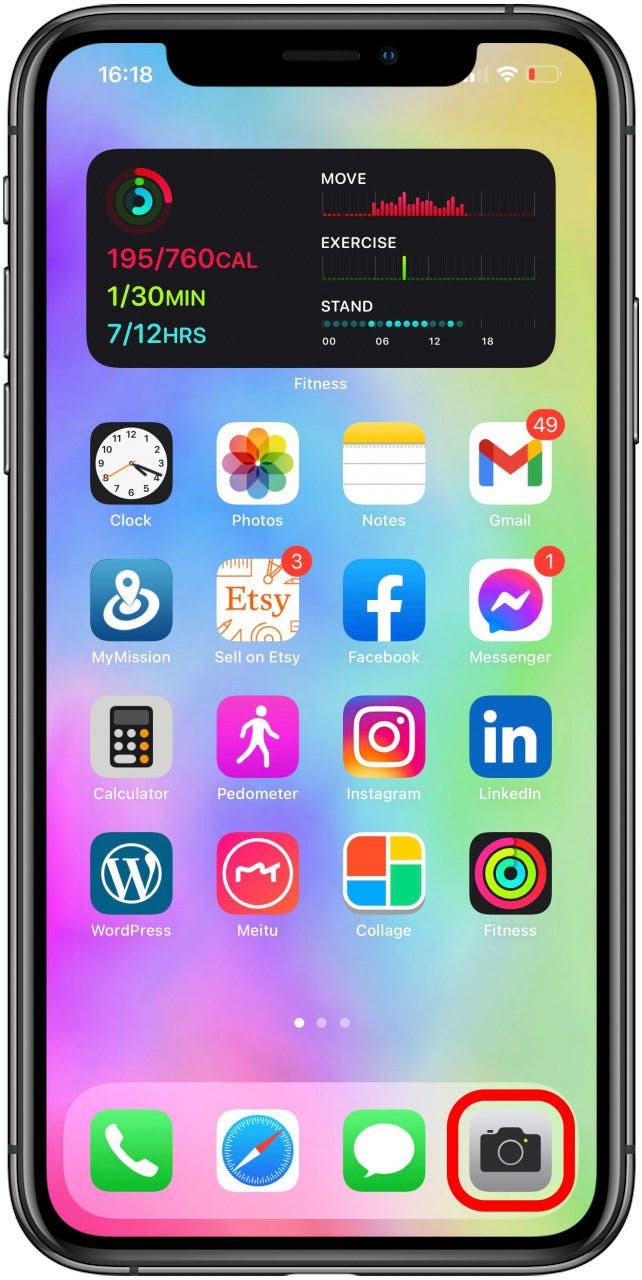
- Open Camera app.
- Make sure that RAW is enabled and doesn’t have a slash through it.
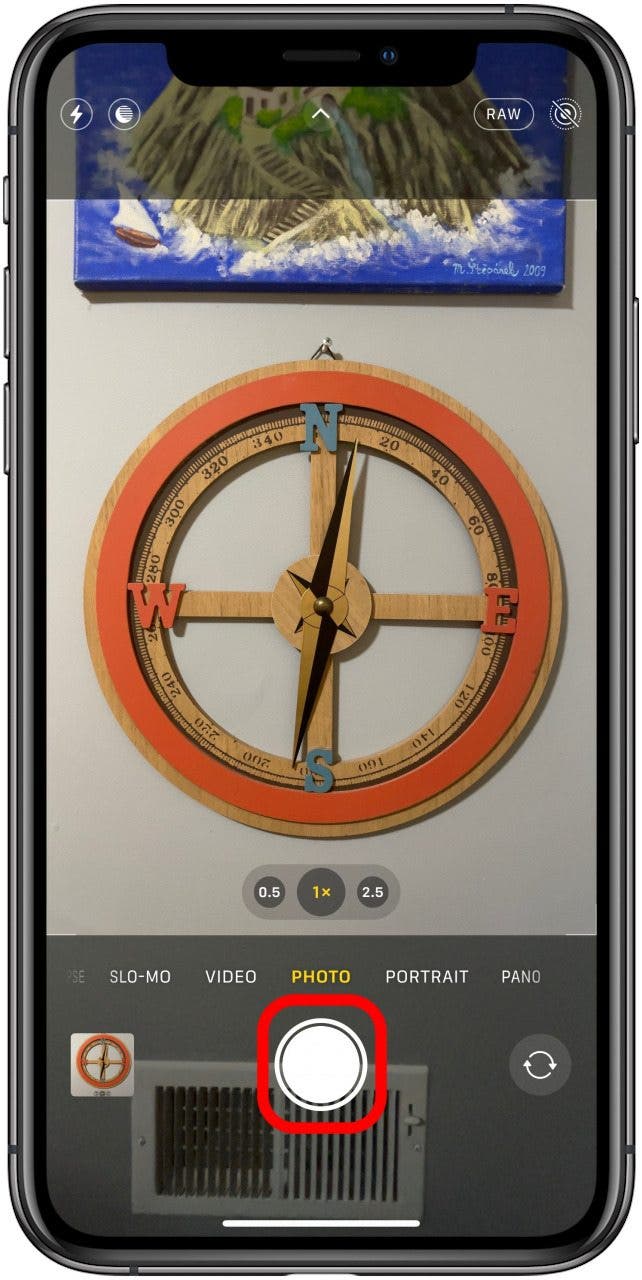
- Take photos as usual by tapping the Shutter button.
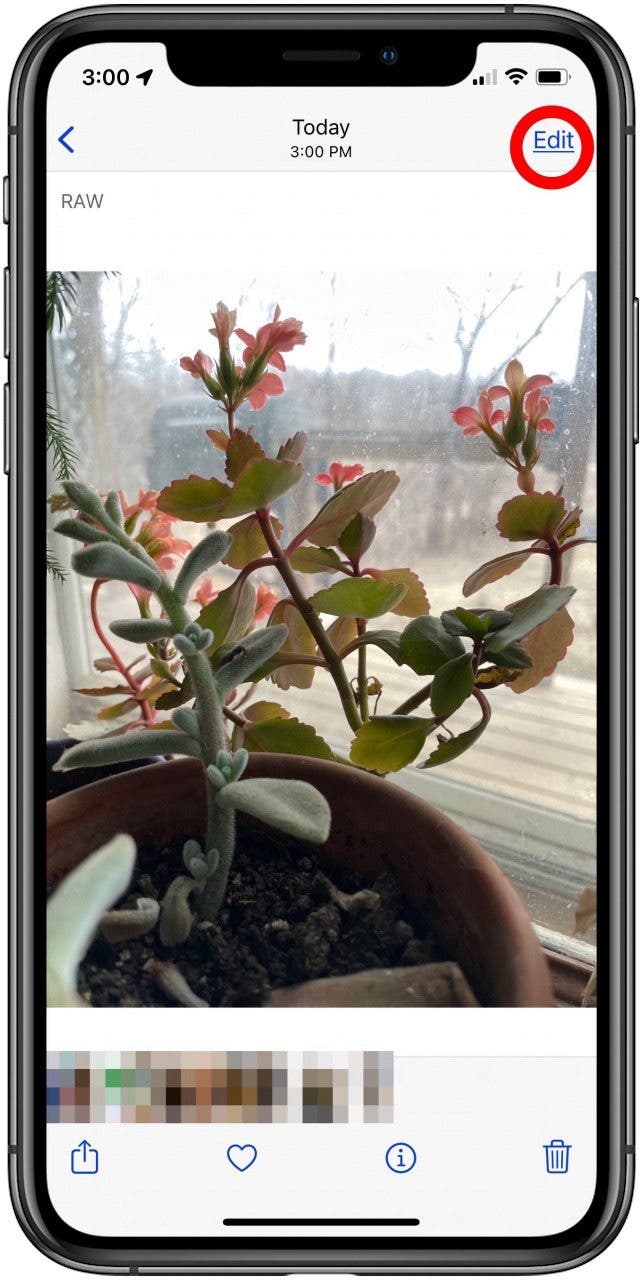
The ProRAW shots you take will have the RAW icon located at the top left of your screen in the Photos app.
How to Edit ProRAW Photos
You can edit ProRAW photos the same way you edit regular photos on your iPhone. However, the raw photo format allows for greater creative control, including more color, range, and more. The editing settings for ProRAW photos will be the same as usual; however, there will be more data to work with.
- Open Photos app.
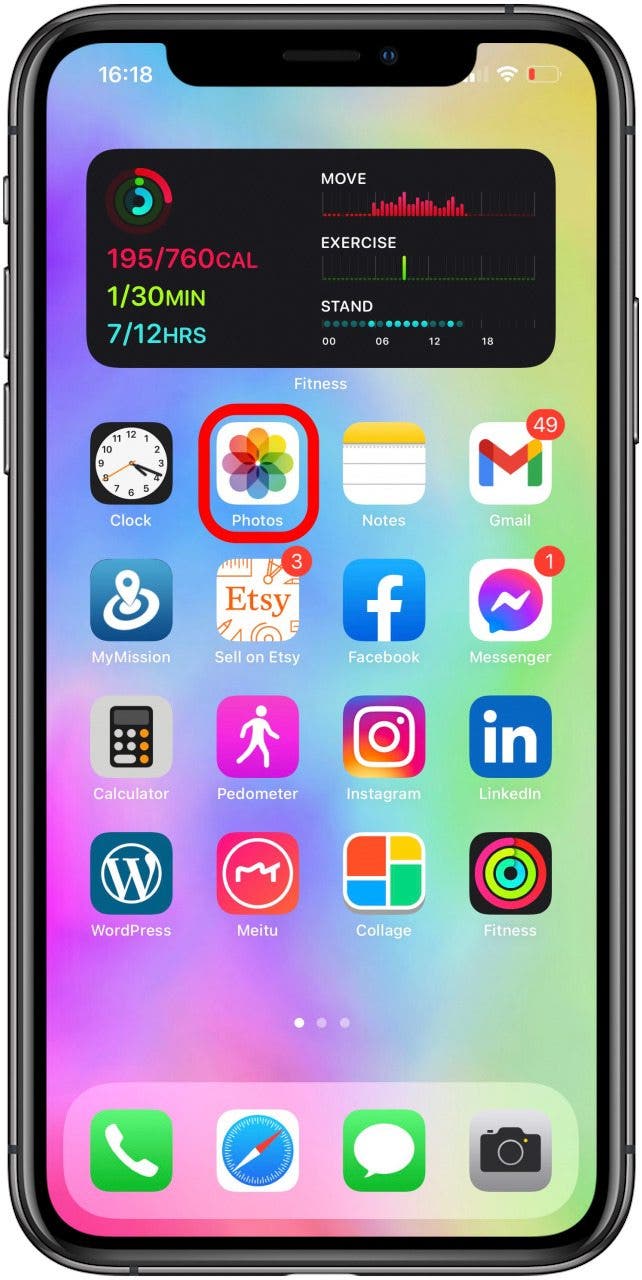
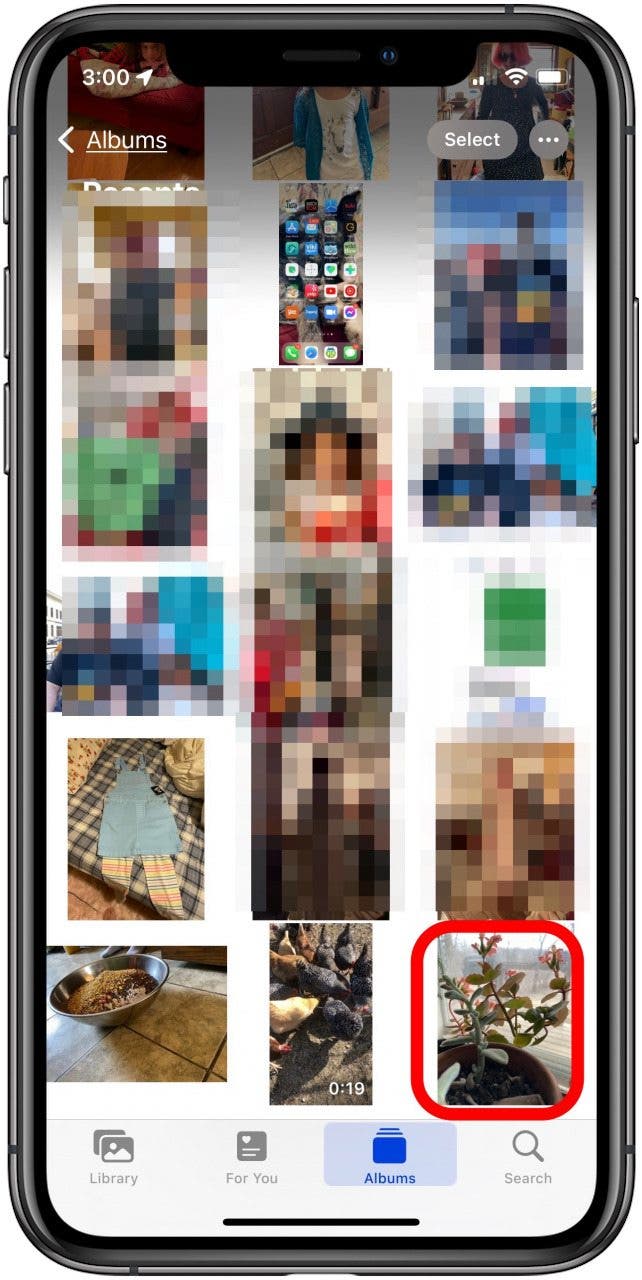
- Tap the ProRAW photo you want to edit.
- You'll see RAW at the top-left of the screen; tap Edit.
Most professional photographers recommend using more professional editing apps. You can download Lightroom for free and use it to edit your RAW images. Join iPhone Life's Insider program for exclusive access to our iPhone Pro Camera Guide.

ProRAW photos make the iPhone 12 and 13 Pro Cameras extra impressive. iPhone photography has gained popularity over the years, and the RAW function takes it to a professional level. The ability to shoot RAW photos combined with the other exceptional iPhone 12 and 13 Pro camera parameters is an exciting innovation by Apple. Taking many RAW photos can put a strain on your iPhone, learn how to solve common issues like blurry photos or shaking camera next!

Olena Kagui
Olena Kagui is a Feature Writer at iPhone Life. In the last 10 years, she has been published in dozens of publications internationally and won an excellence award. Since joining iPhone Life in 2020, she has written how-to articles as well as complex guides about Apple products, software, and apps. Olena grew up using Macs and exploring all the latest tech. Her Maui home is the epitome of an Apple ecosystem, full of compatible smart gear to boot. Olena’s favorite device is the Apple Watch Ultra because it can survive all her adventures and travels, and even her furbabies.


 Rhett Intriago
 Olena Kagui

 Amy Spitzfaden Both
 Leanne Hays
 Brian Peters
