How to Stop Emails from Going to Archive on iPhone
Wondering how to swipe left and delete email, or how to delete old emails in Gmail? Here's how!


Have you been swiping emails away and wondering, "Why are my emails going to archive on my iPhone?" Here's how to delete emails on your iPhone, by changing the default swipe action from archive to delete.
Related: How to Mass Delete Emails on an iPhone
Why You'll Love This Tip
- Delete emails with one swipe.
- Avoid wasting storage space by archiving spam.
How to Turn Off Archive in Apple Mail
Below I'll show you how to change these settings for two different email apps. The Apple Mail app will need to have its settings changed from your iPhone's Settings app, while disabling Gmail auto-archive can be done from within the Gmail app. To find out more about how to customize the Mail app, sign up for our Tip of the Day newsletter.
- Open the Settings app.
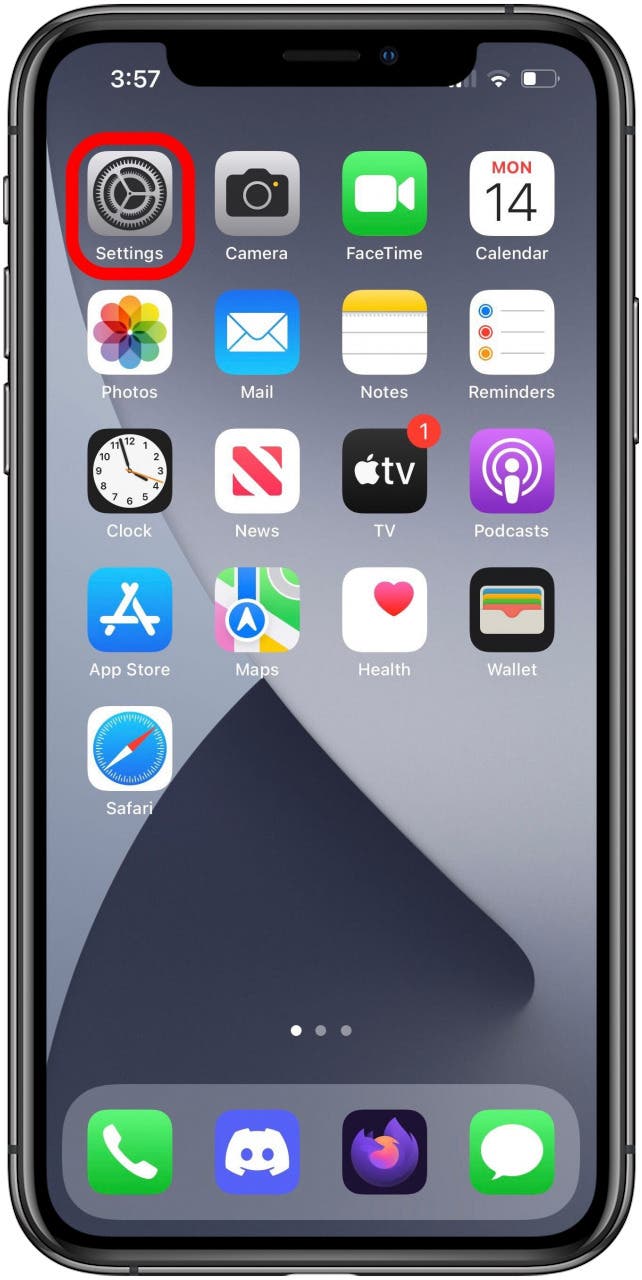
- Tap the Mail option.
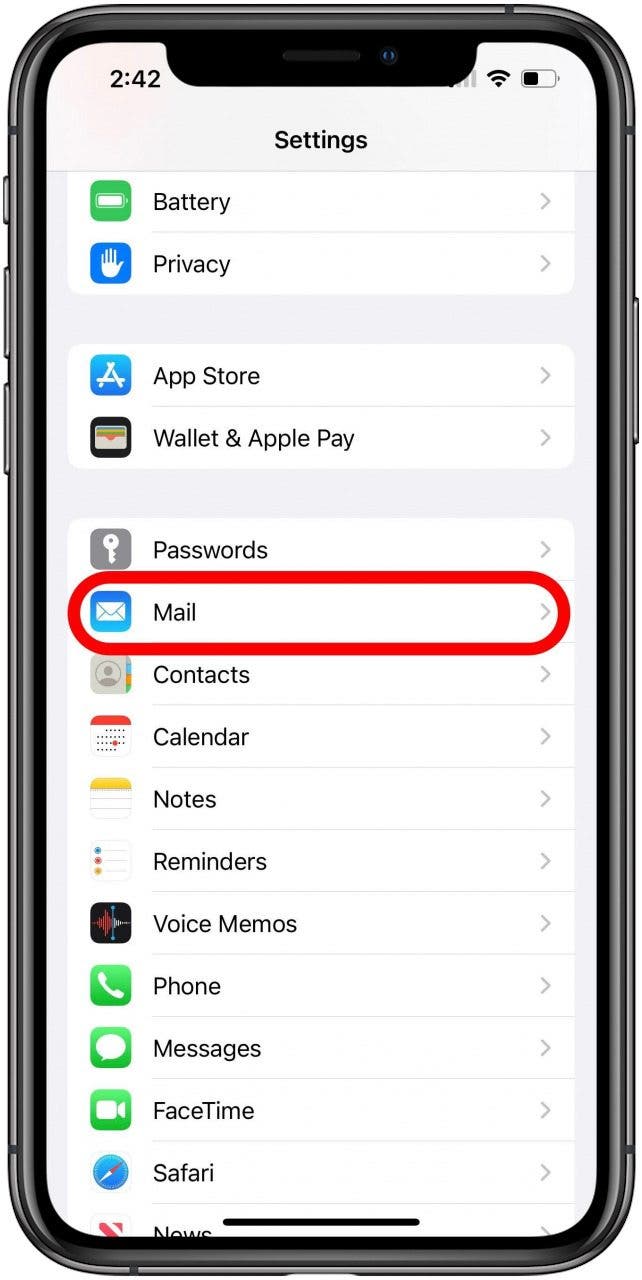
- Tap the Accounts option.
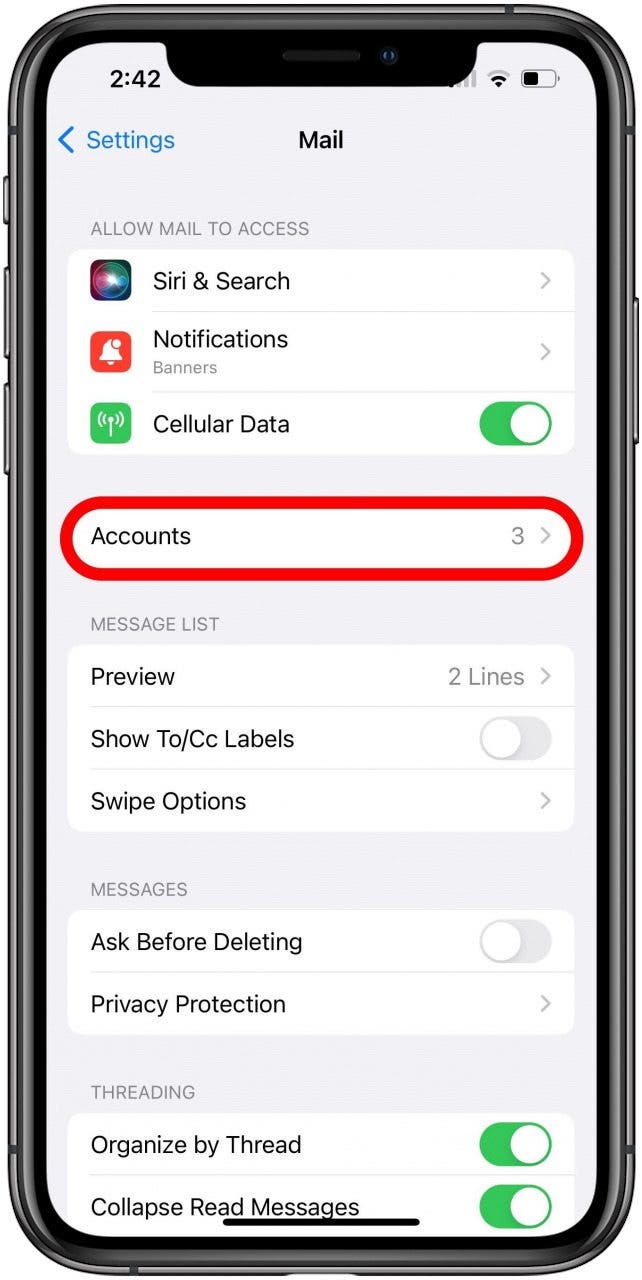
- Tap the account you wish to adjust.
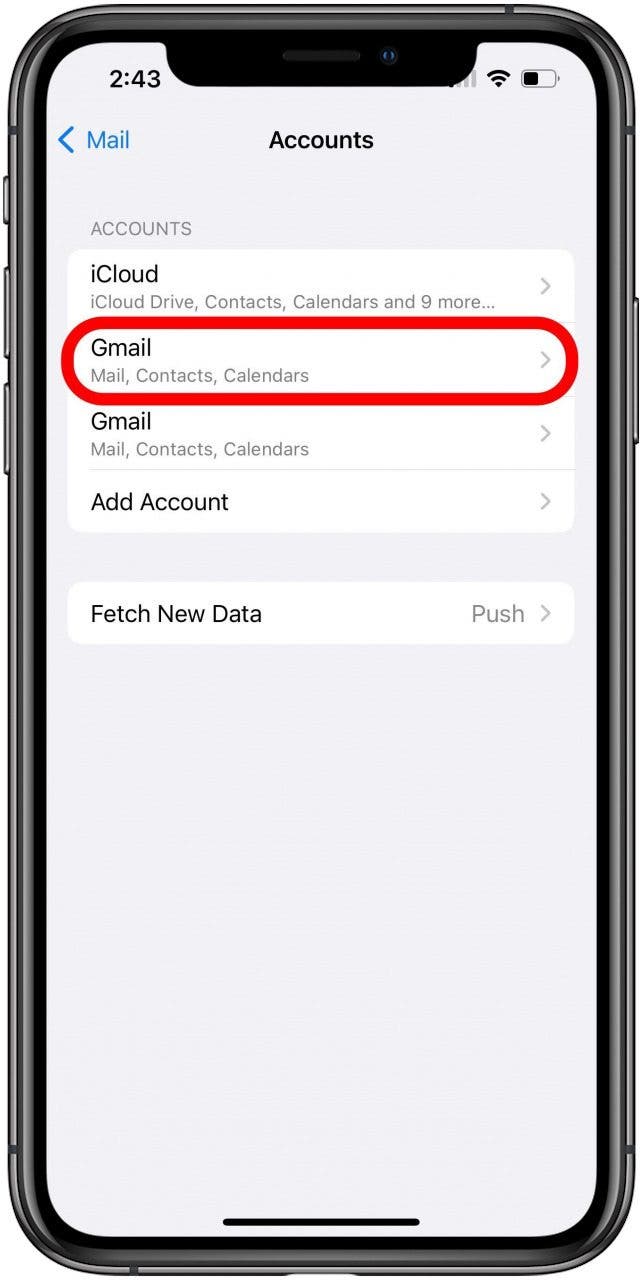
- On this screen, tap Account again.
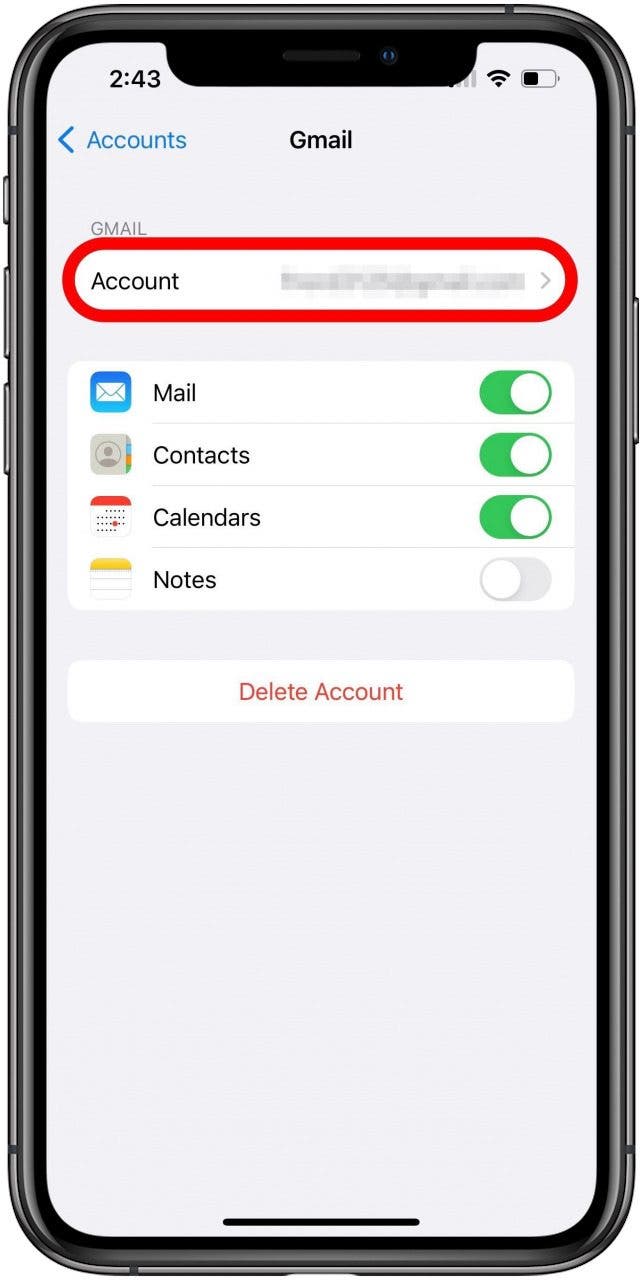
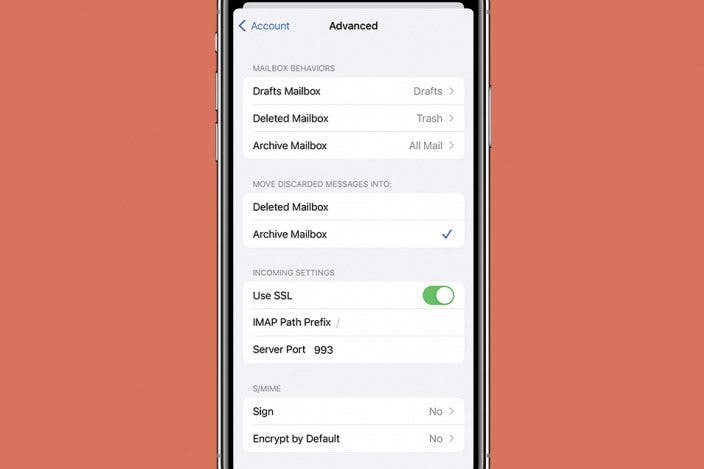
- Tap Advanced.
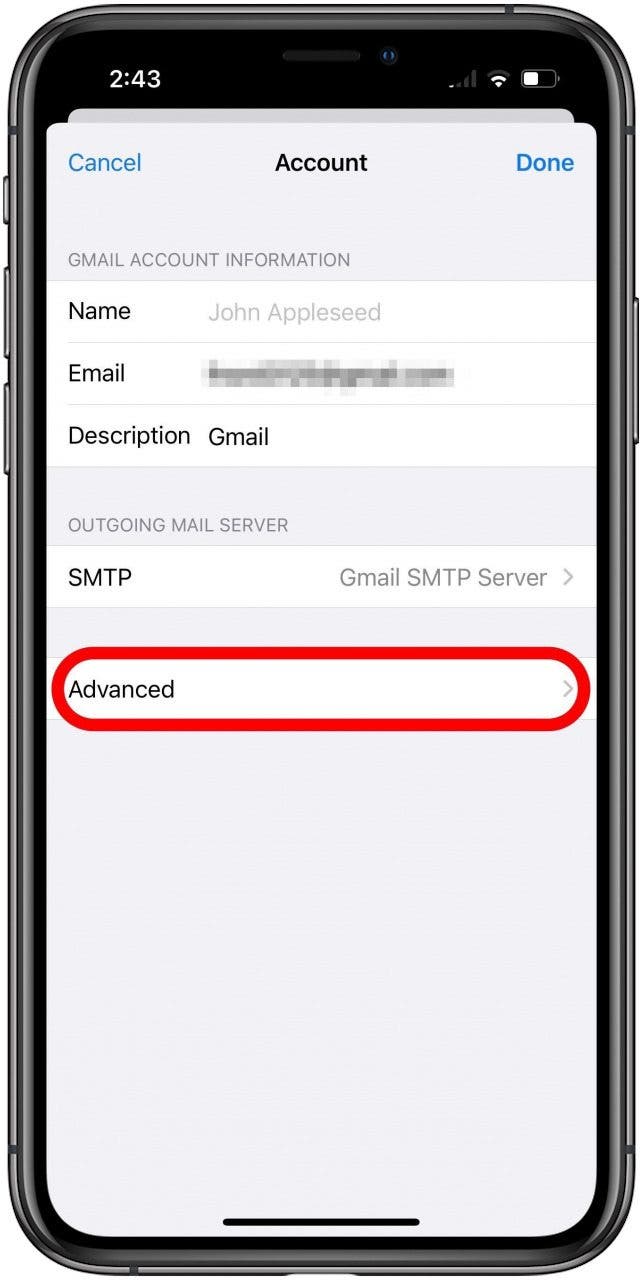
- Tap Deleted Mailbox to switch to deleting by default.

Repeat these steps for every email account you want to change. Now when you swipe all the way left on an email in the Mail app, the email will be moved to Trash.
How to Turn Off Archive in Gmail on iPhone
Here's how to send emails straight to Trash in the Gmail app on your iPhone:
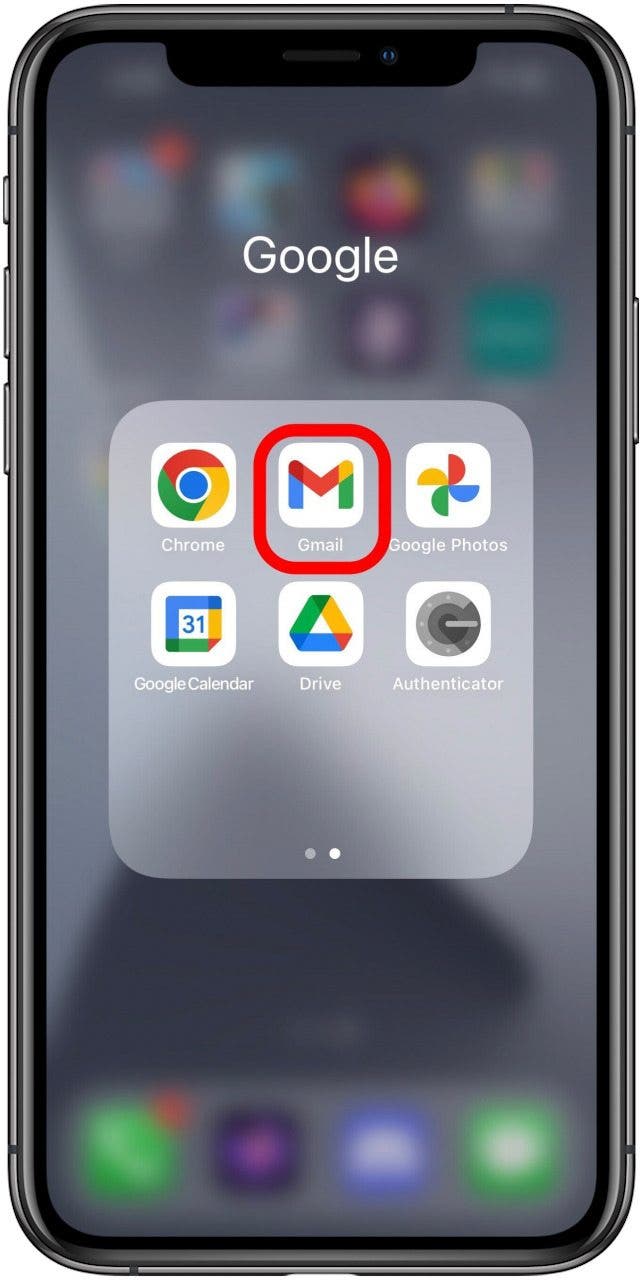
- Open the Gmail app.
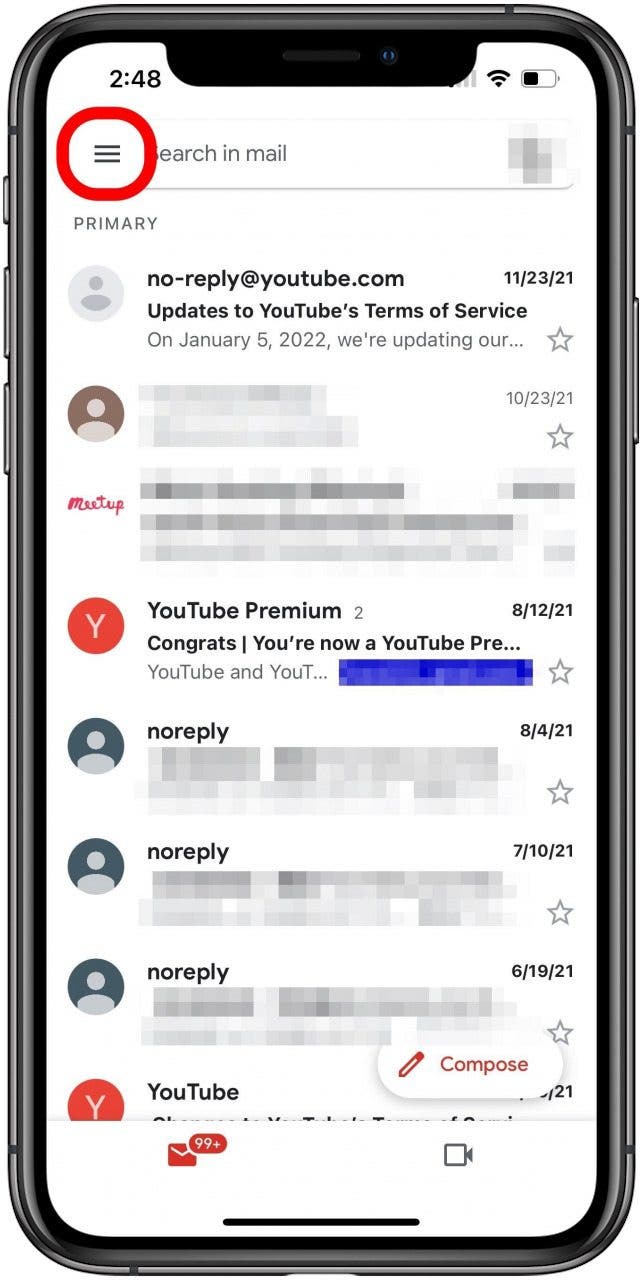
- Tap the three horizontal lines in the upper left corner.
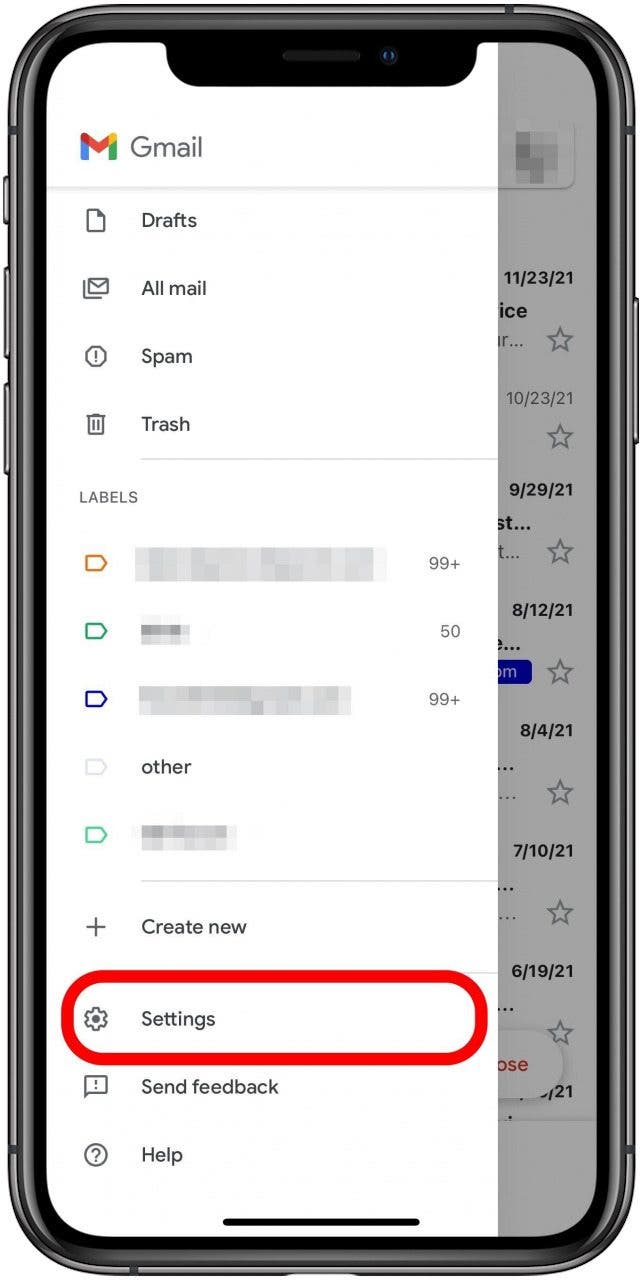
- Tap the Settings option, with the gear icon.
- Tap Mail swipe actions.
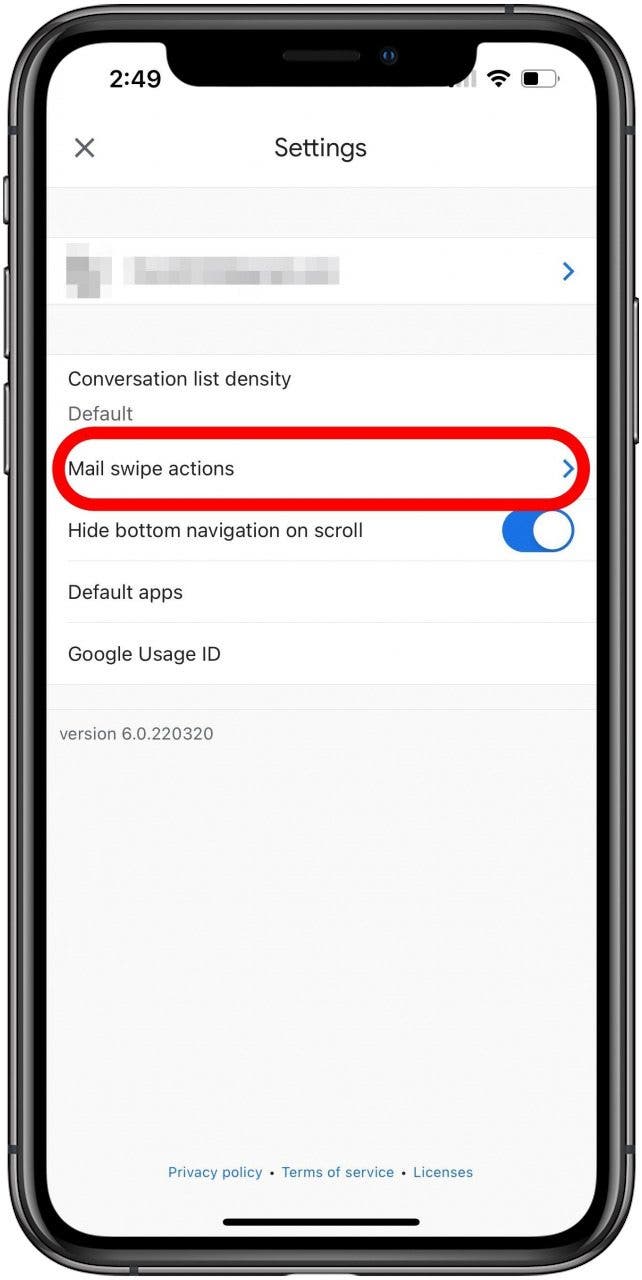
- Here you can tap either the Right swipe or Left swipe option.

- On the next screen, tap Trash if you want mail to be deleted by default.
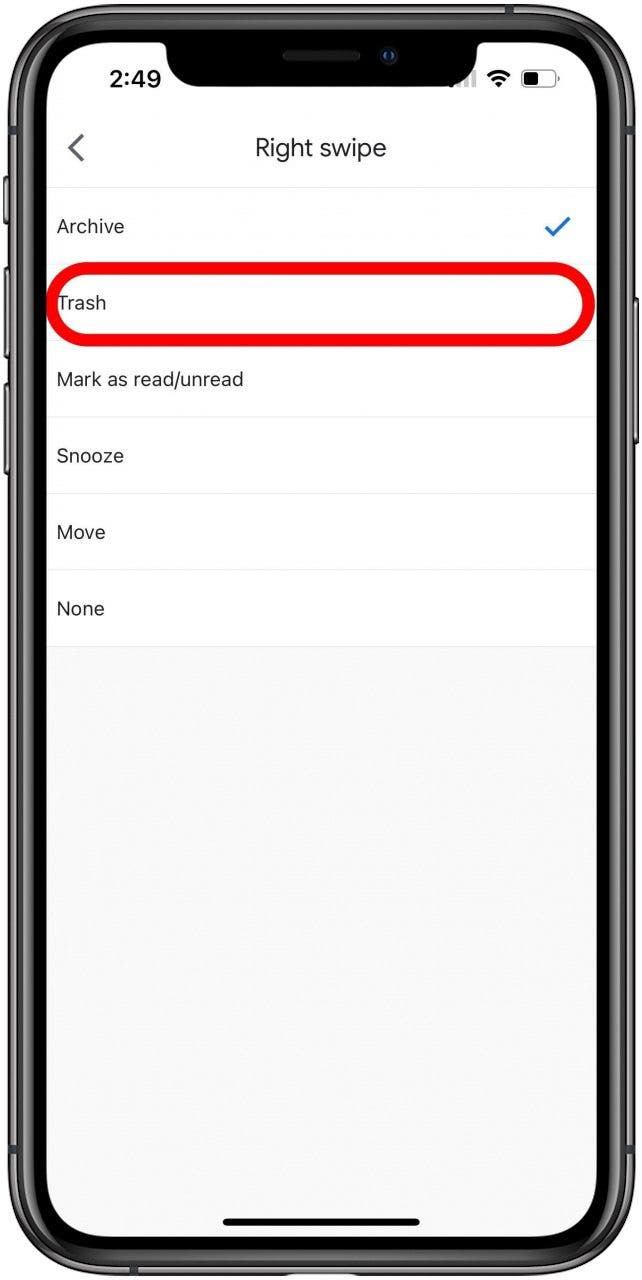
This will change the swipe action for all email accounts in the Gmail app. Now when you swipe in the chosen direction on an email from any account in the Gmail app, it will be deleted to Trash.
With your emails sent to Trash instead of archive by default, you'll save on storage as emails in Trash are typically erased after 30 days. If you use another third-party email app like Yahoo! and your emails are archived by default, try opening its settings within the app similar to the instructions above for Gmail.
Every day, we send useful tips with screenshots and step-by-step instructions to over 600,000 subscribers for free. You'll be surprised what your Apple devices can really do.

Hallei Halter
Hallei is a 2018 graduate of Maharishi University of Management with a BFA in Creative & Professional Writing. She's currently working on a novel about people using witchcraft to clean their houses.

 Leanne Hays
 Rhett Intriago
 Olena Kagui


 August Garry
 Rachel Needell

 Amy Spitzfaden Both