Edit Pictures on iPhone: How to Compare Edited Photos to Originals
Perform a photo compare to quickly check your image edits against the original.


Sometimes in the middle of editing a photo, you start to forget how your original photo looked and wonder if the changes you're making are an improvement! Luckily, you can compare before and after images while you're in the middle of editing a photo. Let's get started learning how to compare photos on iPhone.
Related: How to Create a Photo Album on iPhone
How to Compare Photos on iPhone after Making Edits
While this article only covers how to compare your edited photo to the original, you can check out this tutorial for some fun photo editing tips. Once you find something you like, you might want to learn how to add multiple photos to your Instagram story. You can also check out our free Tip of the Day newsletter to learn more about photo editing on the iPhone. To edit a photo filter and compare it to the original picture on your iPhone Photos app:
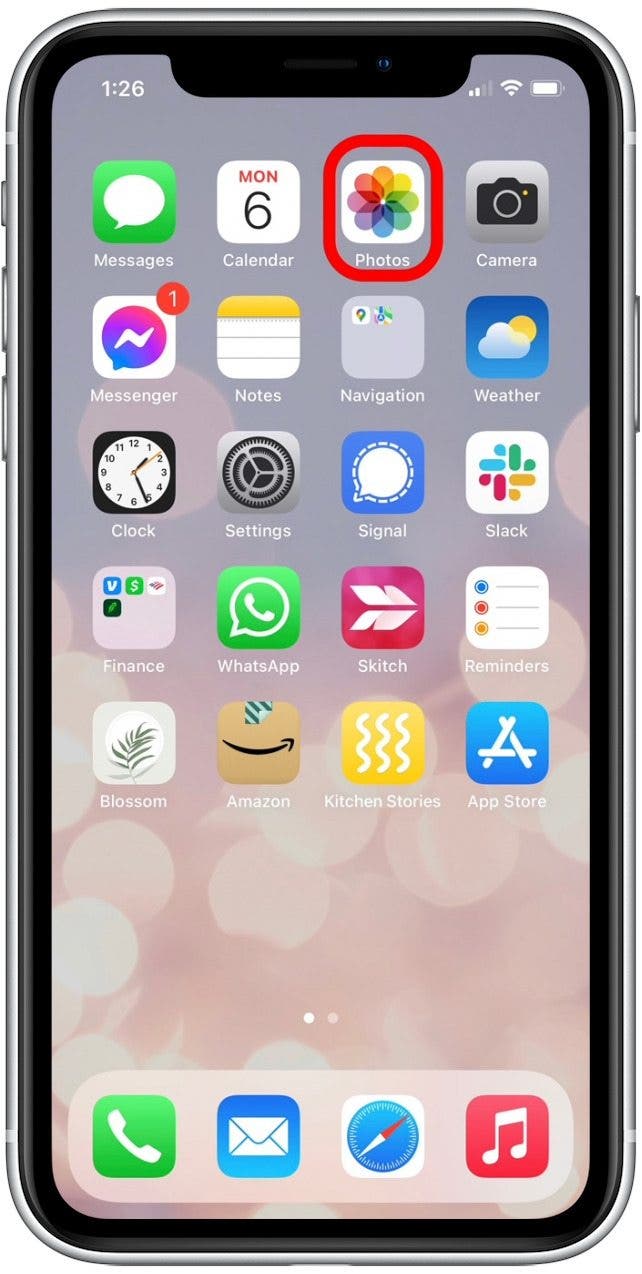
- Open the Photos app.
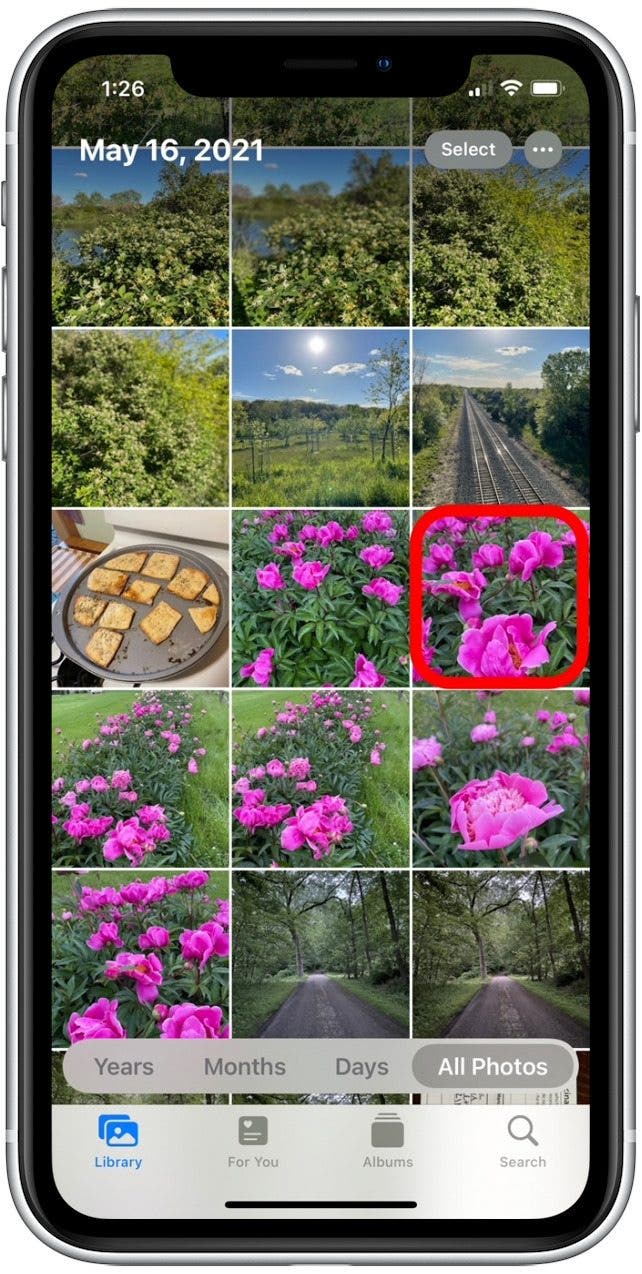
- Tap to select a picture you'd like to edit.
- Tap on Edit.
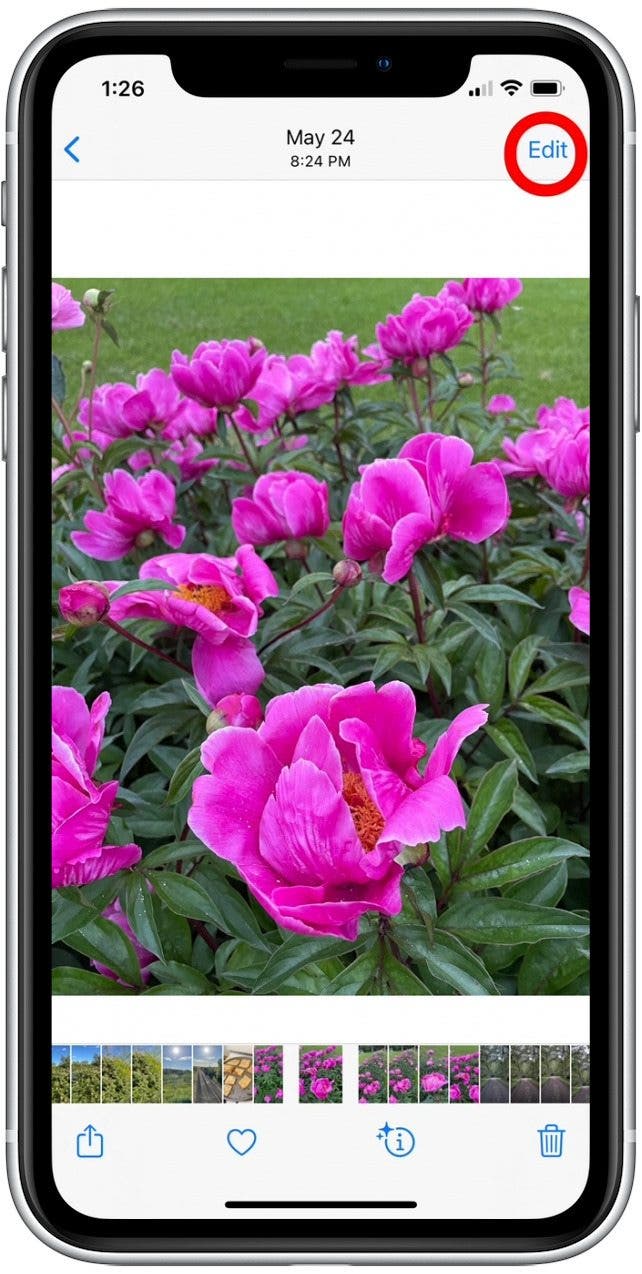
- Begin to make the changes you'd like to your picture, such as applying a filter.
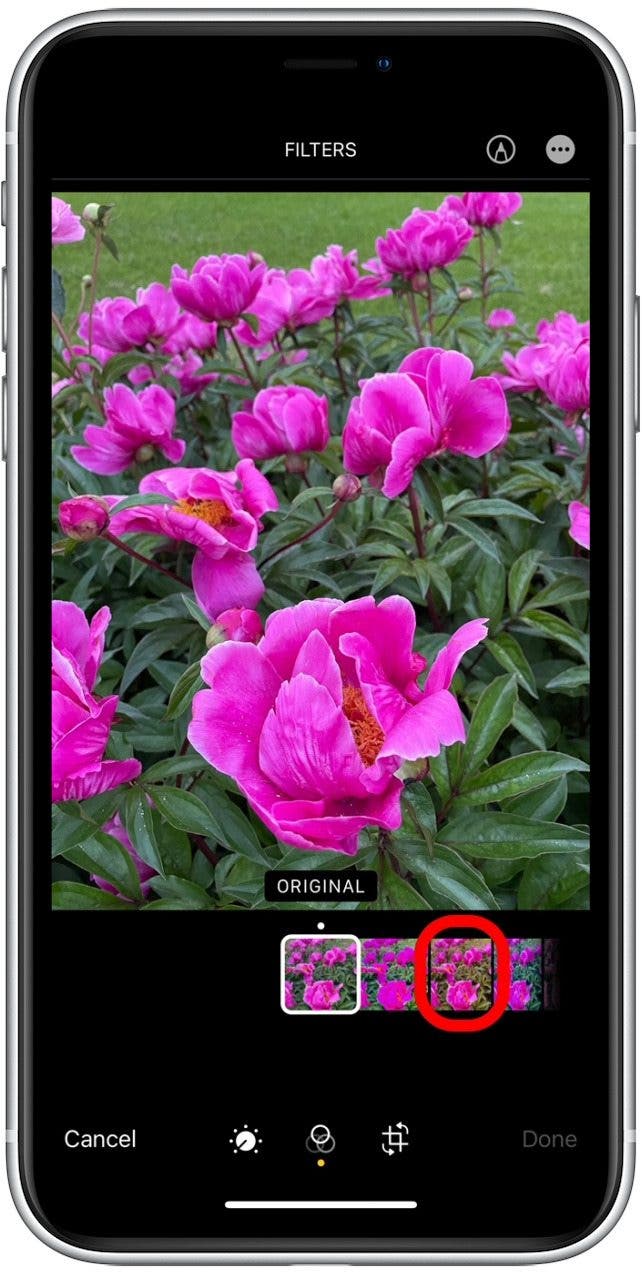
-
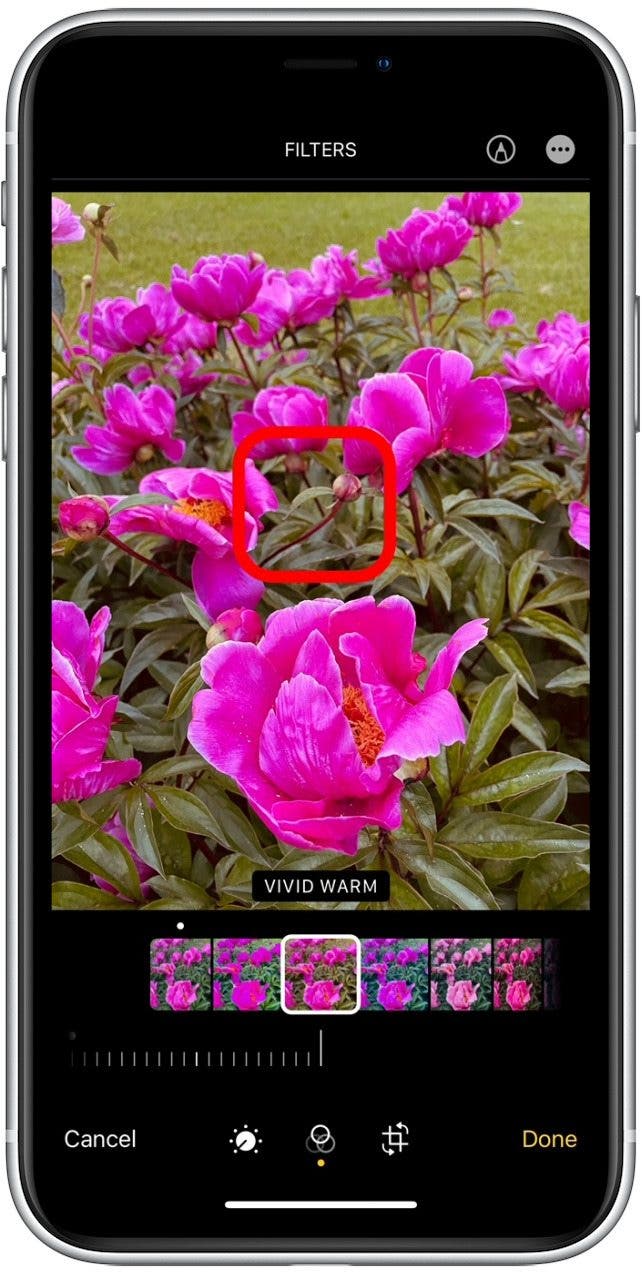
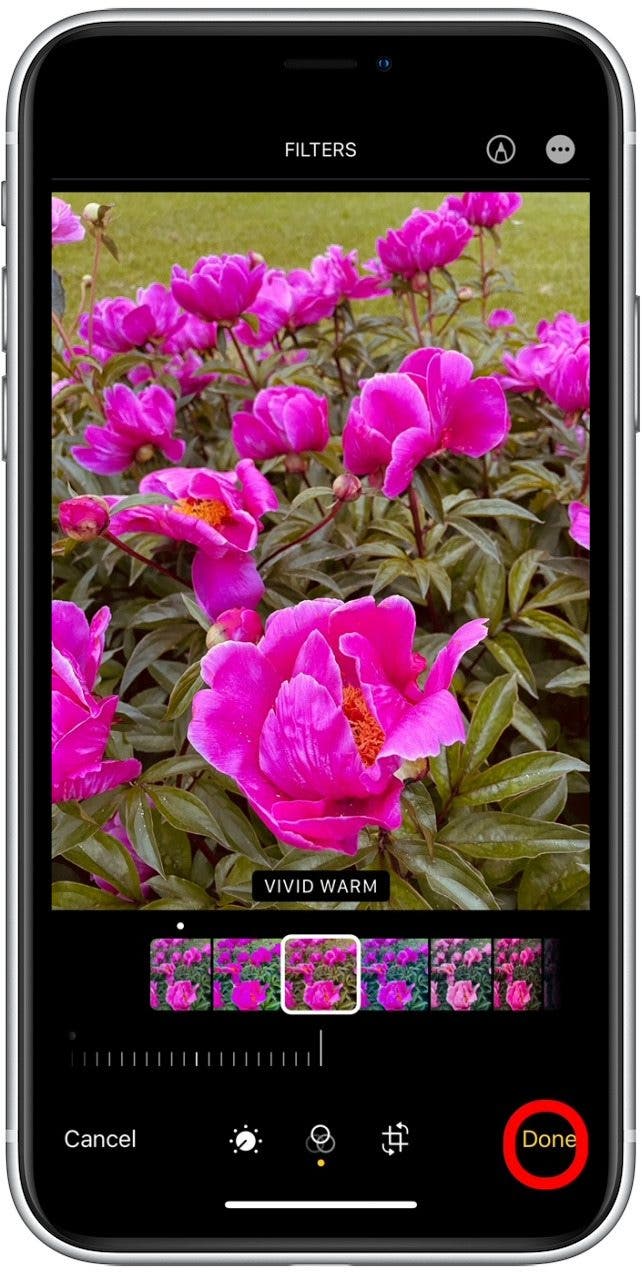
Press and hold the edited image for a moment, then release.
-
The photo will revert to the original for a moment, then change back to the edited version.
-
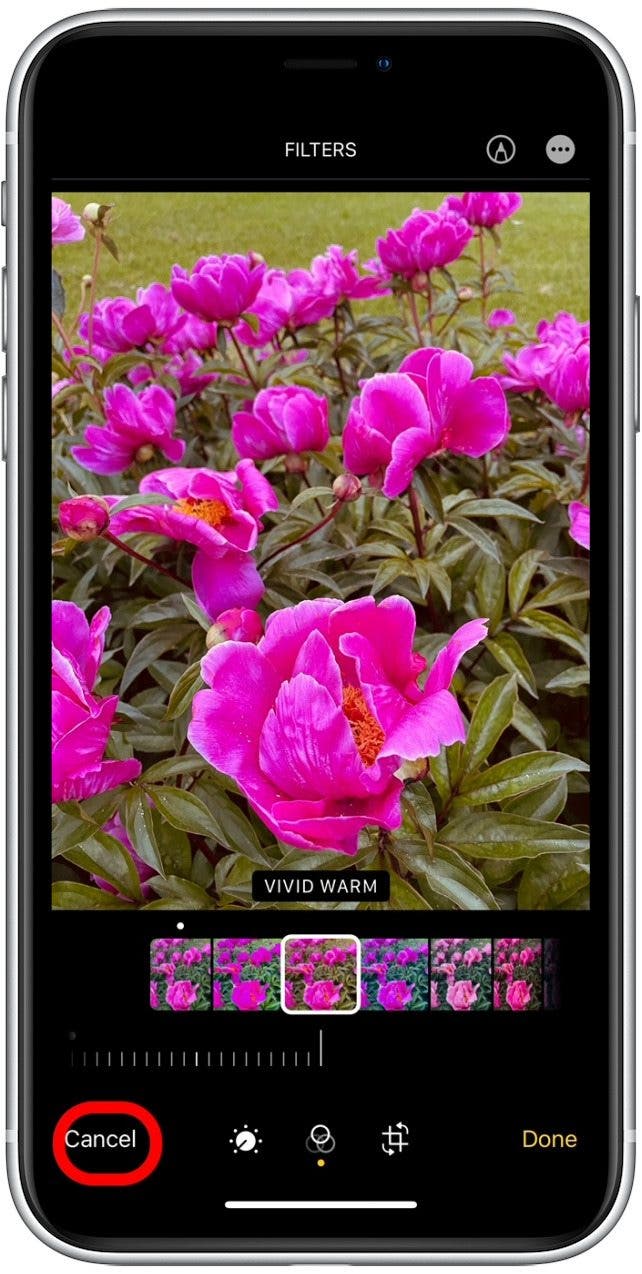
If you prefer the original version, tap Cancel to discard your edits.
-
If you prefer the edited version, tap Done to save your photo edits.
Worried about making image edits and then changing your mind? Even after you've saved the changes, the Photos app makes it easy to revert the photo to its original.

Abbey Dufoe
Abbey Dufoe is a freelance writer and a web producer at a nonprofit based in Princeton, NJ. She's always itching for the newest iOS gadget (current favorite - the Apple Watch). She tweets and blogs about the earth and the Internet on Twitter at @abbeydufoe and at abbeydufoe.com.
 Olena Kagui
 Rhett Intriago


 Rachel Needell


 Amy Spitzfaden Both