Let Your Family Know When You Get Home Safely


One of the coolest features in iOS is called Check In. This iMessage feature allows friends to see your location temporarily and automatically notifies them that you have made it to a specific location safely. Read on to find out how to use Check In on iPhone.
Why You'll Love This Tip:
- Automatically let your friends or family know when you get home safely.
- Easily alert loved ones if something delays your return home.
How to Use Check In on iPhone
System Requirements
This tip was performed on an iPhone 15 Pro running iOS 18.2. Find out how to update to the latest iOS.
What is Check In on iPhone? Within your iMessage apps is a safety feature called Check In. This handy tool allows you to automatically notify friends or family when you reach your destination safely. I'm particularly excited about this feature since I can now automatically let my friends know when I get home safely after leaving their place.
Now, here's how to get started with the new Check In feature in iMessage. Here's how to use the iPhone Check In feature:
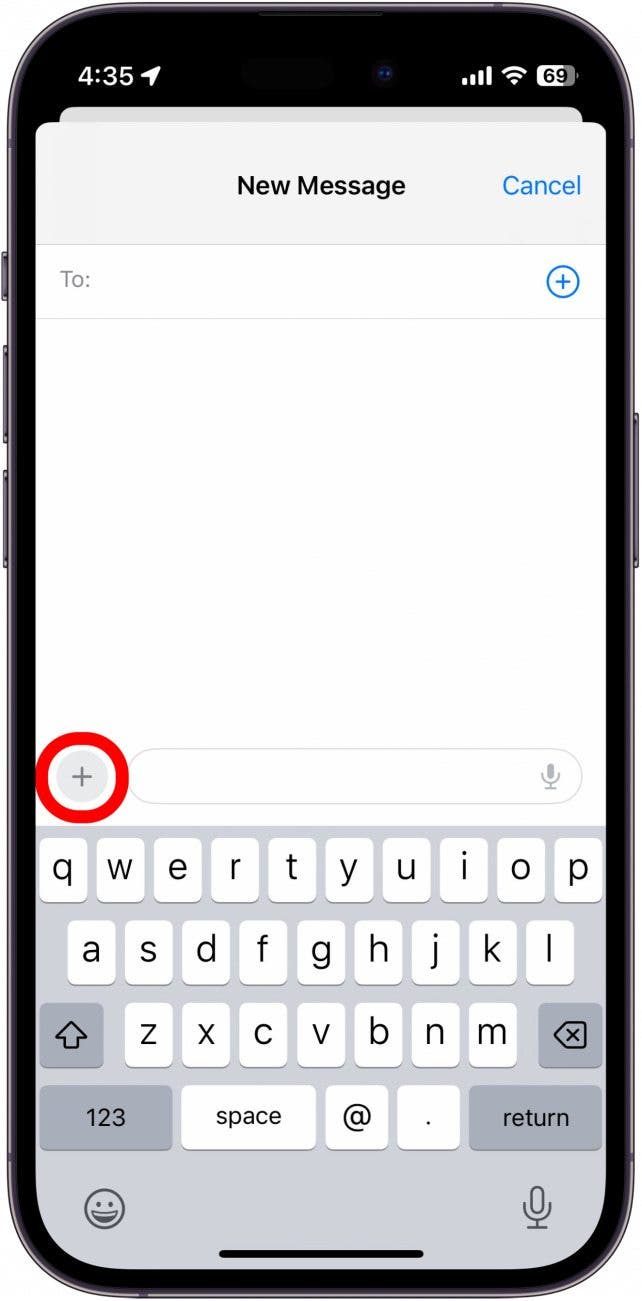
- To start, tap the plus icon in any text conversation with another iPhone.
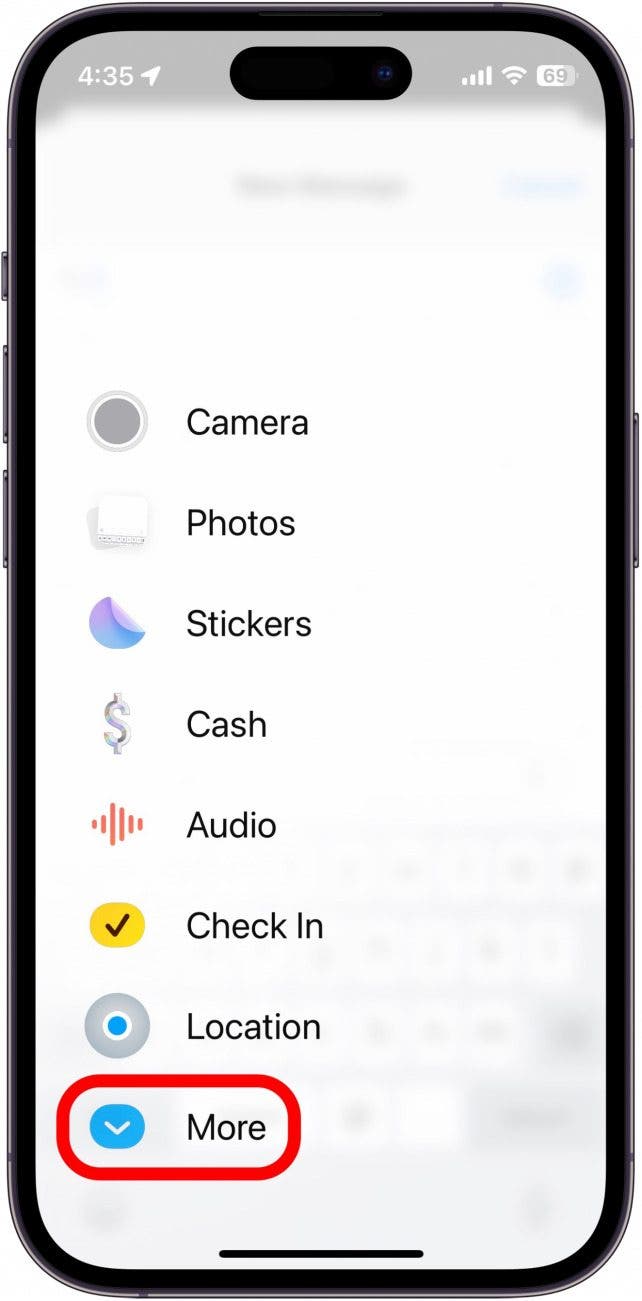
- If you don't see Check In in the list of apps, tap More at the bottom.
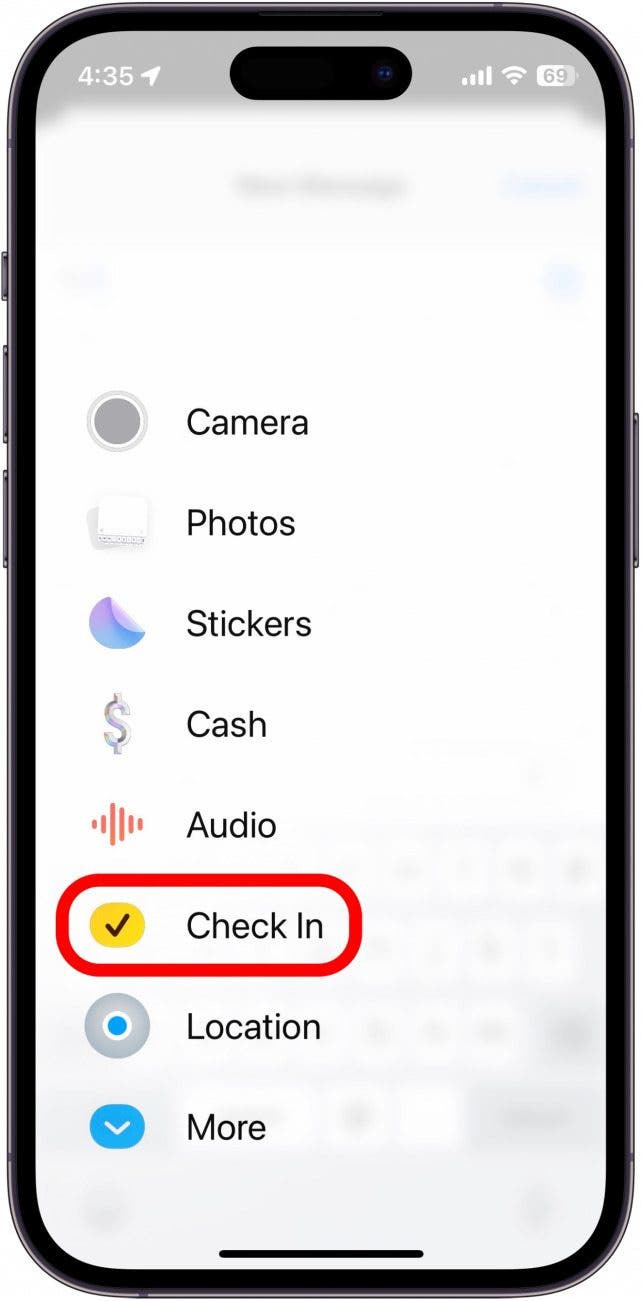
- Tap Check In.
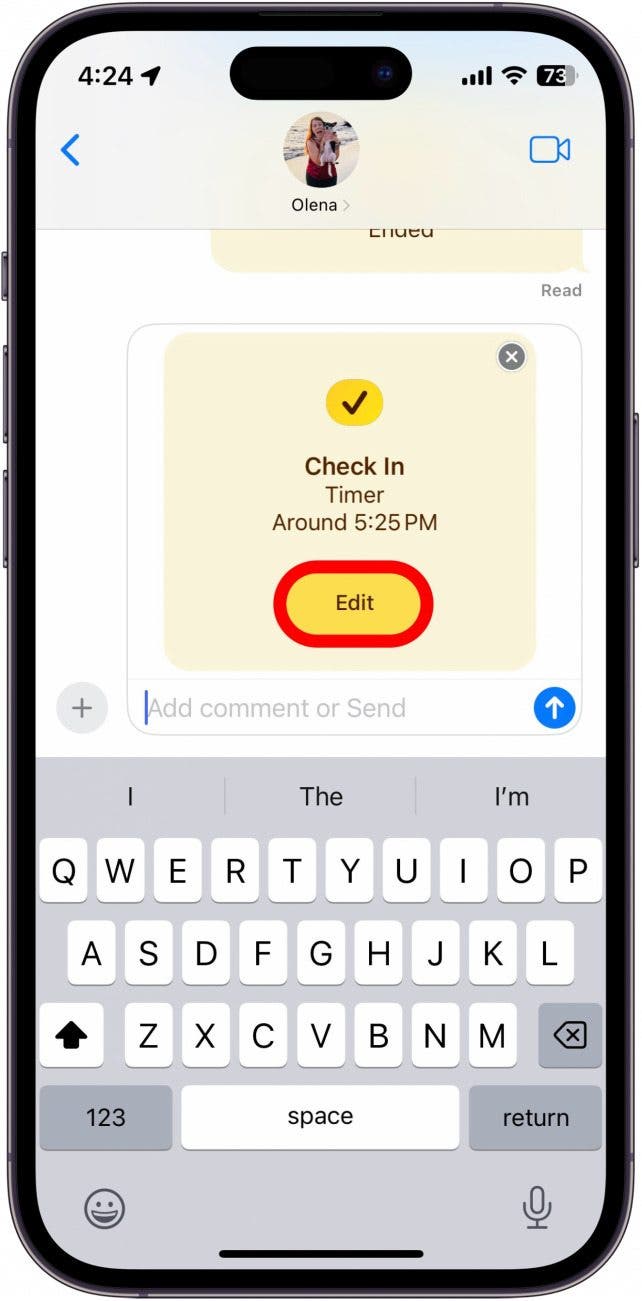
- Tap Edit.
- You'll have three options: Destination, Timer, and Workout
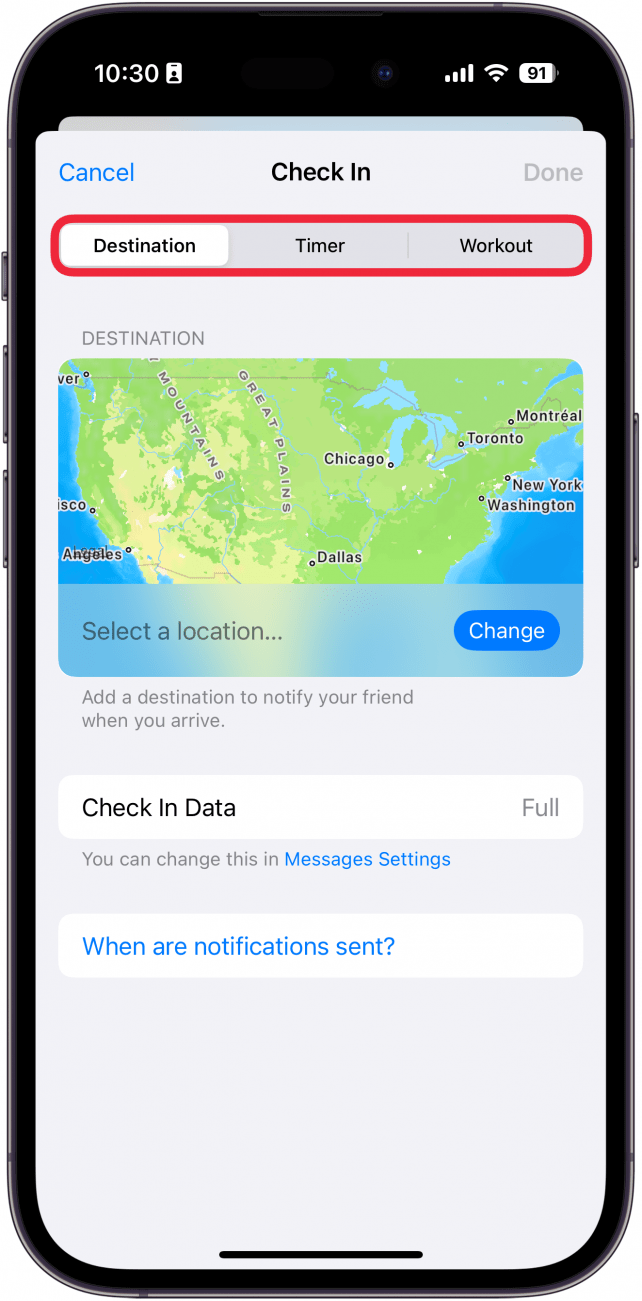
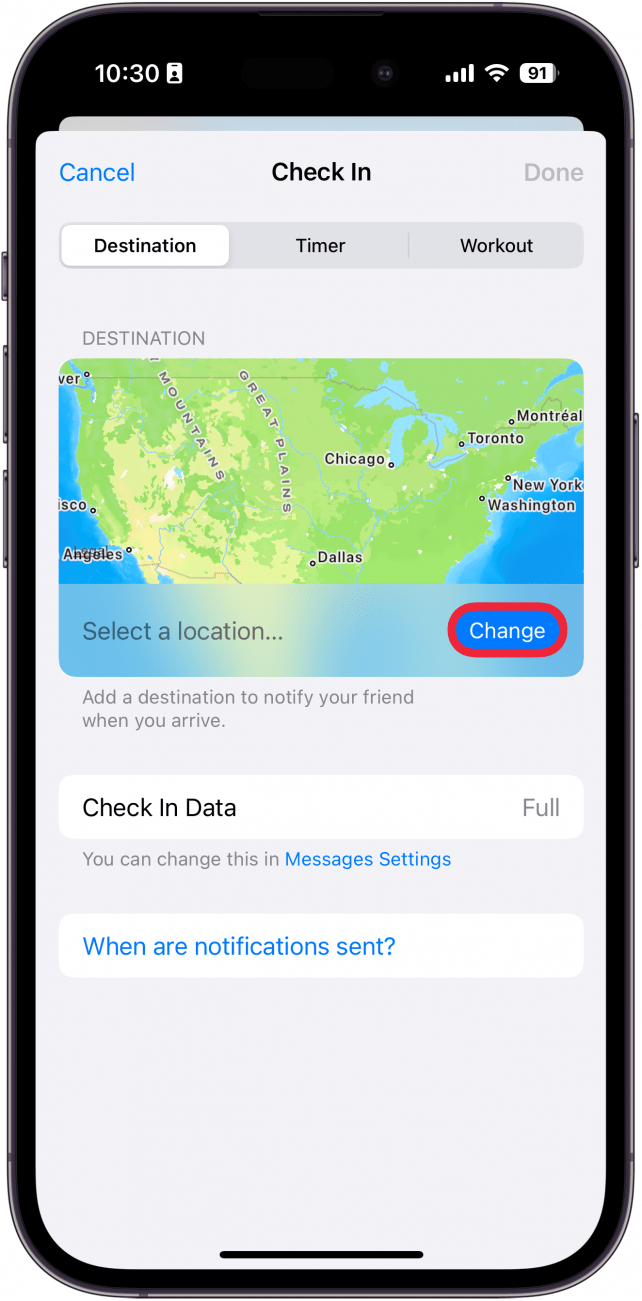
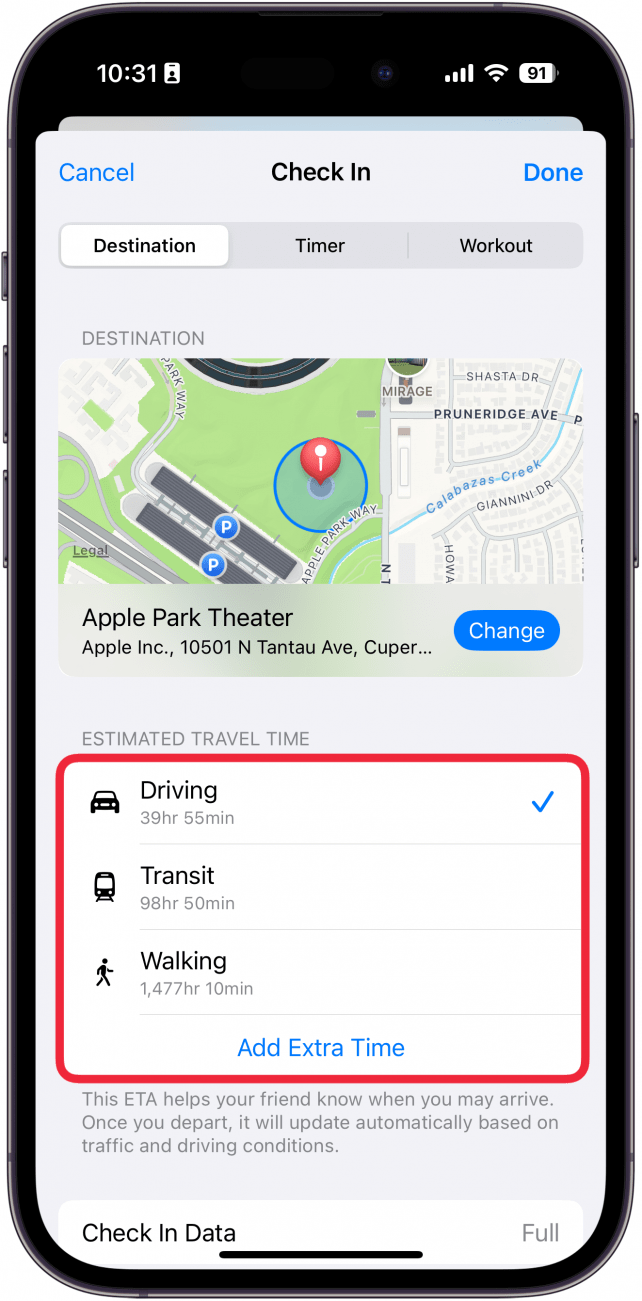
- Under Destination, you can tap Change to select a location. If this is your first time using Check In, your iPhone might automatically suggest a location, so make sure this is correct before leaving this screen.
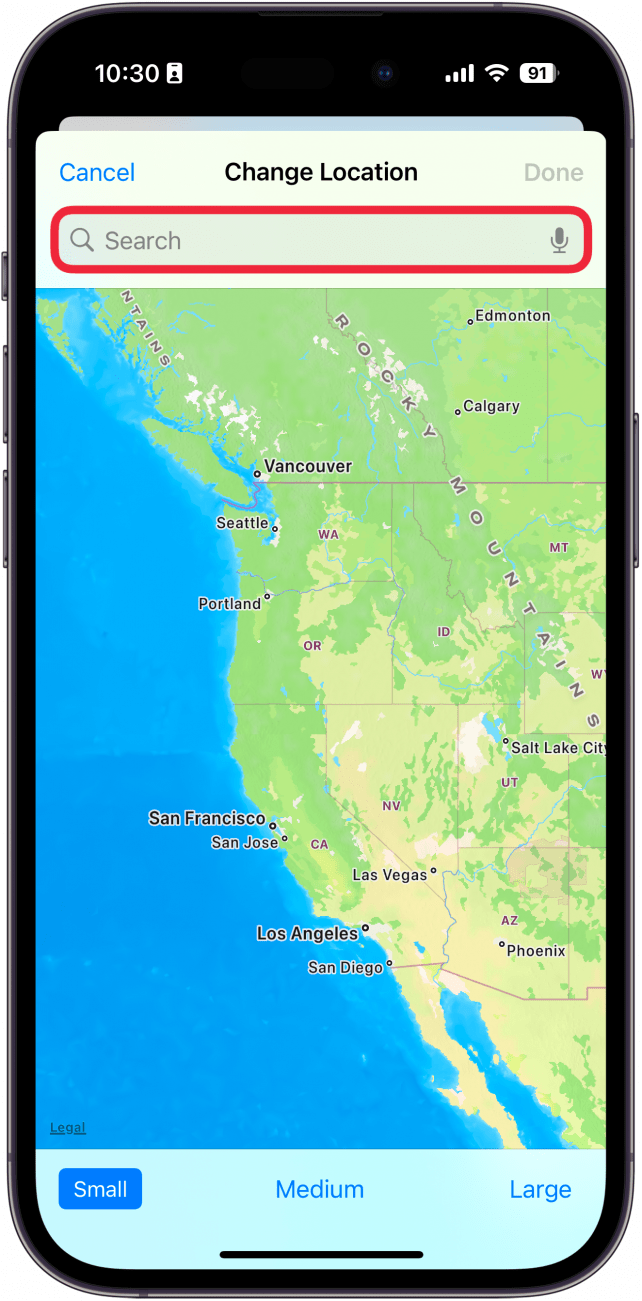
- Tap the Search Bar and type in a location.
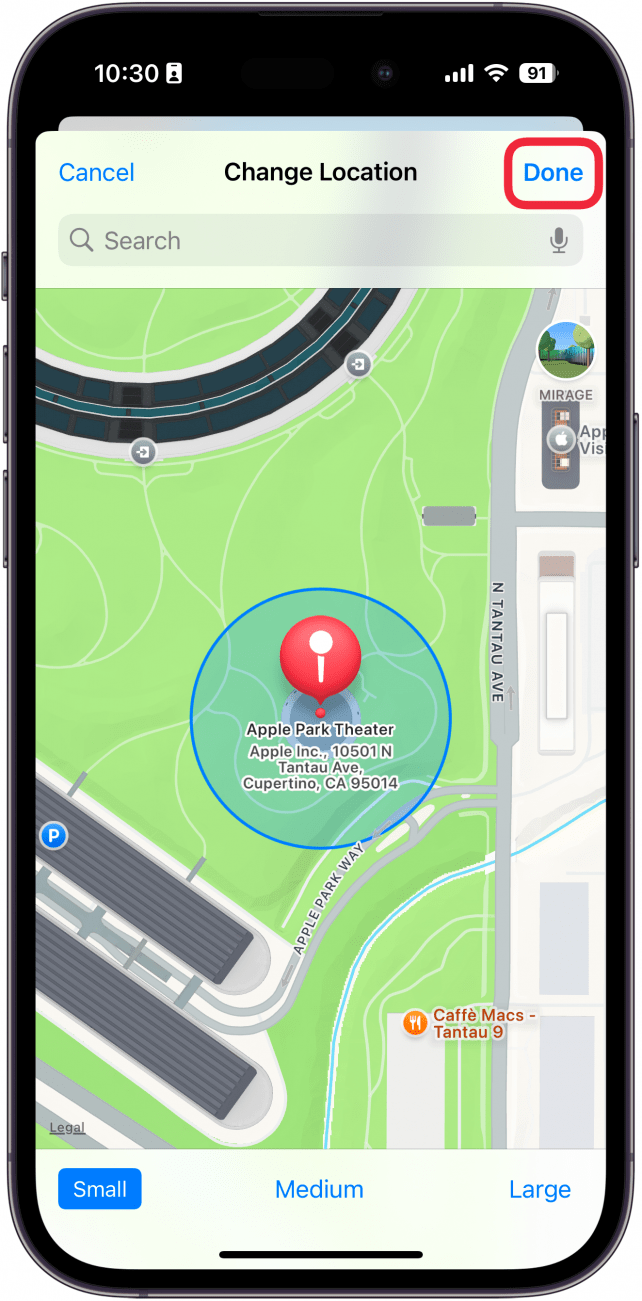
- Tap Done to return to the Destination screen.
- Tap your preferred travel method to select an Estimated Travel Time or tap Add Extra Time to extend how long the estimate is.
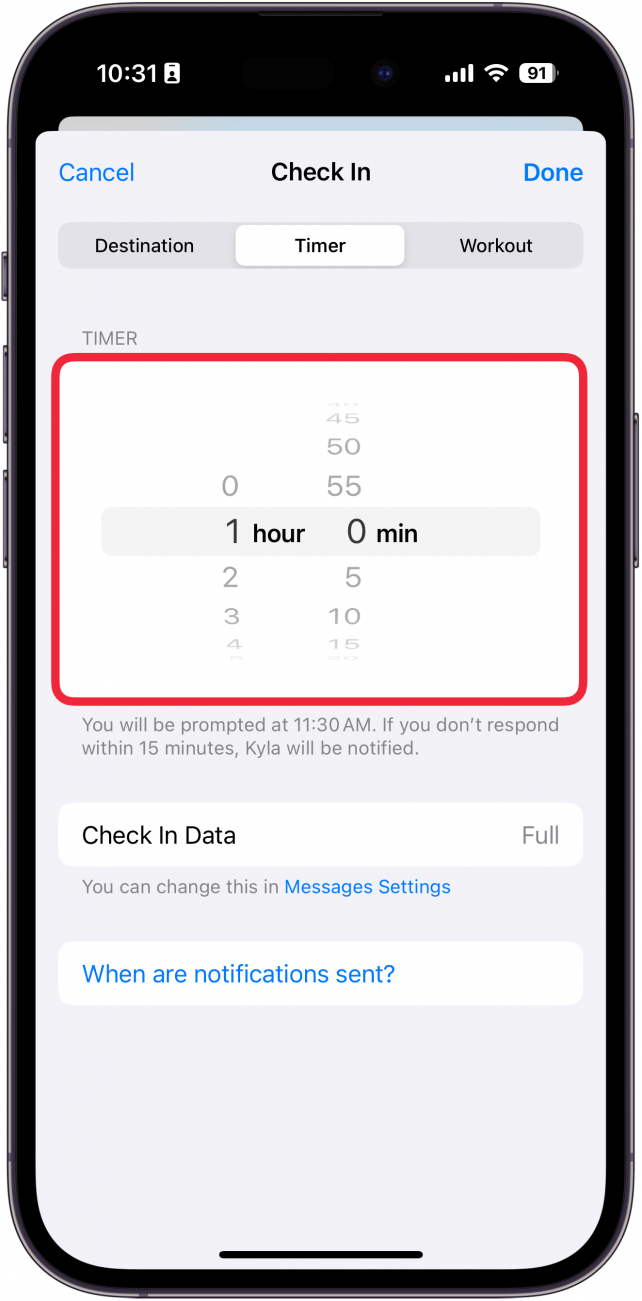
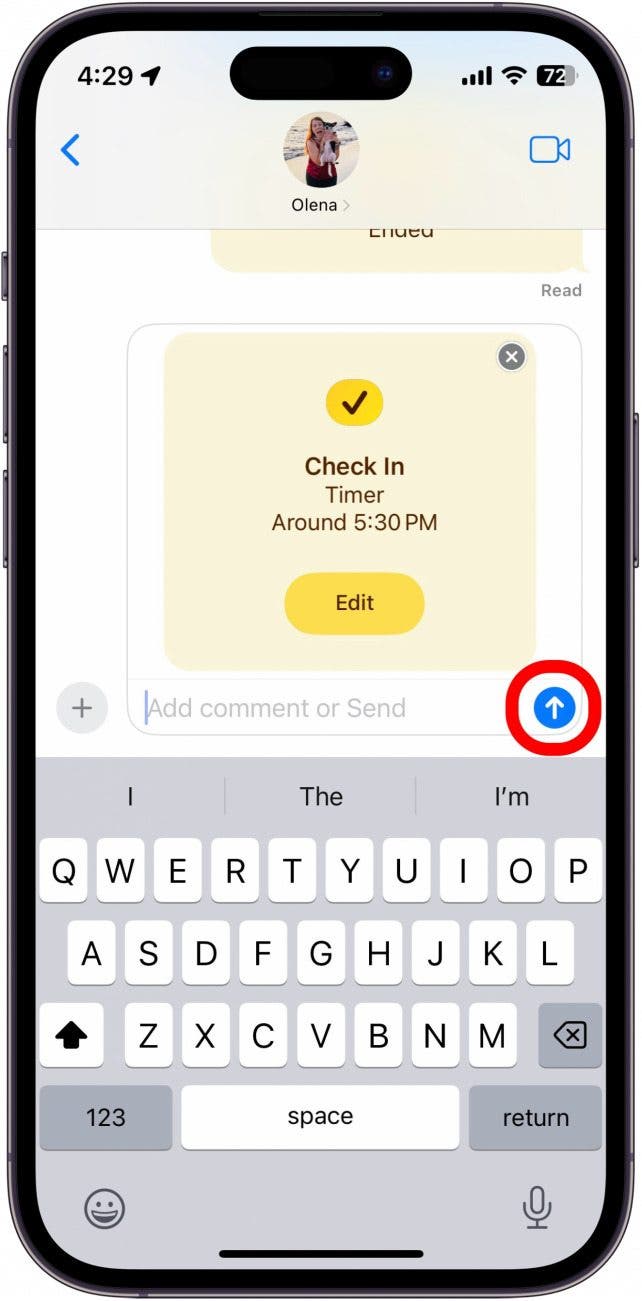
- If you choose the Timer instead, you will be prompted after the timer finishes counting down to let your contact know that you have arrived safely. If you do not respond within 15 minutes, they will be notified.
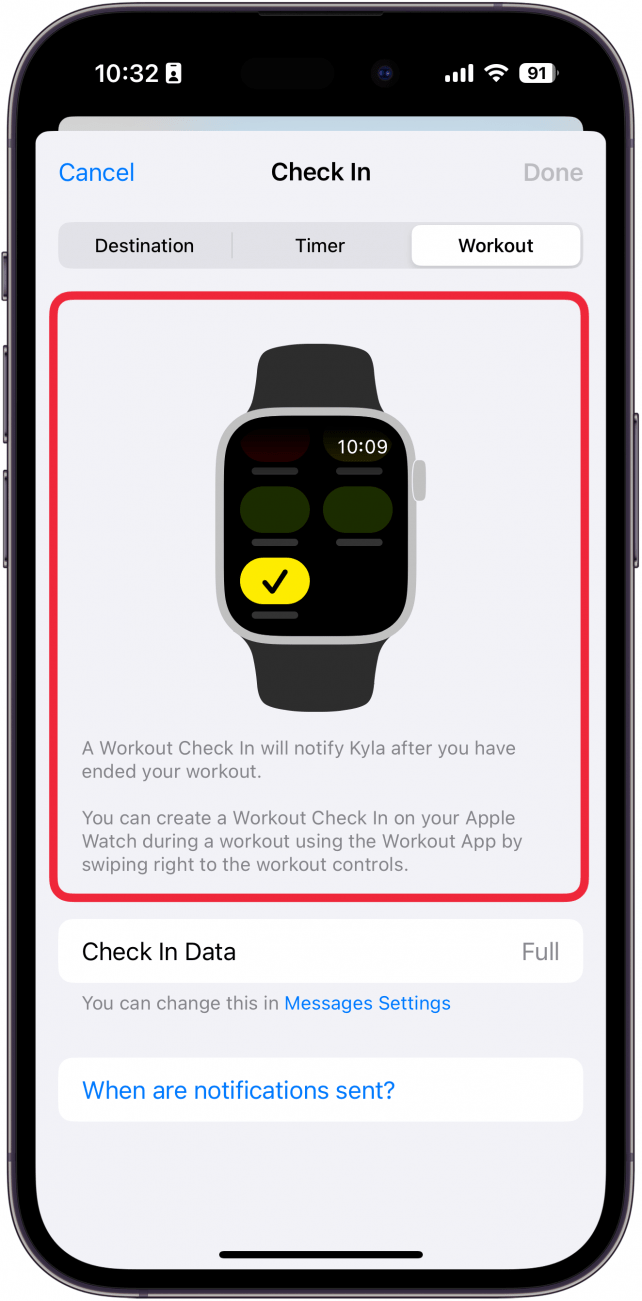
- The Workout tab instructs you how to set up a Check In for a workout on your Apple Watch.
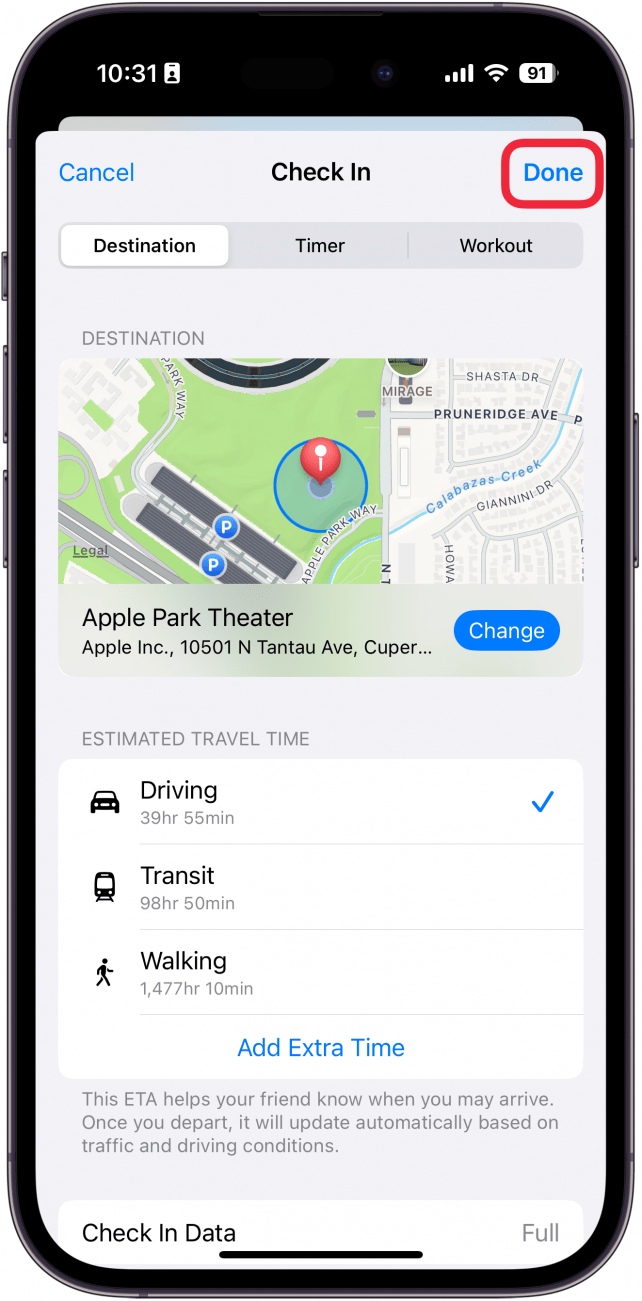
- Tap Done when you have chosen your preferred Check In method.
- Tap the send icon to the right of the text field.
Note
When sending a Check In to a contact for the first time, they may receive a pop-up asking them to Allow critical alerts. If they decline, they may not receive notifications about your progress.
That's how to start an iMessage Check In! If your iPhone detects that you are not making progress toward your destination, it will send you notifications and ask you if you need more time. If you fail to respond within 15 minutes, your friend or family member will be notified that you haven't made it to your destination, so be sure your destination location and estimated time of arrival are both accurate before sending your Check In!
More on Apple Safety Features

Rhett Intriago
Rhett Intriago is a Feature Writer at iPhone Life, offering his expertise in all things iPhone, Apple Watch, and AirPods. He enjoys writing on topics related to maintaining privacy in a digital world, as well as iPhone security. He’s been a tech enthusiast all his life, with experiences ranging from jailbreaking his iPhone to building his own gaming PC.
Despite his disdain for the beach, Rhett is based in Florida. In his free time, he enjoys playing the latest games, spoiling his cats, or discovering new places with his wife, Kyla.
 Leanne Hays
 Rhett Intriago
 Olena Kagui

 Cullen Thomas


 August Garry