How to Create & Edit Videos with Apple’s New Clips App

Is Apple’s new Clips app a replacement video editing app for iMovie? Not quite. The Clips app taps into the Instagram/Snapchat generation, offering an extremely easy platform in which users can create video stories and share them with friends. While Clips is a pretty awesome free video editing app, it’s not going to fulfill the same purposes as iMovie. For the video editing professional, Clips isn’t going to cut it for complex projects. But for the everyday person, it’s a fun new way to create professional-looking videos that are easily shareable with friends and via social media. I’ll go through everything you need to know to start creating and editing videos with the Clips app. This is the latest Apple app, and it seems that its main purpose is, simply, fun.
What is Apple’s New Clips App?
Apple’s new Clips app is a fun, easy to use video editing and creation app. The iPhone app is geared towards creating selfie videos—this is self-evident since the app opens with the camera facing you. The Clips iPad app is geared towards presentations. But functionally, the Clips app is the same on both iPhone and iPad. How you use it and what you create is entirely up to you. In Apple’s words, Clips is, “a new iOS app for making and sharing fun videos with text, effects, graphics, and more.”
If you have an iPhone running iOS 10.3 or later, the Clips app is available for you to download in the App Store on your iPhone or iPad. One aspect of the Clips app that I personally appreciate is the time length cap: you can create a video (whether one continuous clip or multiple strung together) that is up to 30 minutes long.
How to Download Clips App + Compatible Devices
As stated above, if you have an iOS device running iOS 10.3 or later, you can download Clips from the App Store. That means Clips is compatible with devices old and new, including (but not limited to) the iPhone 5, iPhone 6s, iPhone 7, as well as the iPad Air, iPad Pro, and iPad mini 4. To download Clips on iPhone or iPad:
- Open the App Store.
- Tap the Search tap and type, “Clips Apple.”
- The first app should be Clips by Apple.
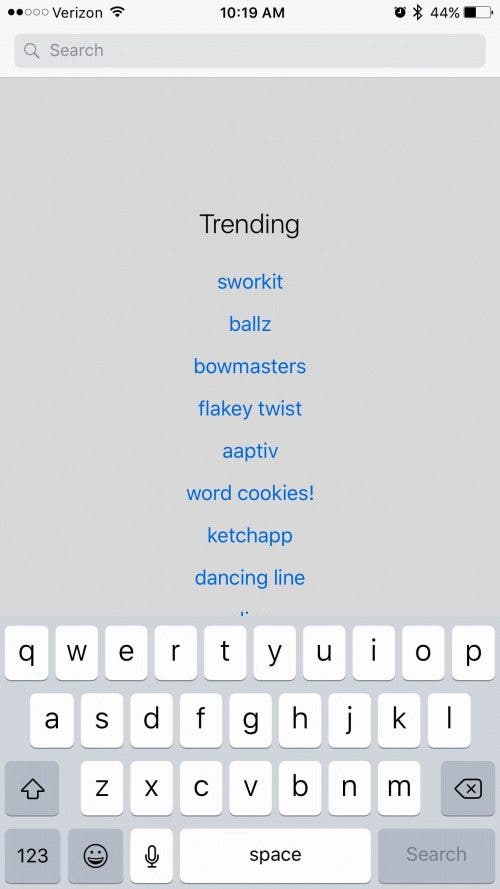
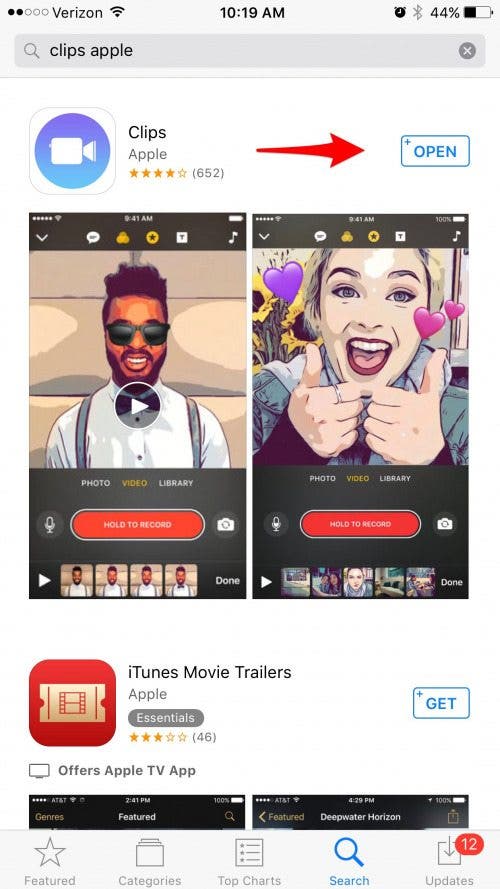
- Tap the cloud icon with a downward-facing arrow.
The app will download.
How to Use Clips App for Creating & Editing Videos on iPhone or iPad
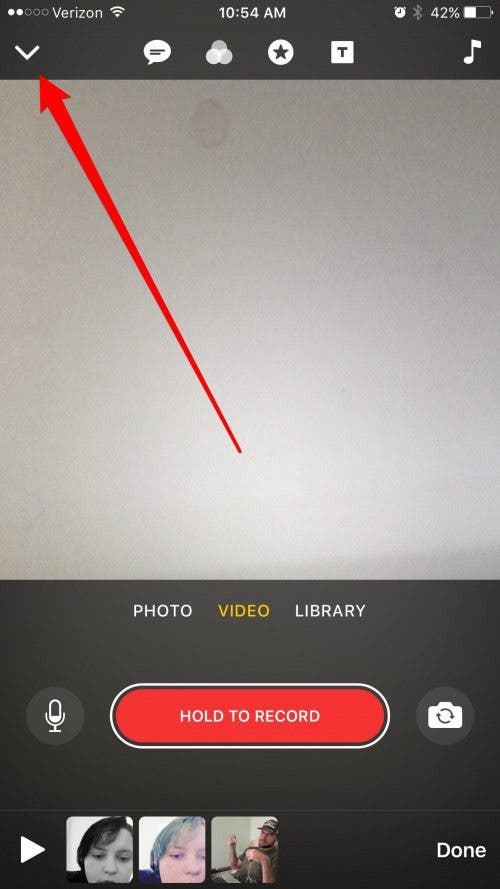
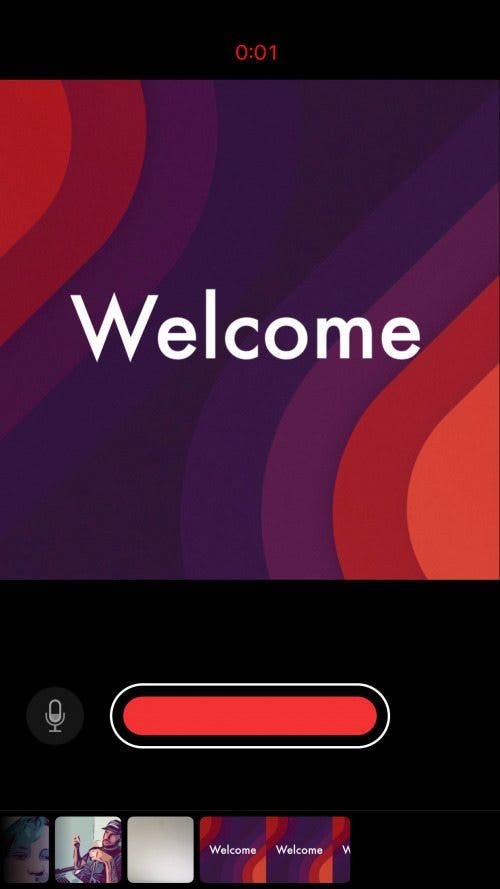
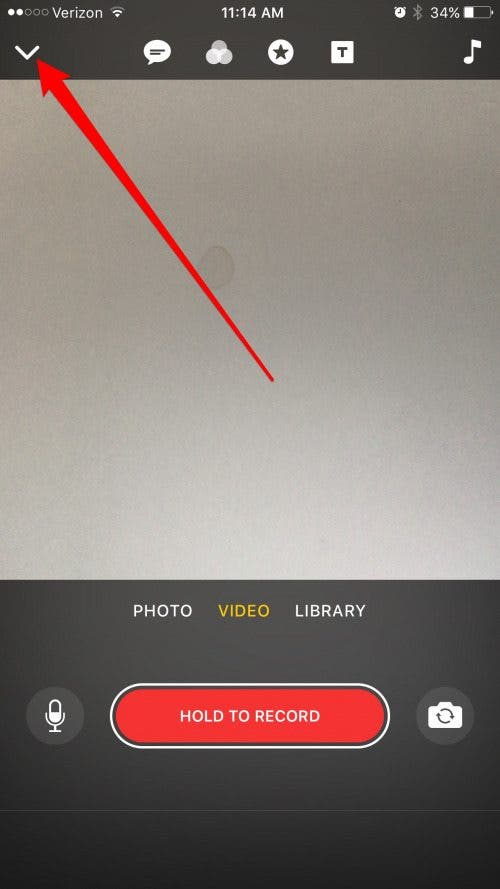
When you open the Clips app on iPhone, the camera view will be in selfie mode, meaning it’s facing you. Here’s some basic information to know about Clips:
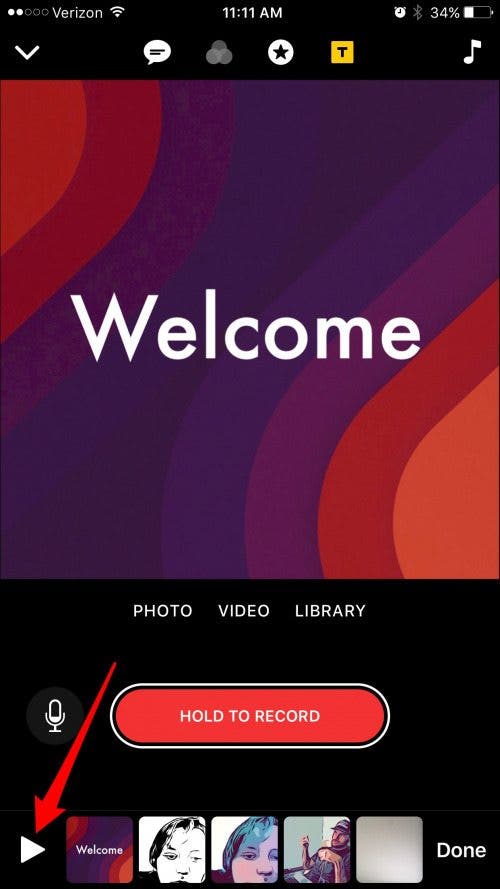
- At the bottom, you’ll see a big red button that says Hold to Record. As stated, you must hold the red button to record a video.
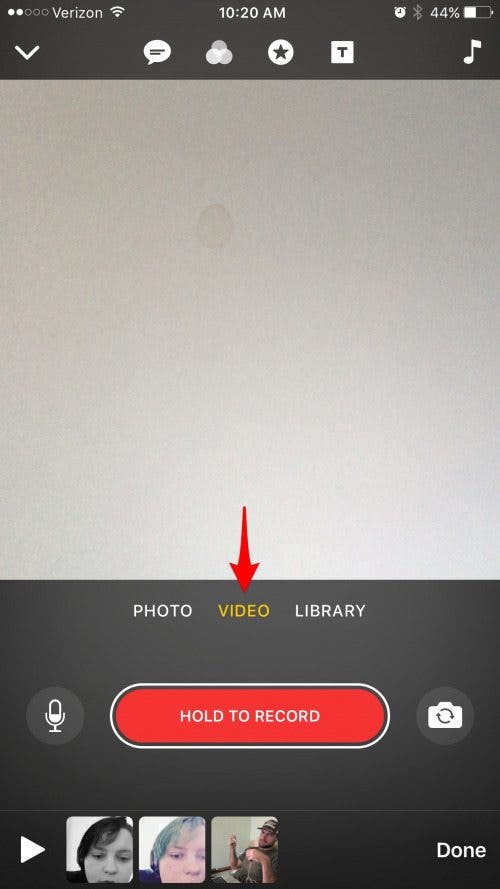
- By default, Video is select. You can also select Photo above the button to record a clip with a photo that can be added to your video's timeline.
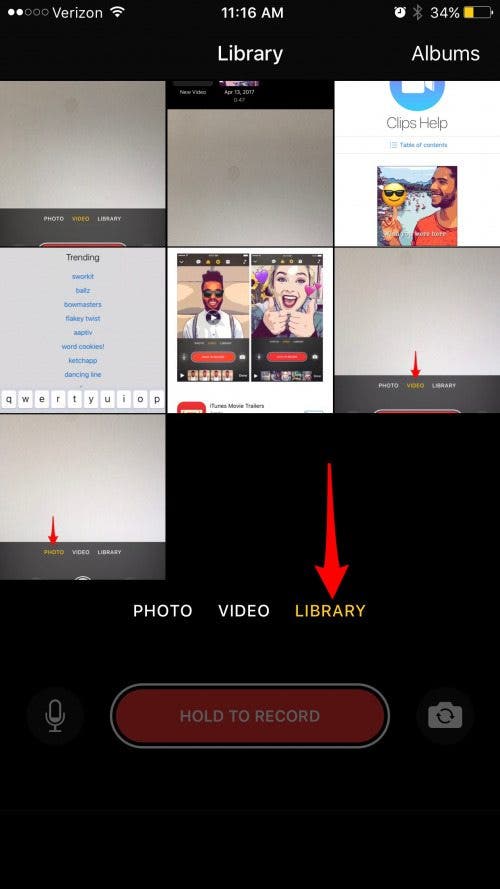
- Or you can select Library to select a photo or video from Photos.

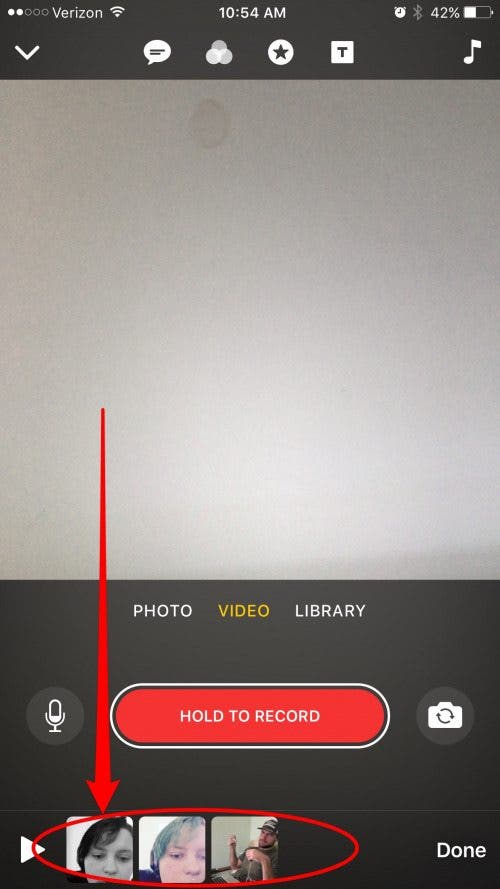
- You can record multiple video clips and take multiple photos (or select photos and videos from your iPhone’s Library). So long as the total time of your video is less than 30 minutes, you can add as many different videos and photos as you want. They will be stitched together, creating a single video you can share.
- When we go over editing your video, we’ll cover how you can rearrange the video clips and photos that are within your video Clip.
- Since the Clips video you create is composed of many smaller videos and photos, you can edit individual clips differently or make them all uniform for a more cohesive look.
- The arrow in the top left corner of the app is what you’ll select when choosing what video you want to work on or when creating a new video.
- To access all of the Clips apps’ features, you’ll need an internet connection.
That’s the basics of the Clips app, but there are quite a few extra features and customizations we haven’t covered. The most significant feature is Voice to Caption, which allows you to record while Clips dicates your words in real-time, creating subtitles. Other features that we’ll cover include Clips video filters, effects, title screens, adding music, editing your video, and sharing it.
Voice to Captions
When you turn on Voice to Captions, Clips dictates what you’re saying as you say it then presents your words as captions over your video. The feature isn’t perfect. You need little-to-no background noise (recording with Voice to Captions wouldn’t do well from Times Square); you also need to speak very clearly and at a normal pace. The app doesn’t handle voice inflections or accents well at this point. But, if the Clips app gets it wrong, you can edit the captions so they're correct. Here's how to use the Voice to Captions feature and how to edit your caption text:
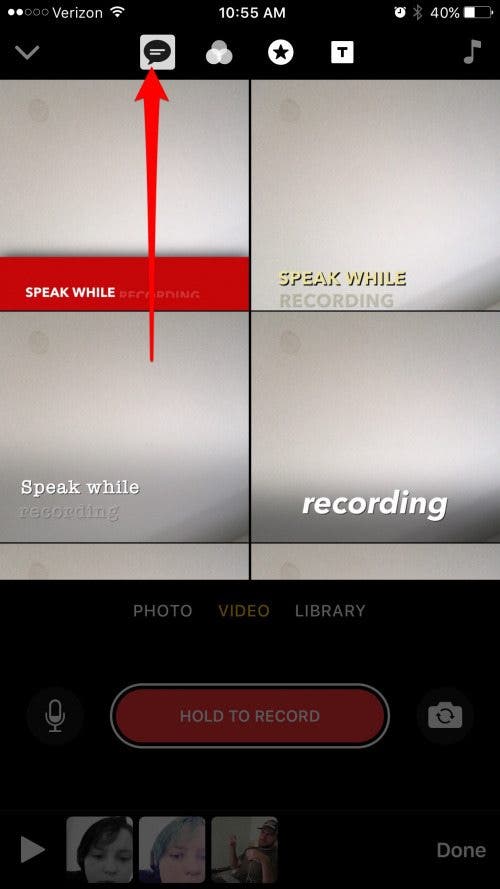
- With the Clips app open, tap the first icon at the top; it looks like a speech bubble.
- Here, you can choose from seven different caption fonts and styles.
- If you decide not to use Voice to Caption, choose None to turn it off.
- Tap on the caption style you want to use. This will return you to the recording screen.
- Hold the red button to record. As you speak, the app will turn your words into captions.
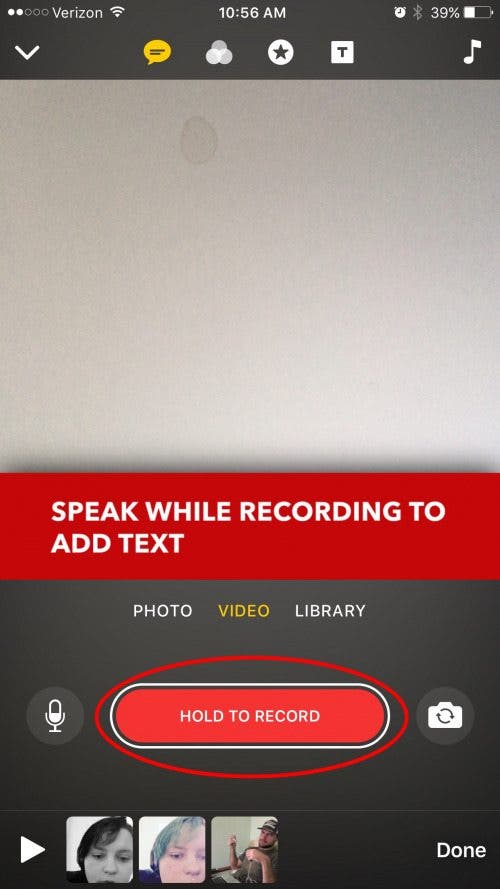
- When you lift your finger, it will stop recording.
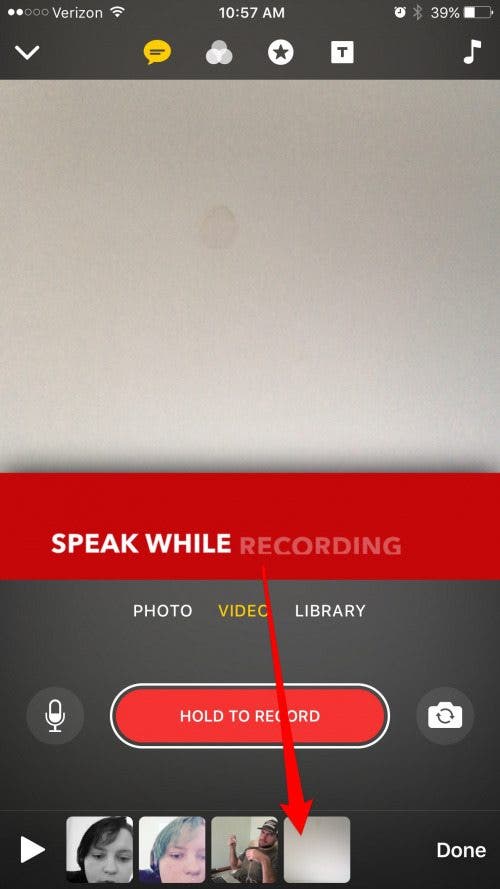
- At the bottom of the screen, you’ll see your timeline of video clips. To play the video you just made and make sure the captions were dictated correctly, tap on the video clip you just made. Tap the play button.

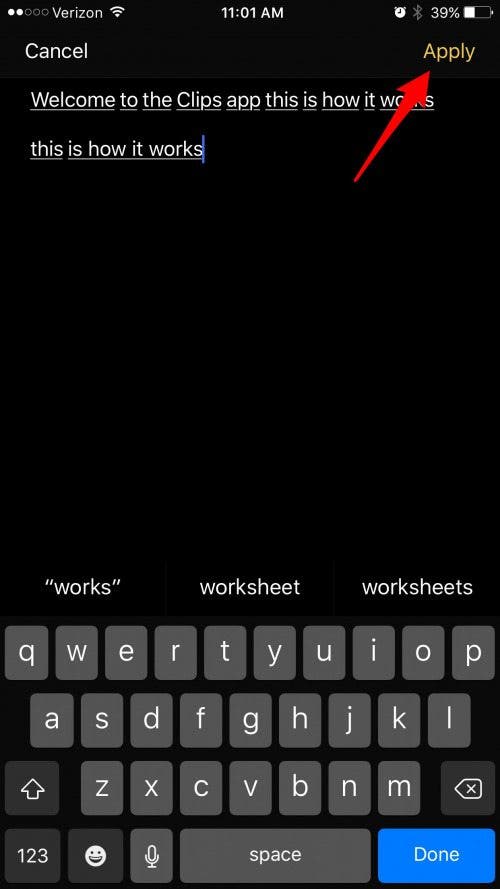
- If the caption has errors, pause the clip you're playing and double tap on the text. This will open the text edit.
- Make any changes to the captions that you want to; then tap Apply.
- If you’re satisfied, tap the arrow under the video to return to the recording screen.
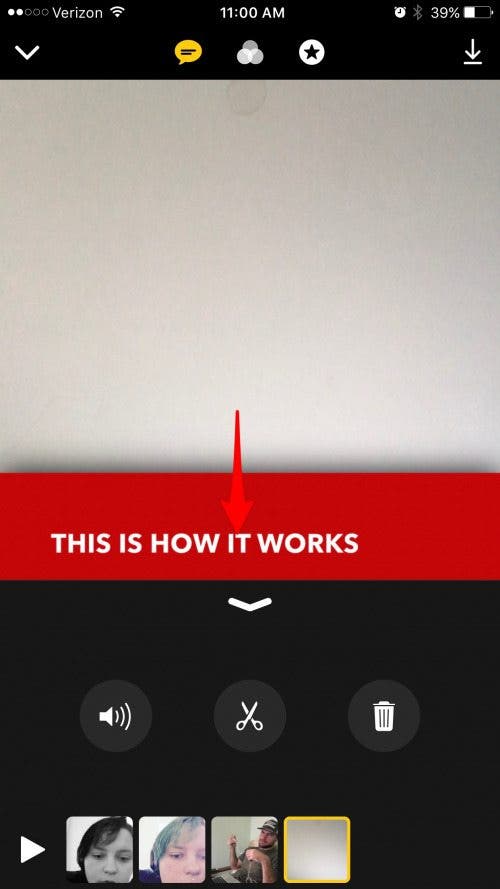
- If you want to redo the video, tap the trashcan to delete the clip. We’ll go over the other ways you edit individual clips and rearrange them later on.
It’s good to note that you can also record your video first, then select the speech bubble icon and choose the caption you want to use.
Filters
Much like the filters you might use when posting a photo to Instagram, Clips has its own filters for your videos and photos. You can use different filters for different clips within your full video or use one for all them if consistency is what you’re going for. Currently, your filter options are pretty limited. But Apple plans to continue updating the Clips app, so I’m positive it will add more in the future. You can add a filter to your video before or after recording; to use a filter:
- Tap the second icon at the top; it looks like three overlapping circles.
- This opens the Filters page and gives you a preview of what each filter will look like.
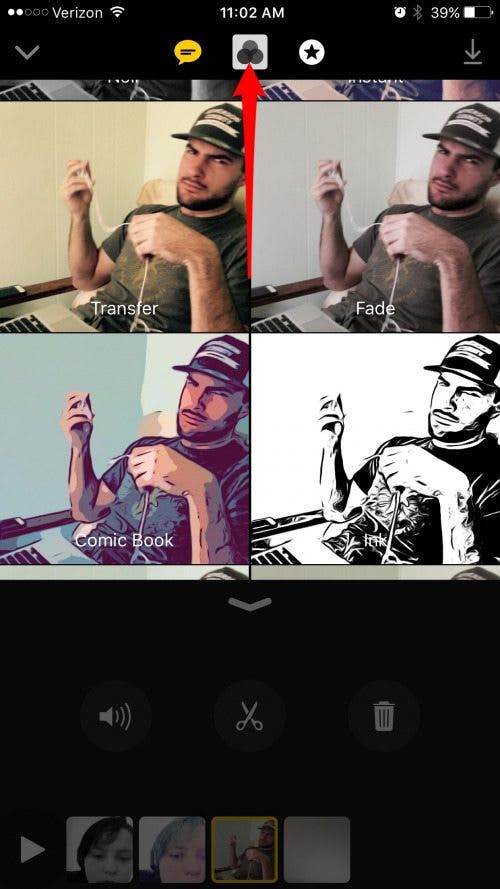
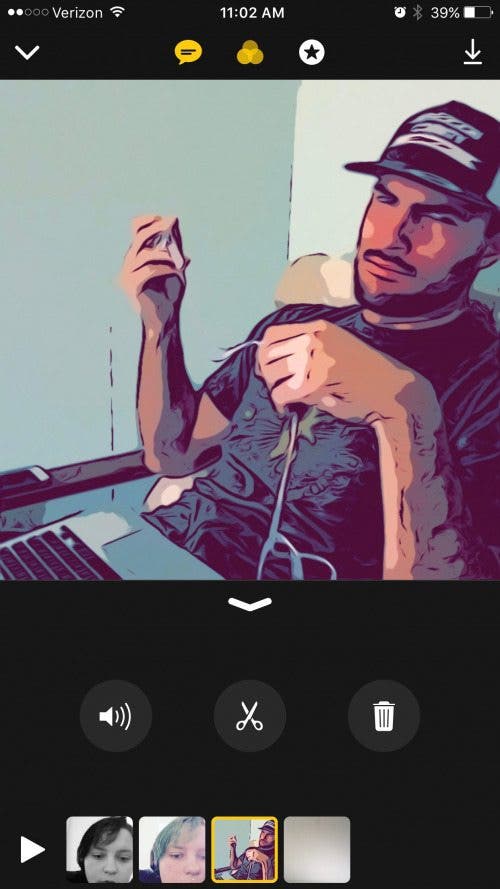
- Select the filter you want to use.
You can tap on a different clip on your video timeline and then repeat the steps above to add or edit the filters on your various video clips.
Effects: Stickers & Emojis
You can also add stickers and emojis to your Clips video. Clips will show your 30 most used emojis, but you can select any emoji too—I’ll go over how below. Just as with all of these custom features, you can add stickers and emojis to one or all of you video clips and photos. To add an effect to your Clips video:
- Tap the third icon at the top; it looks like a star inside a circle.
- The first screen presents the stickers you can add. Some of them will automatically show the time, date, or your location.
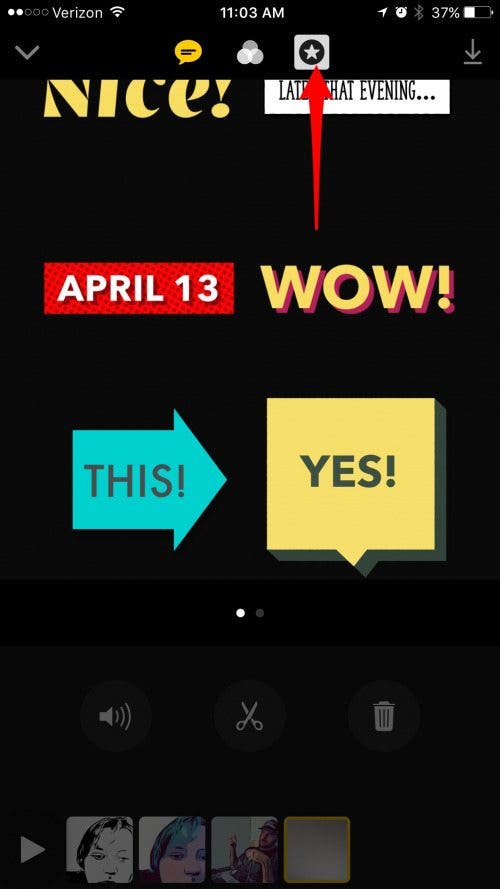
- Tap on a sticker to add it to your video clip.
- To access emojis, swipe left on the sticker screen. You’ll see your 30 most used emojis. Select the one you want to use.
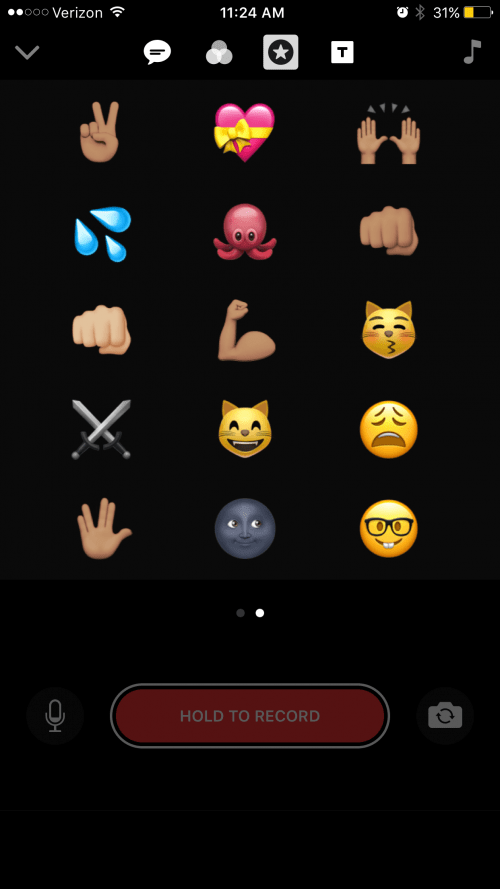
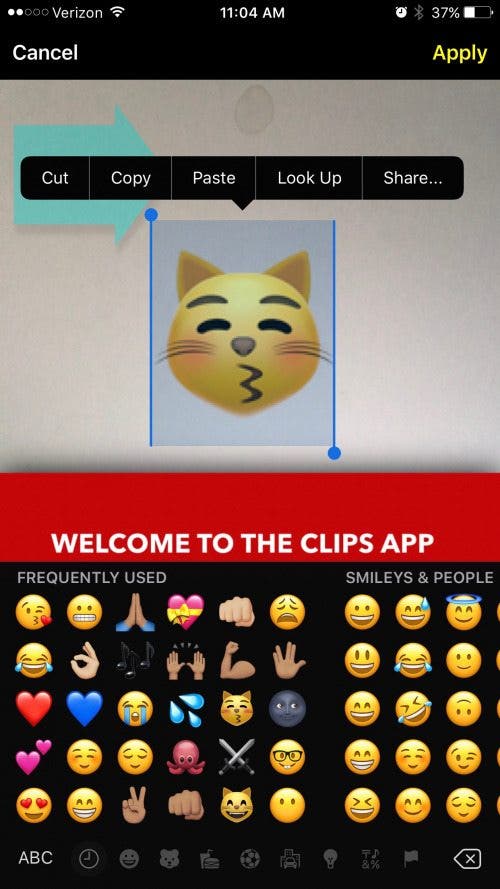
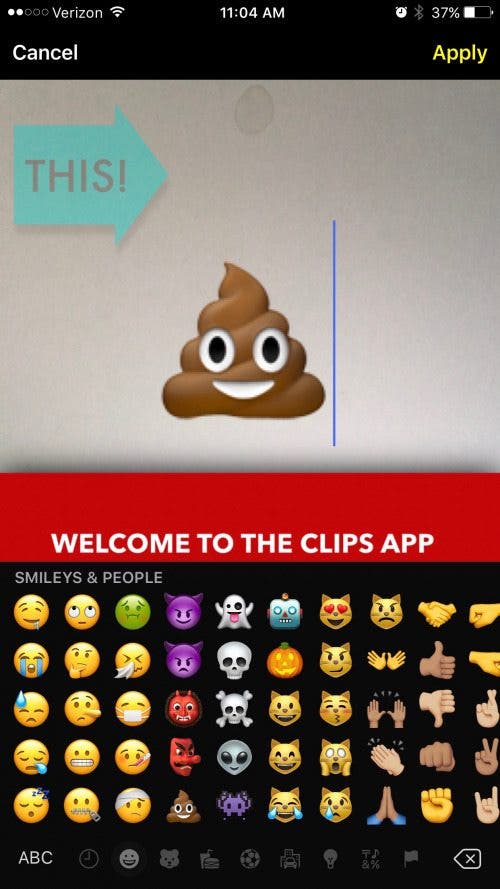
Pro-tip: If the emoji you want to use isn’t featured, select any emoji. It will be added to your video. Then double tap the emoji to highlight it. The iPhone keyboard will pop up. Open your emoji keyboard as you typically would and select the emoji you want to use. Tap Apply.
How to Arrange & Edit Stickers and Emojis
Once you’ve selected a sticker or emoji, there are various changes you can make to customize them:
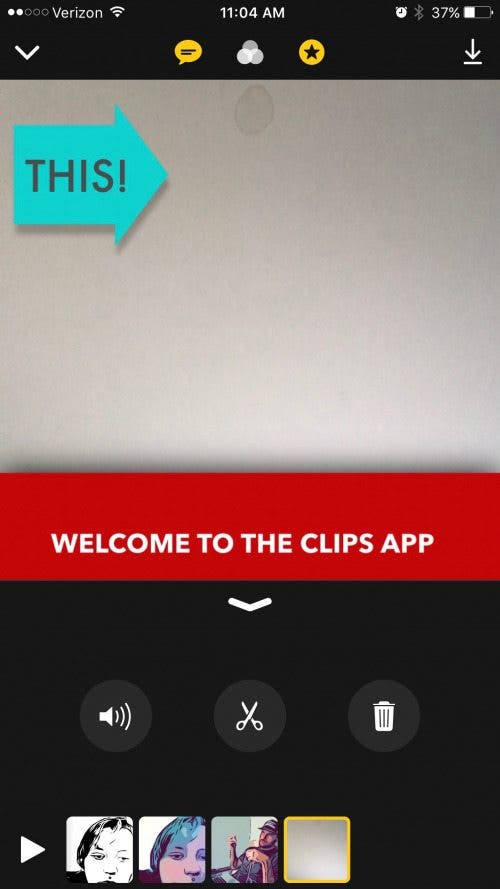
- You can tap and hold the sticker to select its text and type whatever you want instead.
- One tap on a sticker or emoji reveals the X, in case you decide to delete it.
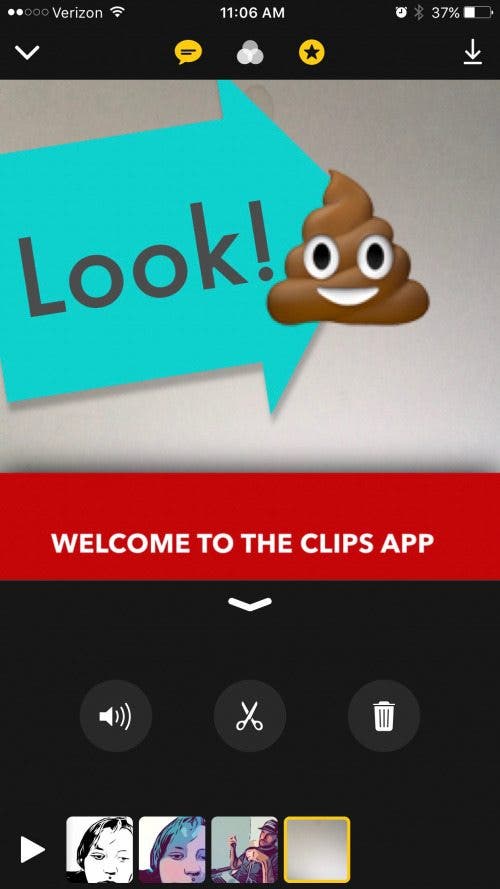
- One tap will also select the sticker or emoji; once selected, you can drag it to move it around the screen, or place two fingers on the screen and drag in and out to make the sticker or emoji smaller or larger.

Related: How to Download Netflix Movies & Shows to Watch Offline on iPad or iPhone (Even on a Plane!)
Title Screens
For a professional touch, you can add title screens to your Clips video. To select and edit your title screen:
- First, make sure you’re on the main Clips screen. If you’ve selected a clip, you won’t see the title screens icon. To get back to the main screen, tap the arrow below the video clip.
- Tap the fourth icon at the top of the Clips app; it looks like a T within a frame.


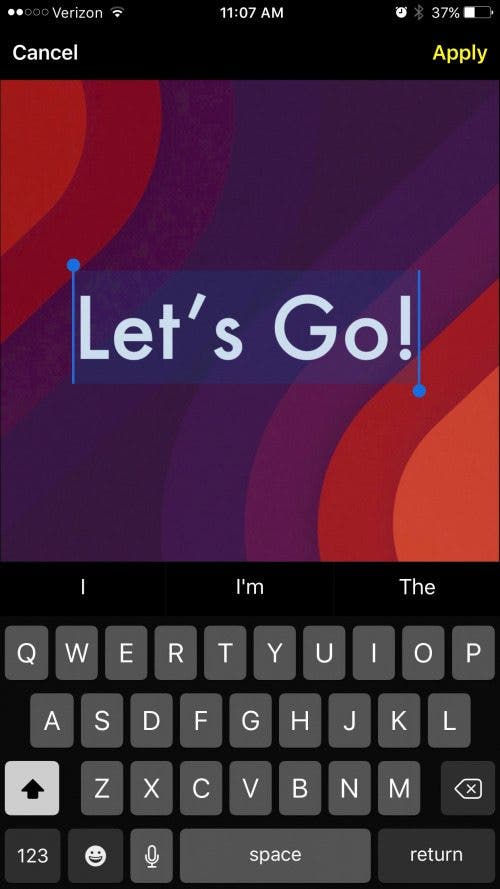
- There are a decent amount of different title screens to choose from. Select the one you want to use. Don’t worry about the text; you can edit that.
- Once you’ve selected a title screen, tap the text to edit it.
- Tap Apply.
- Then tap Hold To Record. The animated title screen will play; you can make your title screen longer or shorter by how long you hold record.
- Once you’re done recording, the title screen you just created will appear on your video timeline. Don’t worry about where the title screen is on your video timeline; you can drag the clip wherever you want it in the sequence of video clips.
You can create multiple title screens. If you want an intro screen and outro screen, create two title screens and drag one to the very beginning and one to the end. If you want to break your video clips up into chapters or sections, you can use title screens to do so.
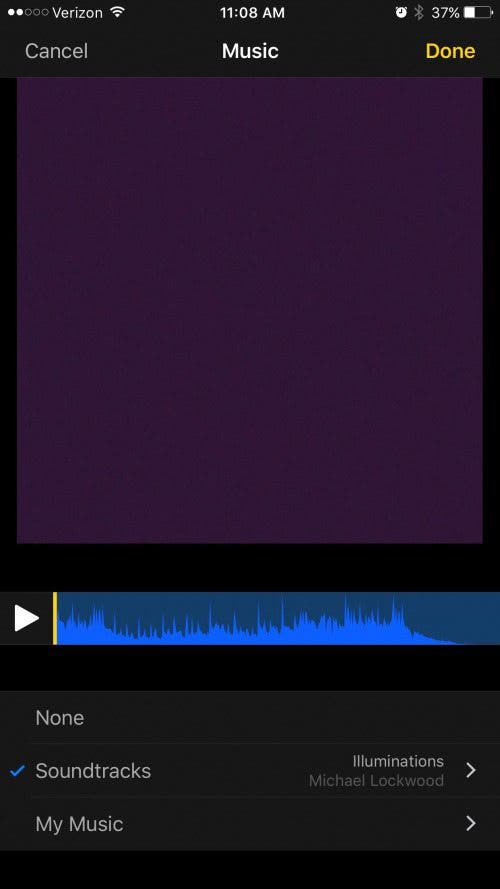
Adding Music
You can add music to your Clips video. The music added plays on a loop, meaning that if you add music, you must add it to the entire video. You can’t add music to individual video clips. The Clips app has some built-in royalty-free music you can use; you can also add music you own from the iTunes Store. You cannot, however, use music via Apple Music. To add music to your Clips video:
- First, make sure you’re on the main Clips screen. If you’ve selected a clip, you won’t see the add music icon. To get back to the main screen, tap the arrow below the video clip.
- Select the musical note icon in the upper right corner of the Clips app.
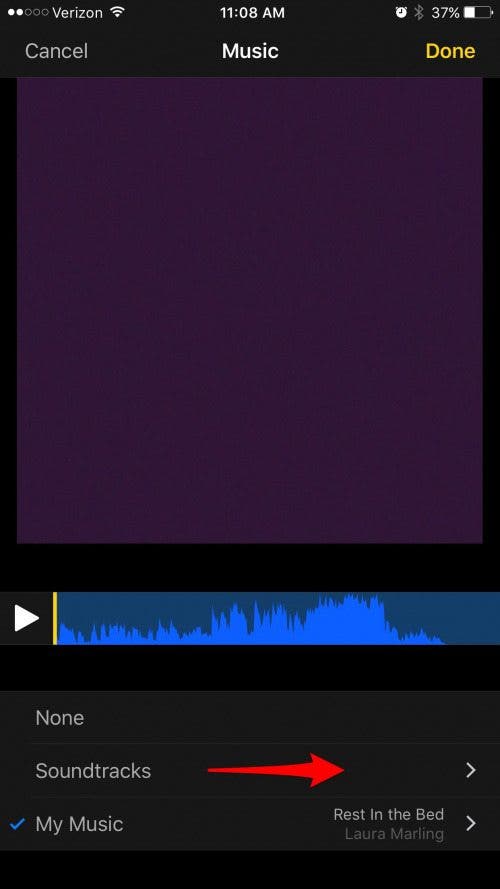
- Here you can select None, Soundtracks, or My Music.

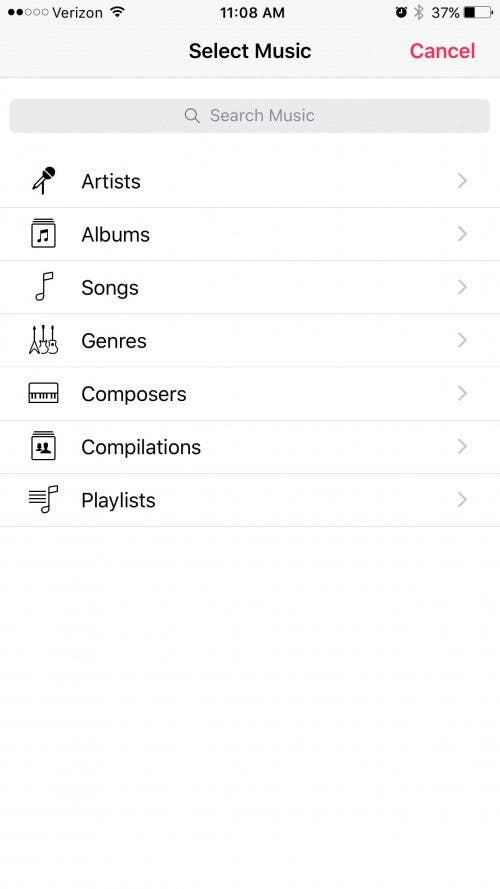
- To choose a song from those you’ve purchases via the iTunes Store, tap My Music.
- Once you select a song, your video will appear with the musical track below. Drag the track to choose where it starts.

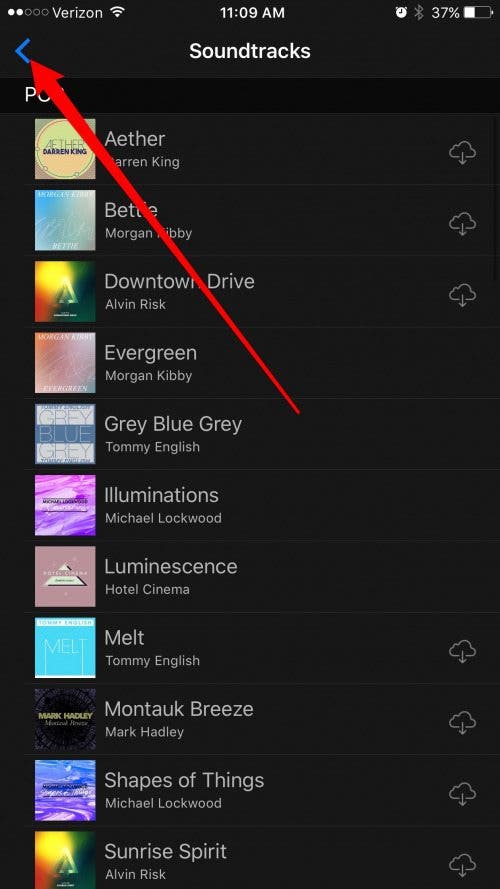
- To choose a royalty-free clip, select Soundtracks. There’s a fairly extensive list of free options. Tap on one download it.
- Tap on it again to hear a preview and to select it.
- Tap the back arrow in top left corner.
- If you decide you don’t want music, tap None.
- When you’re satisfied, tap Done to add the music to your Clips video.
If you want to add music to a video with audio, you can. The music’s volume will automatically lower when audio is playing and raise when it’s not.
Editing and Tweaking Your Video
Now that you’ve created your Clips video and added all the features and customizations you want, it’s time to make some final edits. You can drag clips so they play in a different order, or select individual clips to turn the sound on or off, trim the edges of the video, or delete it. To edit your Clips video:
- First, make sure you’re on the main Clips screen. To get back to the main screen, tap the arrow below the video clip.
- From here, you’ll see your video timeline at the bottom. Tap the play button to see what you have so far.
- You can drag and drop any of the clips to rearrange them and the order in which they play.
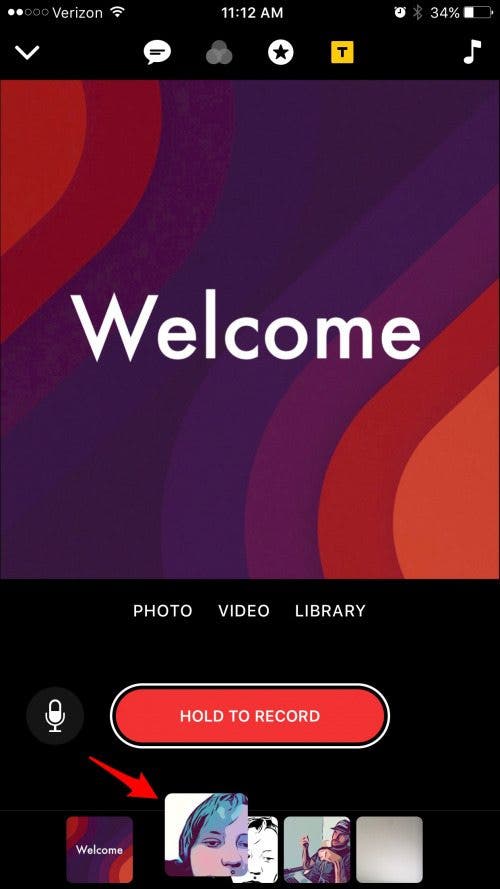
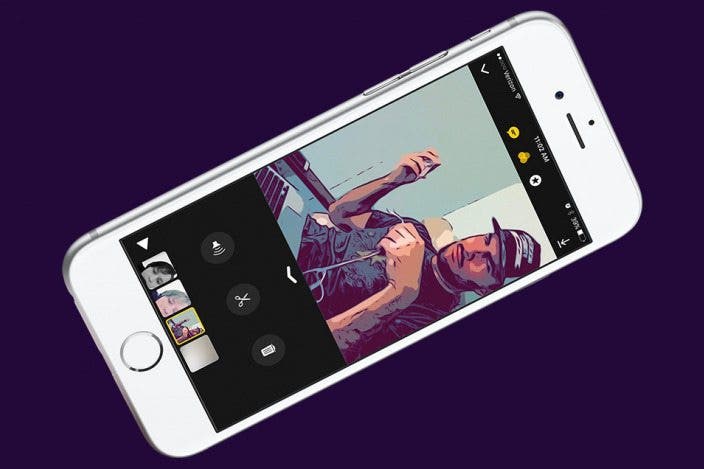
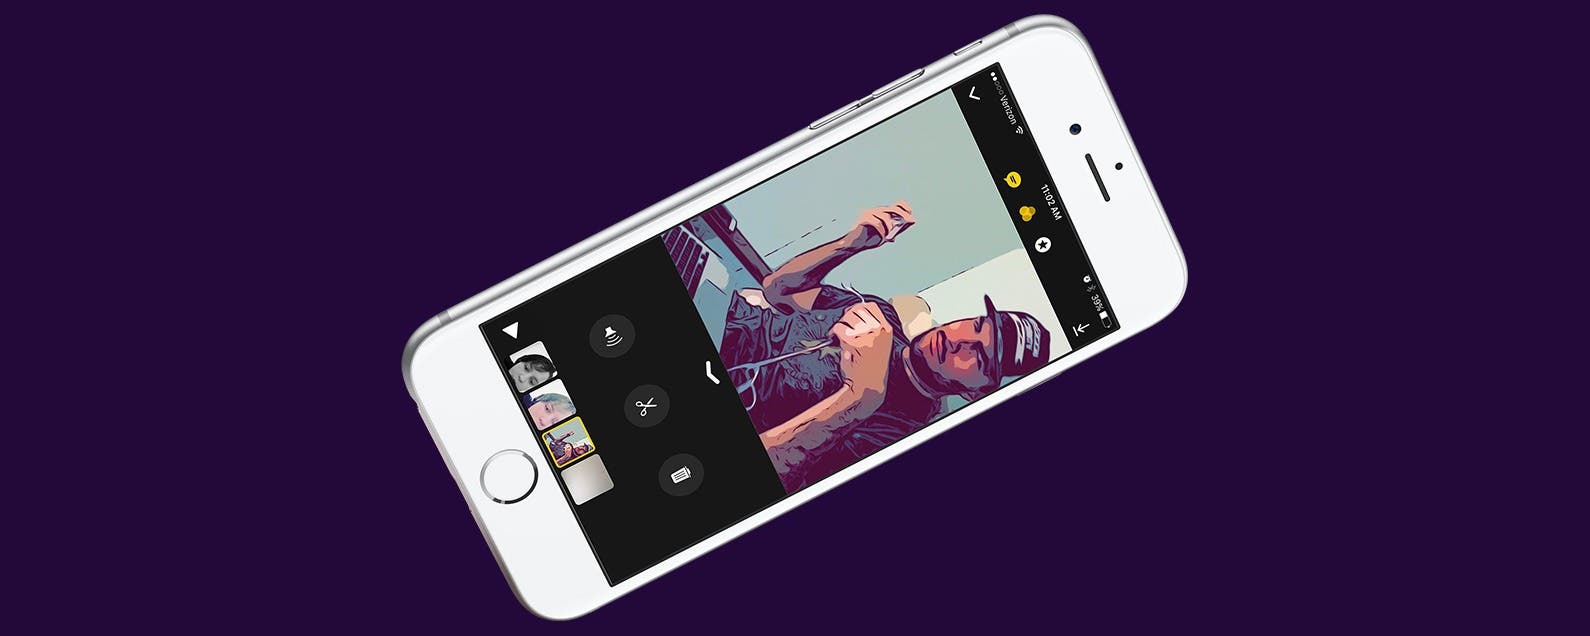
- To edit an individual clip, tap on it.
- This will bring up the specific clip and its menu. You’ll see three icons: microphone, scissors, and trashcan.
- Tap the microphone to turn the audio off; tap again to turn it back on.
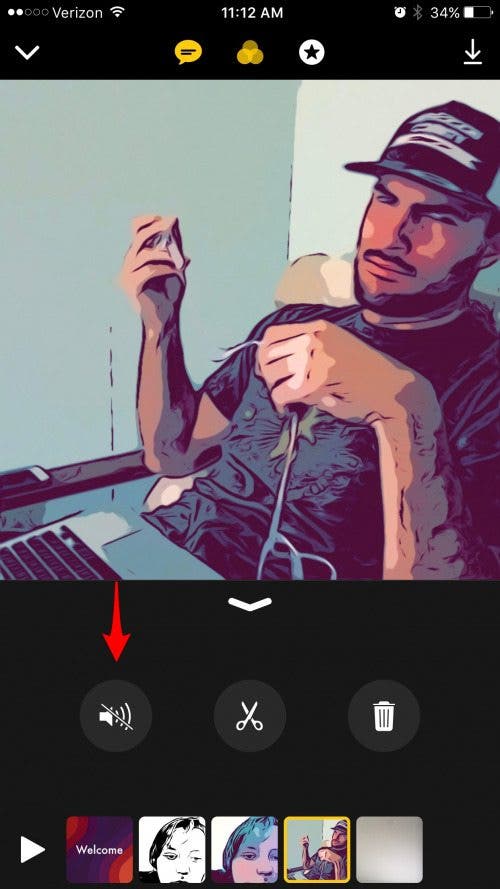
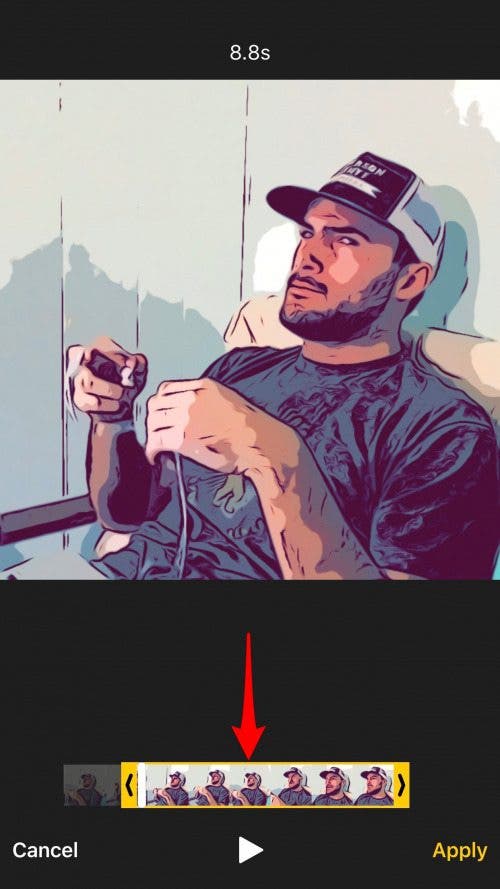
- Tap the scissors to trim the video. Then drag the beginning and ending edge of the clip to choose where it begins and ends. Tap Apply when you’re done, or Cancel if you don’t want to save your changes.
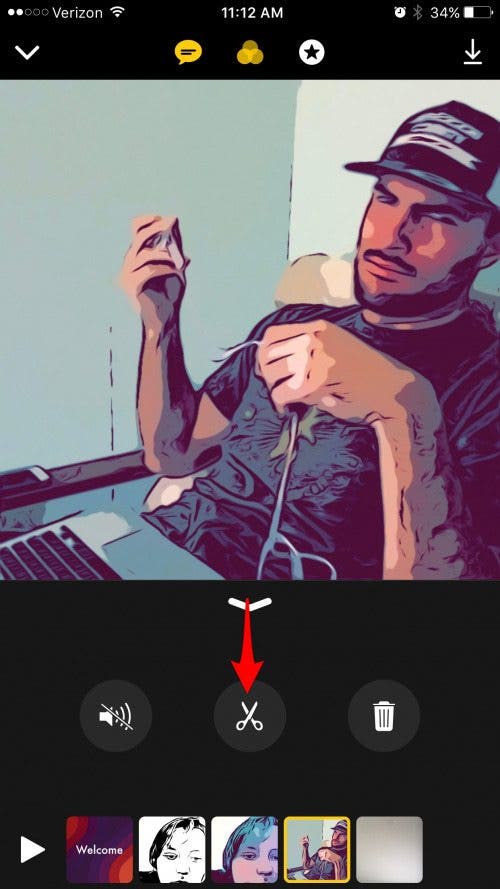
- Tap the trashcan icon to delete the clip.

When you want to return to the main screen, whether because you’re done or because you want to edit a different clip, tap the arrow below the video.
Save & Share Your Clips Videos
Once you’re completely done creating, customizing, and editing your video, it’s time to share it with friends. Apple set up the Clips app to be able to quickly send videos to friends via Messages. When you go to share a Clips video, you’ll see your most frequently texted friends at the top. You can also choose to share your Clips video on social media, or download it to your iPhone Photos app. To save and share your Clips video:
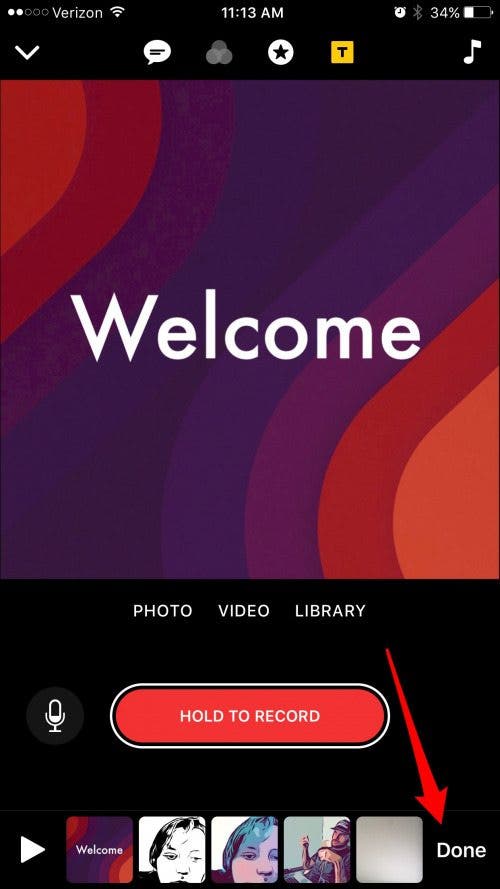
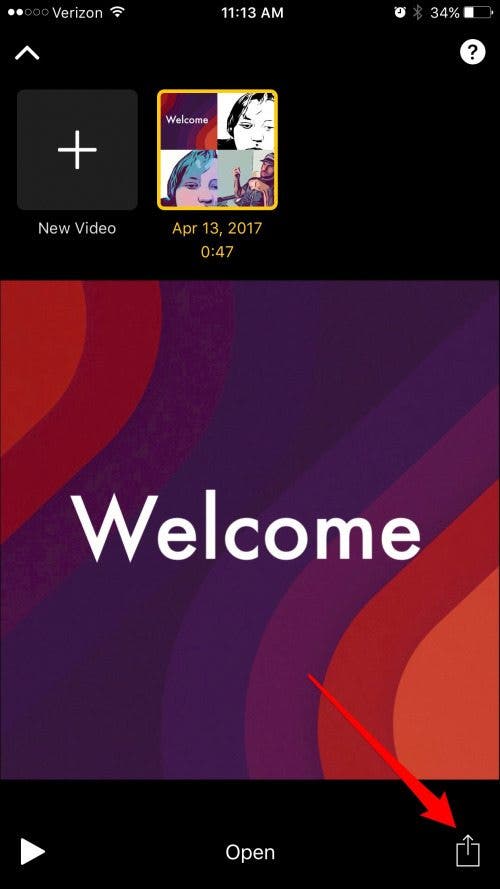
- Once you’re ready to save you video, access the main Clips screen. You’ll see your video timeline at the bottom. In the lower right corner, tap Done.
- Tap the play button at the bottom left of the screen to preview your Clips video before sharing it.
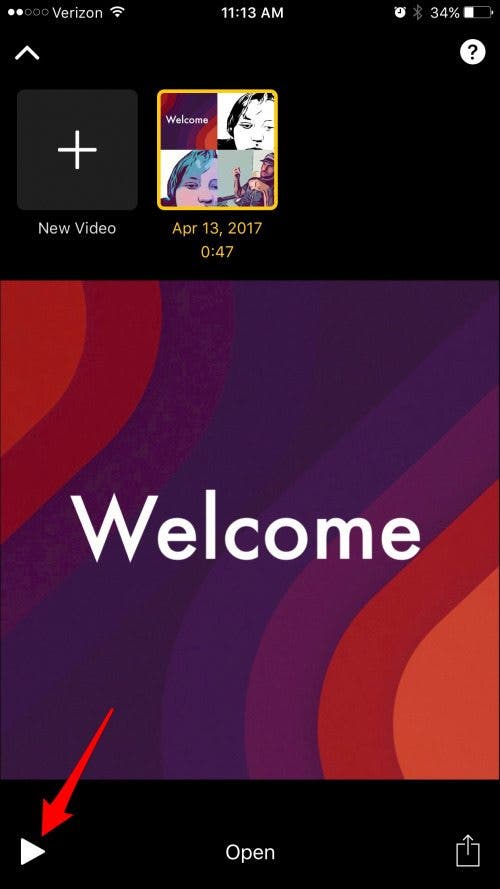
- If you decide you want to edit something else, tap Open.
- To save and/or share your Clips video, tap the Share icon in the lower right corner of the screen.
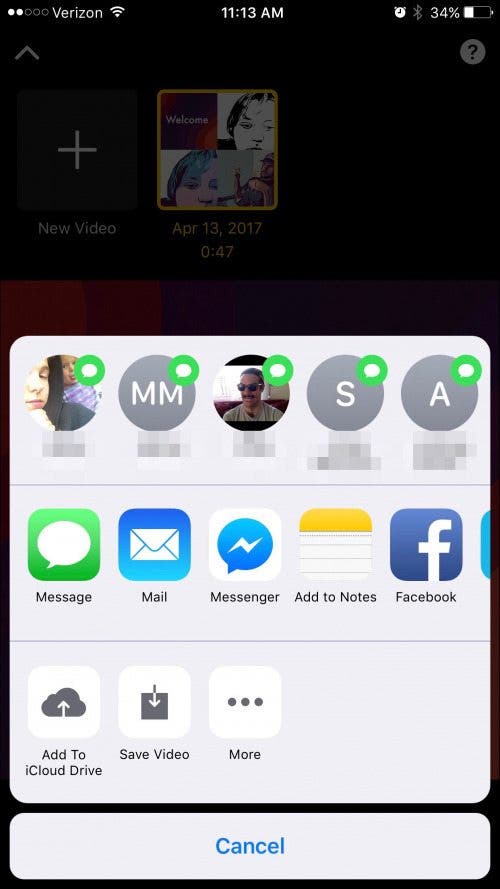
- At the top, the people you message often will appear; you can tap their contact bubble to send them your Clips video via Messages.
- At the center, you’ll see other ways to share your Clips video, such as Mail, Messenger, Facebook, Instagram, and more. Select where you want to share your video.
- To save your video to the Photos app, tap Save Video.
- You can also tap Add to iCloud Drive to add your video to iCloud Drive, which will easily make the video accessible on all of your devices.
Apple’s In-App How-To Guide for Clips App
Since the Clips app is new, Apple included a how-to guide within the app. If you need a quick refresher on the features and how to use them, you can open this how-to guide for information on how to use the app from within the app. To open the built-in how-to guide on using the Clips app:
- From the main screen, which is the screen you see when first opening the app, tap the arrow in the top left of the screen.
- This will open the page that shows all the Clips videos you’ve created and gives you the option to create a New Video.
- To open the how-to guide, tap the question mark in the upper right corner of the screen.
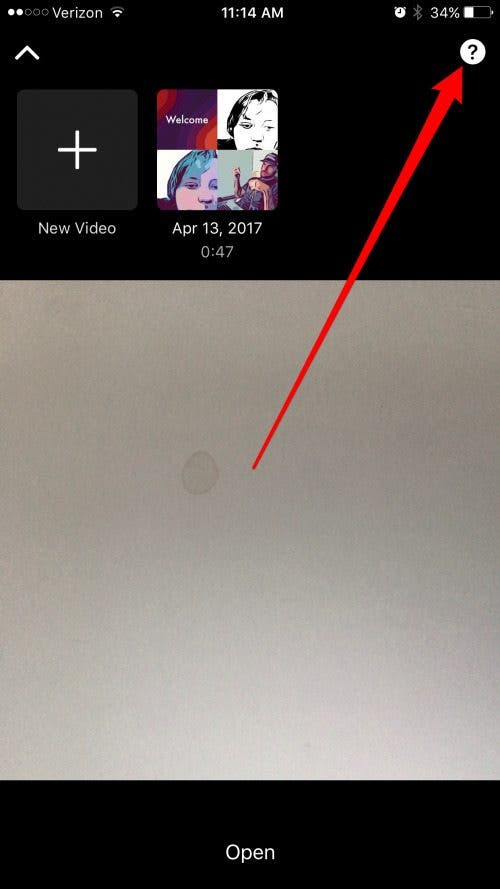
- Here’s Apple’s extensive how-to guide for the Clips app. You can tap the icon in the upper left corner to access the Table of Contents.
- When you’re done using the how-to guide, tap Done in the upper right corner.

Conner Carey
Conner Carey's writing can be found at conpoet.com. She is currently writing a book, creating lots of content, and writing poetry via @conpoet on Instagram. She lives in an RV full-time with her mom, Jan and dog, Jodi as they slow-travel around the country.

 Olena Kagui
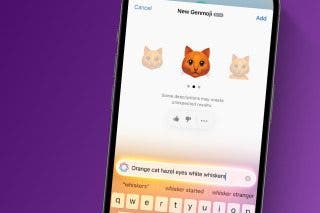

 Leanne Hays
 Amy Spitzfaden Both
 Rachel Needell
 Ashleigh Page

 Rhett Intriago
 Cullen Thomas