iPhone Camera Blurry? How to Fix iPhone Camera Quality


What to Know
- A blurry iPhone photo could be caused by a physical obstruction, the wrong use of the iPhone camera setting, or user error.
- Adjust your camera settings to turn on the Grid and select Most Compatible formatting.
- Find good lighting, keep your iPhone steady, and consider exposure and focus
Every new iPhone makes a splash with the promise of exciting new camera capabilities. However, many users have experienced issues that have made them consider returning their new phones. Before you decide to throw in the towel, let me walk you through some easy ways to improve photo quality instantly on iPhone 17 and earlier models.
How to Fix All iPhone Camera Blurry Causes
If you experience your iPhone camera not working well and taking blurry photos, you are not alone! The culprit could be your physical camera lens, an incorrectly chosen setting, or even you—we’ll teach you how to say goodbye to blurry iPhone pictures, no matter what is causing the blur.
Check that your camera lenses are clear, intact, and not obstructed.
Sometimes, the only reason your iPhone camera seems blurry is because there is something on the lens. A drop of water, a fingerprint, or even a tough-to-see speck of dust or debris can mess with the autofocus. The best way to clean a camera lens is to gently wipe it with a dry, lint-free microfiber. This is also the best way to see if your lens is dirty or damaged—a chip or cracks in the lens is definitely a cause for concern, and Apple will usually have to replace your phone to fix it.
Lens covers may seem like a good idea, and they can help protect your lenses from getting damaged. However, it is also possible for a protective sticker or lens cap to obstruct the camera and result in out-of-focus photos and videos. Certain cases can also interfere with your iPhone camera, especially when using 0.5x zoom. Try removing all stickers and cases to see if they were causing the blurriness.
Rule out a random glitch by restarting your iPhone and checking for iOS updates.
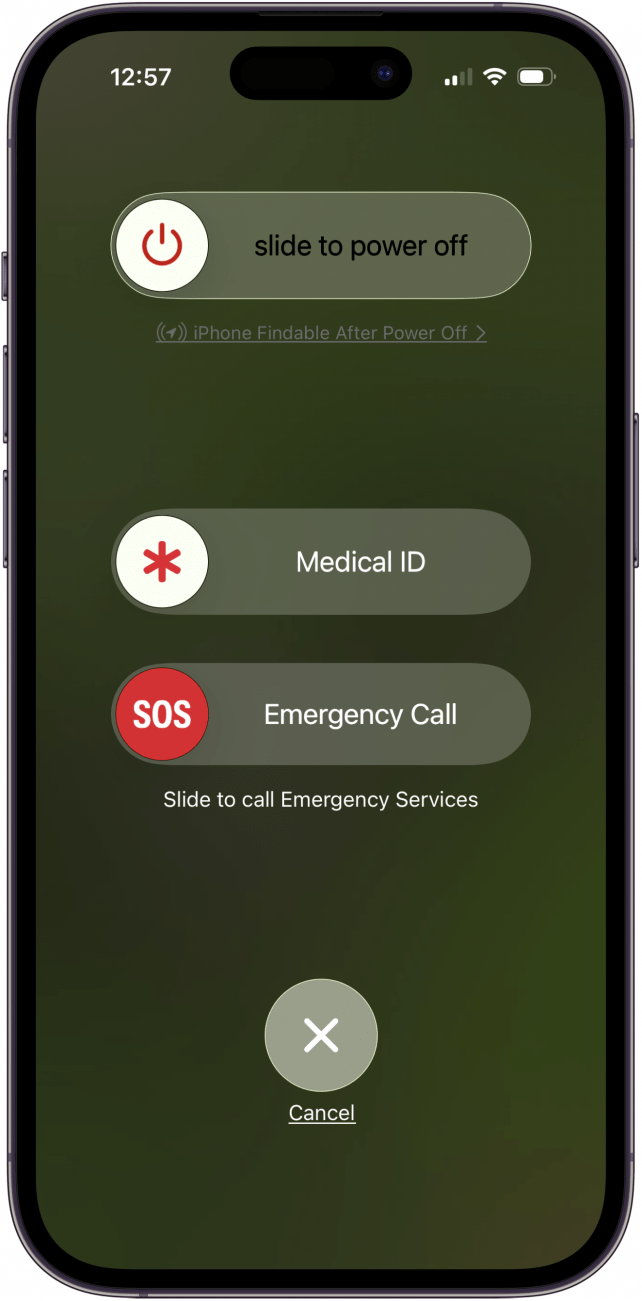
If the blurry camera issues happen out of the blue or are on and off, it could be a glitch. The quickest way to solve this is to force quit the Camera app by swiping up to open the app switcher, then swiping up again over the Camera app. Restarting your iPhone can also help reset any glitches that may be affecting the Camera and other apps. Finally, Apple fixes known issues, even between major iOS updates. If you see that you have an iOS software update available on your iPhone, make sure to install it as soon as you can.
Make sure you are taking photos and videos correctly by holding your phone as steadily as you can, ensuring that you have good lighting, and focusing on the subject by tapping on it before you shoot.
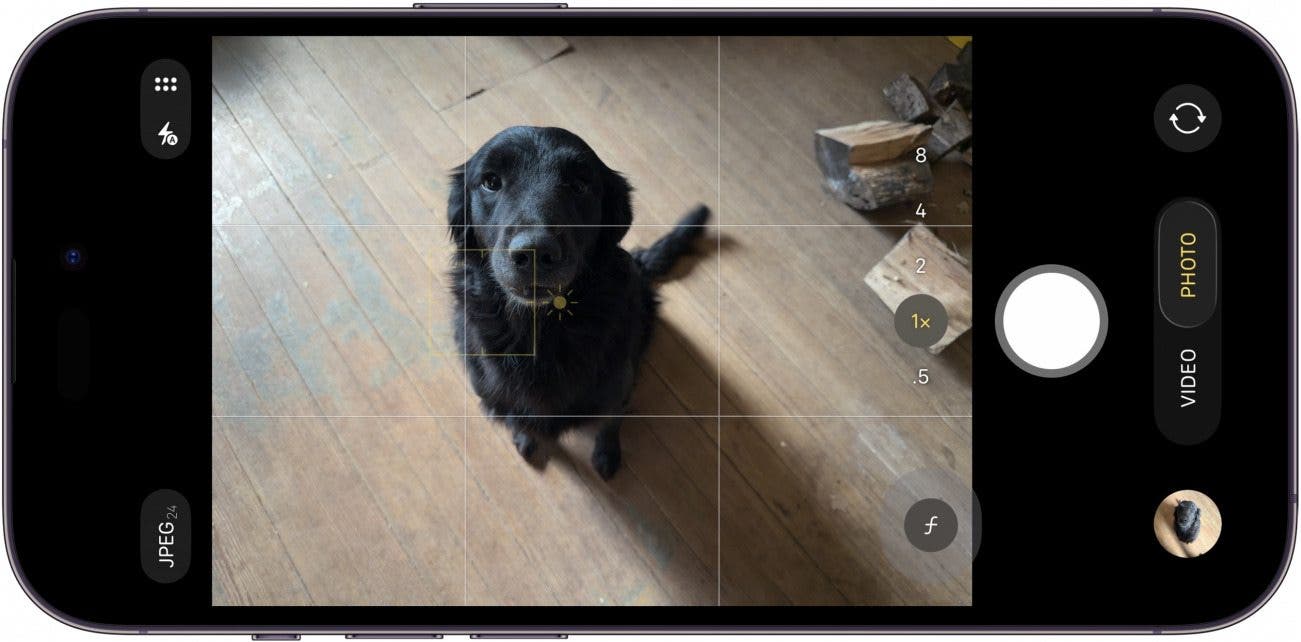
There is so much that our iPhones can do for us in terms of iPhone photography and videography. Auto-focus, video stabilization, night mode, and other features improve your content automatically. That being said, the best photos are taken in good natural or artificial lighting, a stable grip, or even the use of a tripod, and always tap on the subject on your screen in the Camera app before you start shooting to improve the odds of a successful photo and/or video. Understanding how the iPhone lenses and zoom work can also be useful. Learn how to use iPhone camera lenses correctly, and the difference between optical zoom and digital zoom will level up your photography game big time.
Go over your camera settings and make sure you turn the Grid on, select the Most Compatible format, enable Macro control, and see what else you can tweak.
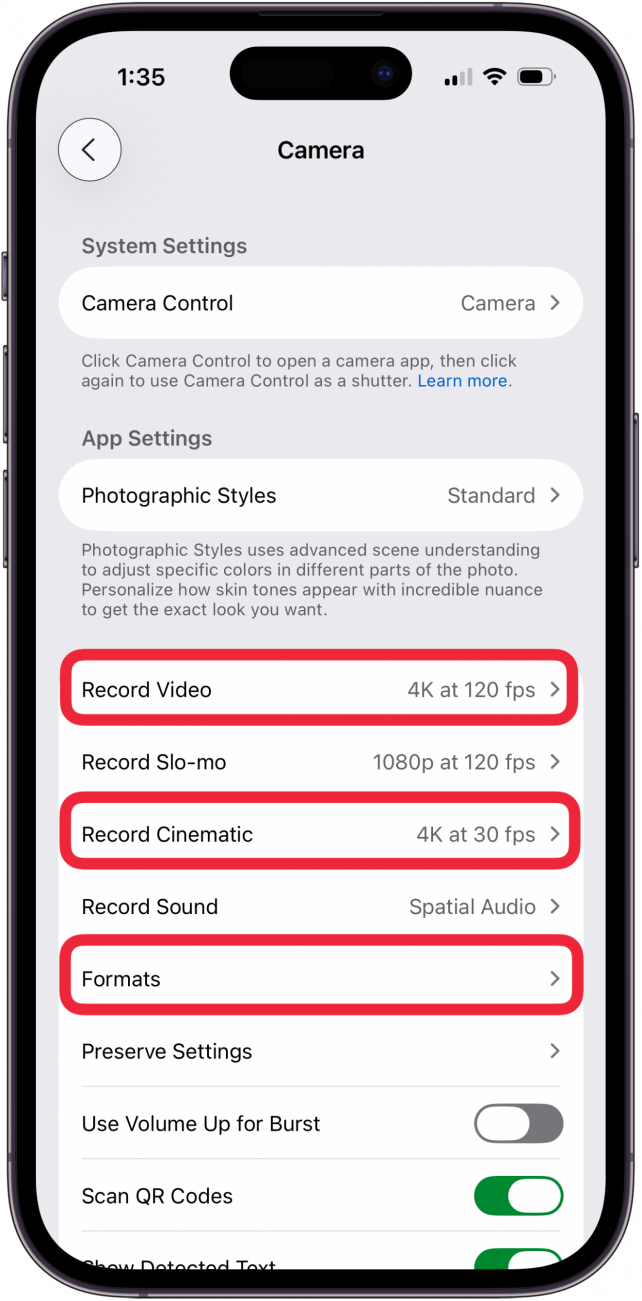
Many of us just use our iPhone cameras to point and shoot, which works just fine in most cases. However, there are certain settings that you can adjust to make sure your photos and videos are the best they can be.
- Open the Settings app.
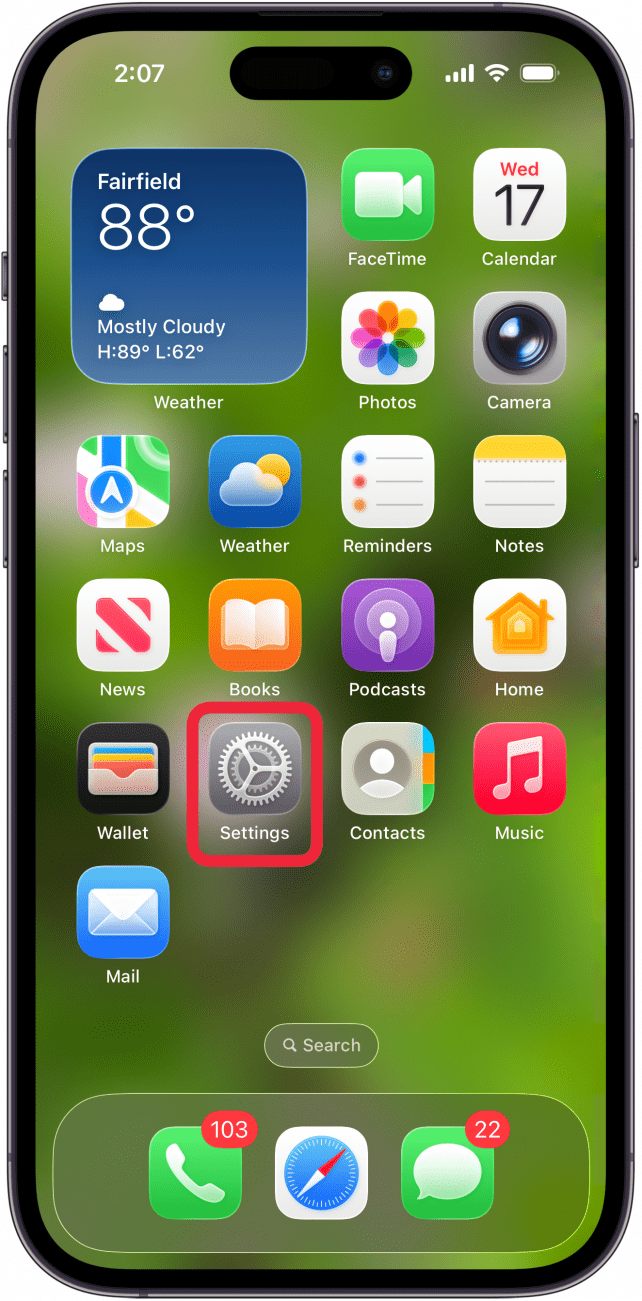
- Tap Camera.
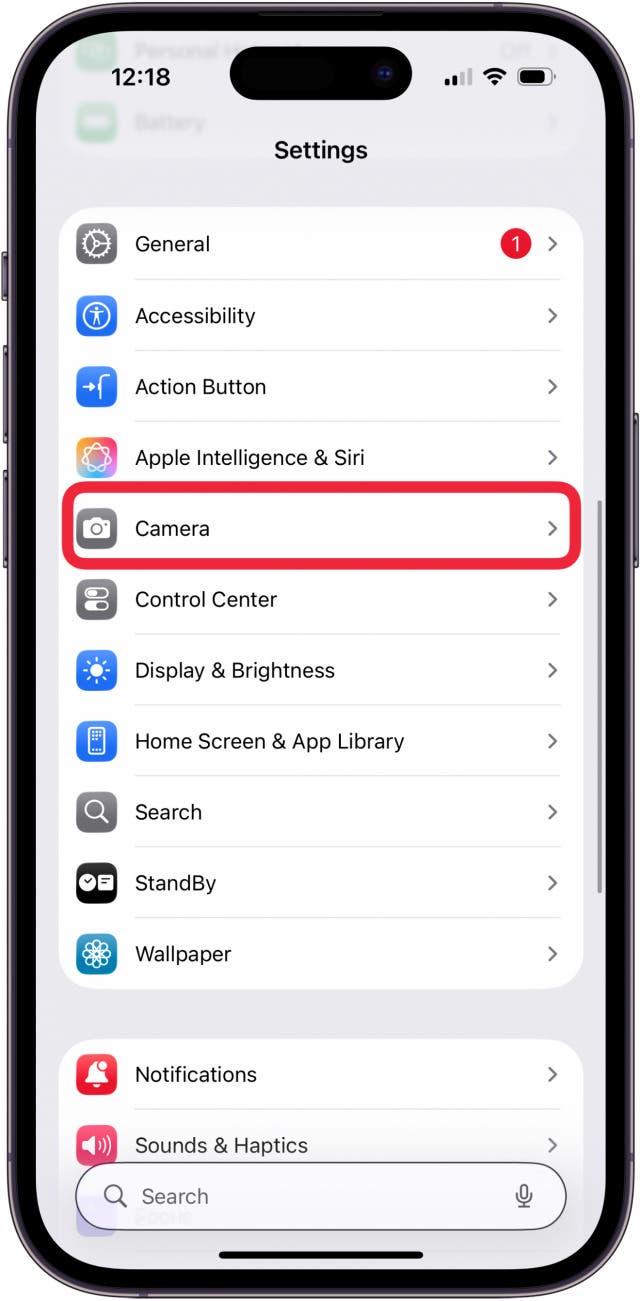
- For best-quality videos, make sure to Record Cinematic and select the best-quality option in each section. On the iPhone 16 Pro Max and most newer iPhones, 4K is the best quality, and the higher fps is preferred.

- Tap OK if you agree to the high efficiency compatibility warning; choose a lower fps rate if this won't work for you.
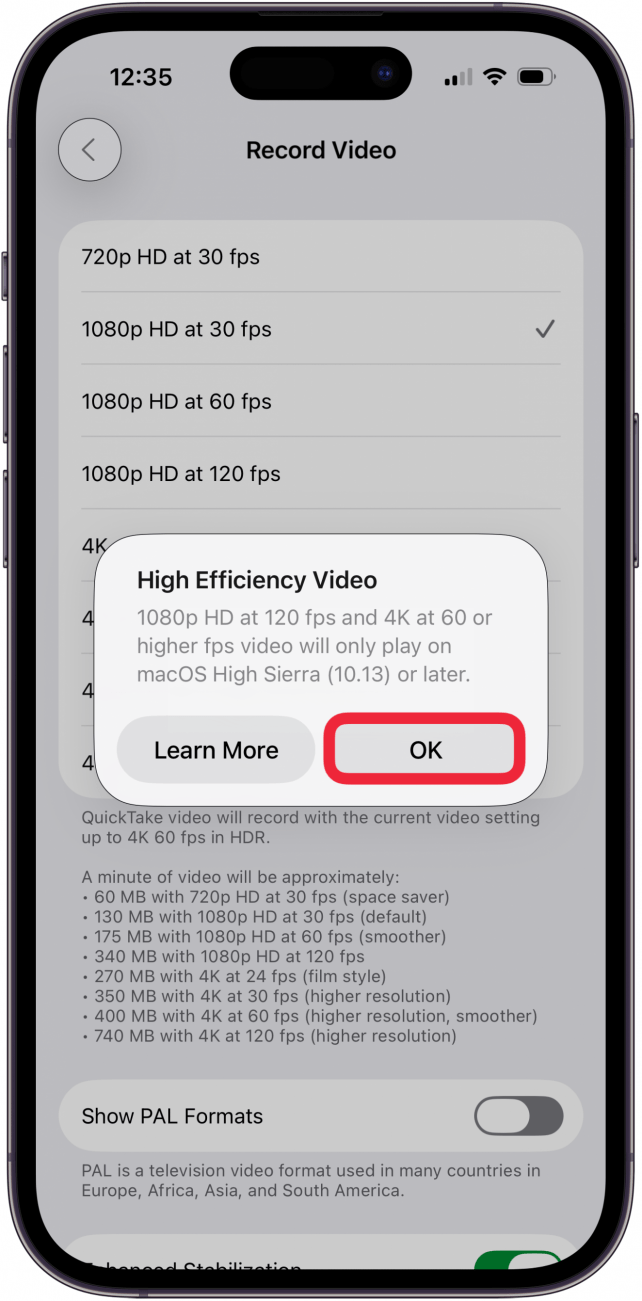
- Next, make sure you have the highest Default Lens selected for Photo Mode if you have a newer, higher-end model, such as iPhone 15 Pro and later.
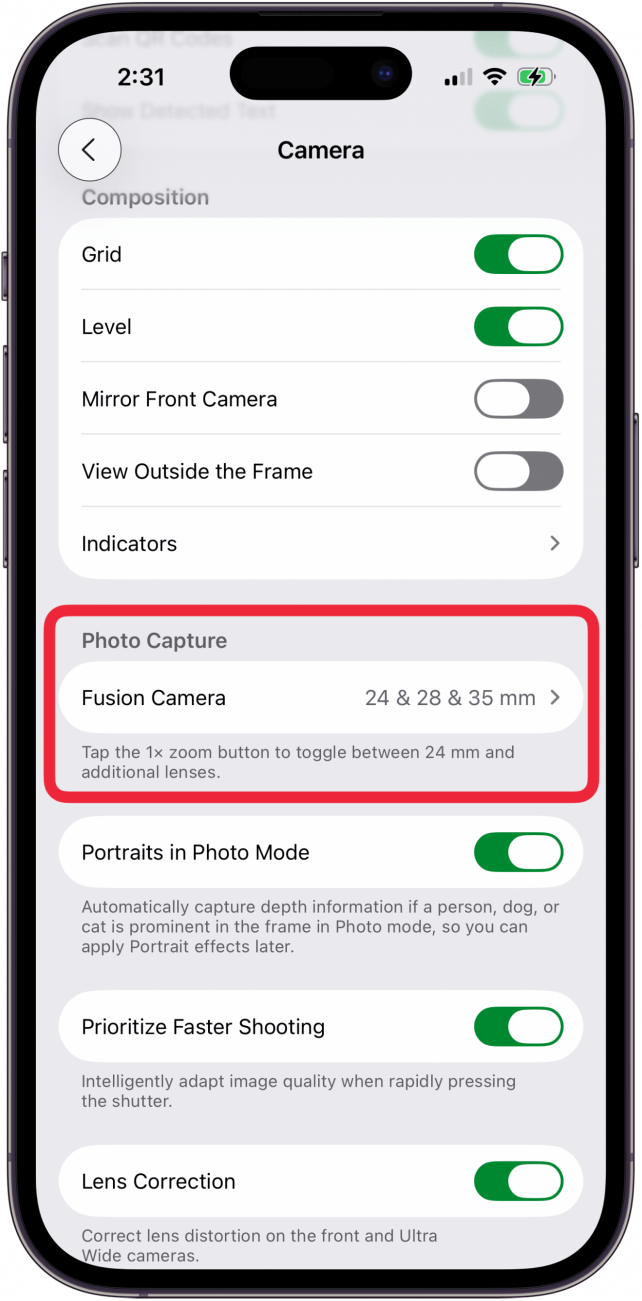
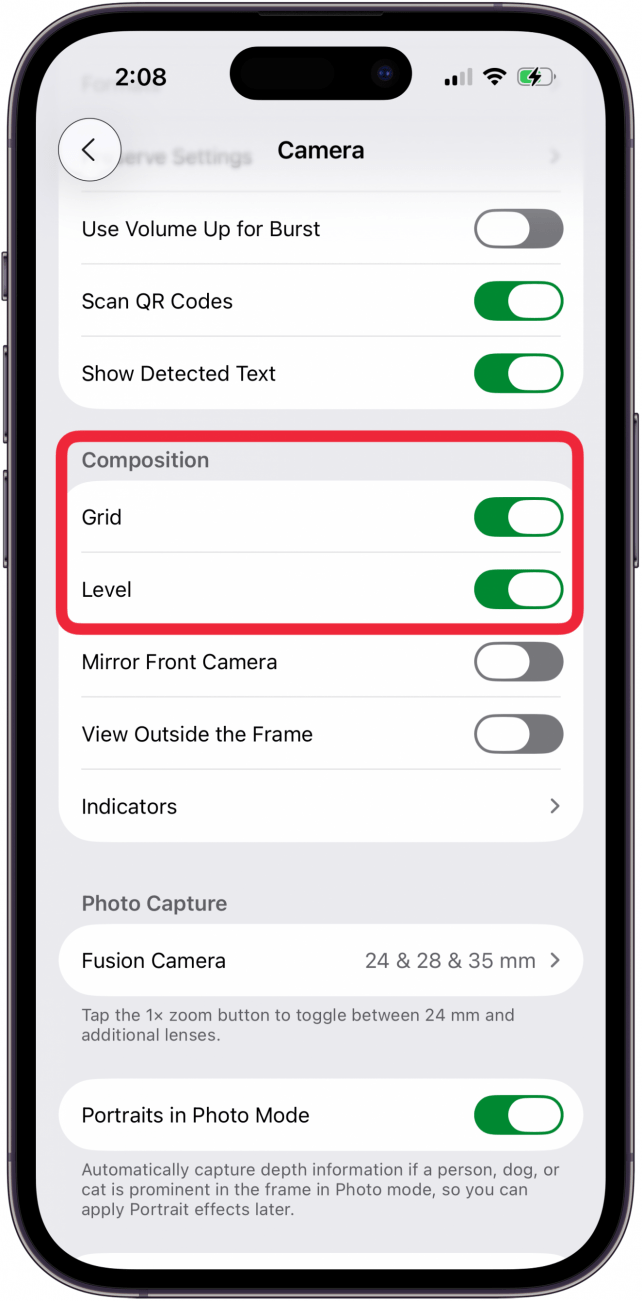
- Return to Camera settings and scroll down to Composition. Here, make sure to toggle the iPhone camera Grid and Level on; this will help you hold your phone steadily in place, plus you'll get to apply the rule of thirds to your photography.
- Keep scrolling down and make sure to toggle on Macro Control. This gives you the power to turn Macro on or off, which prevents a blurry camera and even blurrier photos.
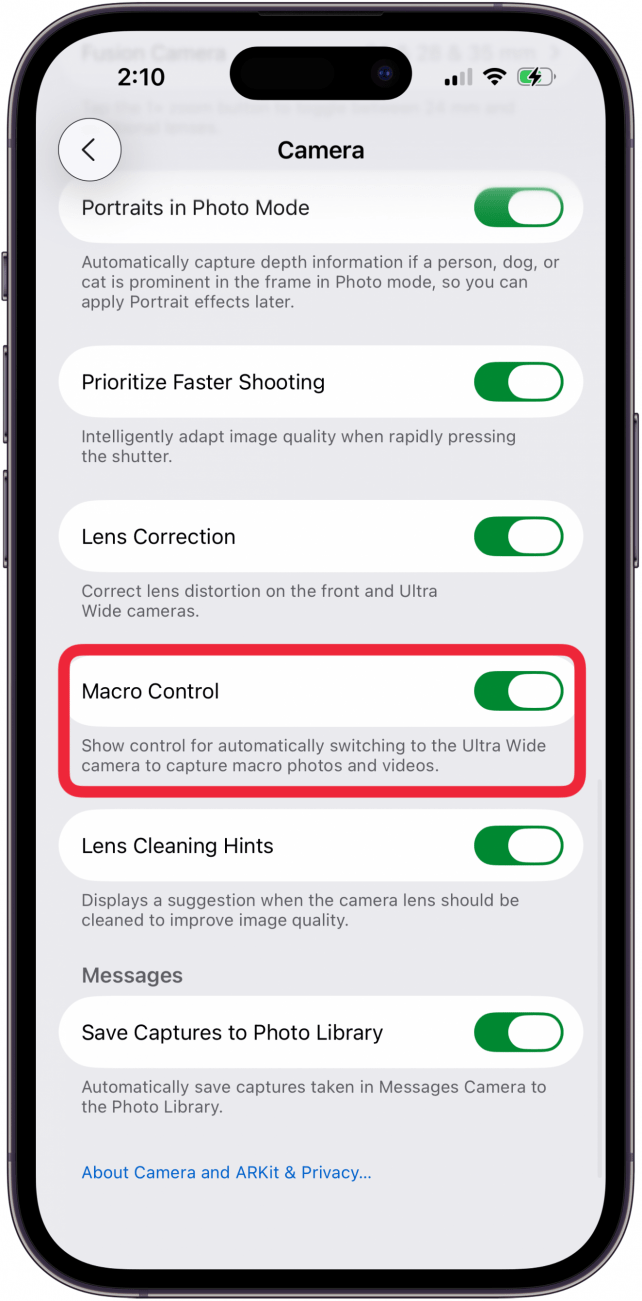
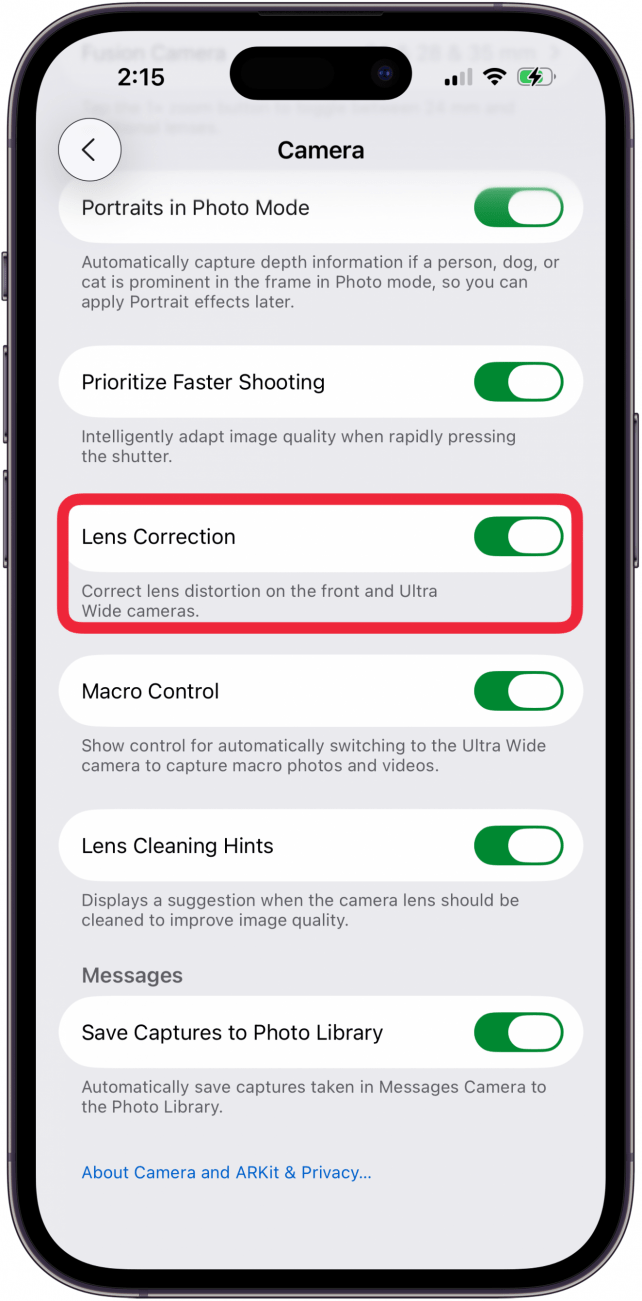
- Finally, Lens Correction is something that uses artificial intelligence to correct the distortion that “zooming out” has on photos. This distortion can look like a blur and makes the outer edges of a photo look wonky due to the fisheye effect, so some users prefer to keep it toggled on. Other users have noticed that the automatic correction can cause a blur, so they toggle it off. I leave it on, but I recommend trying both to see what works best for you.
Pro Tip
The Portraits in Photo Mode toggle lets you turn a regular photo into a Portrait photo as long as an obvious subject is detected. Portrait mode is basically a series of mobile phone camera settings to blur backgrounds and focus on the subject, also known as the bokeh effect. If you take a photo in Portrait mode or have edited a regular photo to have the blurred bokeh effect, you can always remove the effect.
Now, you know the best iPhone camera settings to make your photos clear and not blurry. These settings should help make a difference, but make sure to check the next step to get the best possible results.
Use the Photos app editing features to fix a blurry image that you’ve already taken.
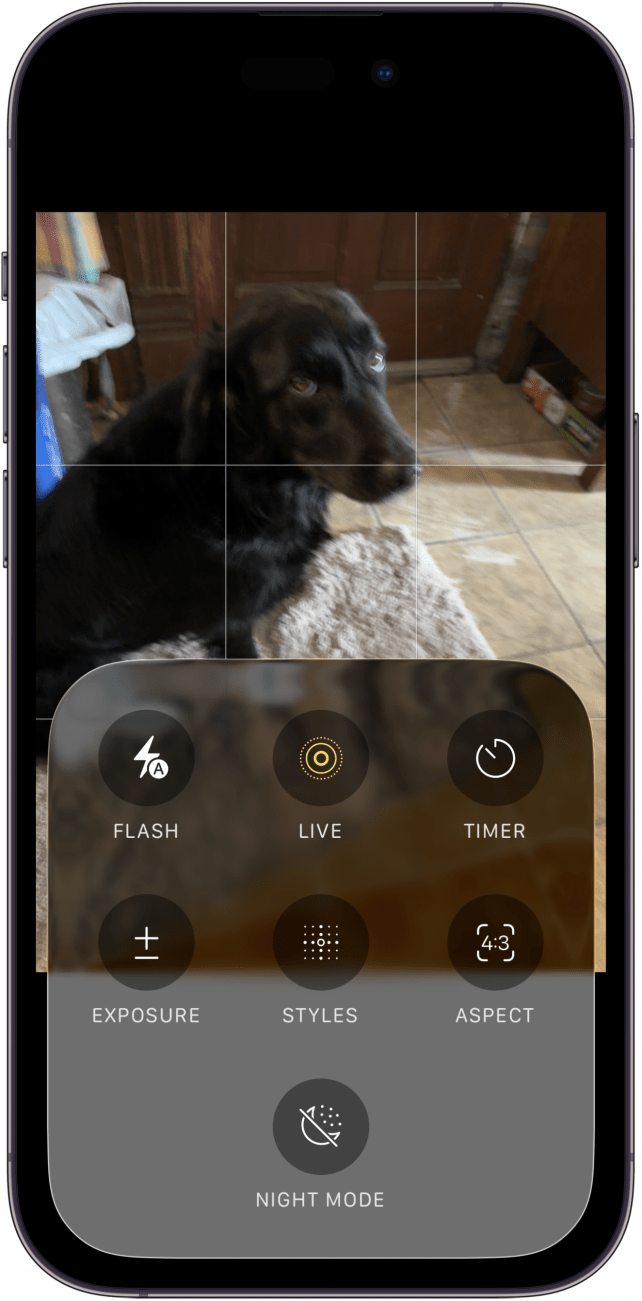
If you’ve already taken a photo and it looks blurry, you might be able to save it! If you have the Live Photos feature turned on automatically, which we recommend, you can select a different Key Photo. To clarify, Live Photo is a feature that animates your photos, letting you turn them into GIFs or short videos because your camera automatically takes a video 1.5 seconds before you take the shot and for 1.5 seconds after.
When you edit a live photo in the Photos app and tap on Live, you can see all the stills from the 3 seconds of footage, and you can select a different Key Photo. While your iPhone is usually good at selecting the best Key Photo, sometimes it may look blurry even though there is a better option available in your editing settings.
Warning
Why are my pictures blurry on my iPhone camera roll? Sometimes, you take a bunch of photos that seemed to be great at the time, but later on, when you scroll through your camera roll, they look blurry. Before you panic, tap on the photo to open it in full screen and wait a second. Sometimes, the best quality version is uploaded to iCloud, and you need to wait a bit for it to re-download in full resolution, which makes it look blurry originally, but only for a short time.
Now you know how to fix a blurry picture on iPhone cameras even before you take it, but sometimes even after you’ve pressed the shutter button. There are many variables that need to come together to take a quality photograph, and we hope we have given you the tools to take your iPhone photography to the next level.
For more iPhone camera tips, don't forget to sign up for our free Tip of the Day newsletter!
FAQ
- What does Lens Correction do on an iPhone? Lens Correction is a photography setting that is automatically enabled on your iPhone. When you use the front-facing camera or the ultra-wide lens (for macro photography), the image is automatically enhanced to avoid image distortion and make the picture look more natural.
- What does Macro Control do on an iPhone? When you enable Macro Control in Settings, your Camera app displays a macro button when your iPhone is within macro distance of a subject. Then, you can tap the macro button to turn off automatic macro switching, and tap it again to turn automatic macro switching back on. This gives you better control if you're struggling with blurry photos.
- Which iPhone has the best camera? Right now, the best iPhone camera can be found on the iPhone 16 Pro and Pro Max. The higher-end models on newer phones are generally the best because they have been upgraded since the previous model.
- How to take professional photos with iPhone? Not all professional photos can be taken with an iPhone, but you can get some impressive results by following the steps in this article.
- How to fix camera not working on iPhone? If your iPhone camera stops working, test your camera in other apps and check your privacy settings to make sure apps have access to your camera. If that doesn't help, force restart, update your device, and close the Camera app to see if that resolves the issue.

Olena Kagui
Olena Kagui is a Feature Writer at iPhone Life. In the last 10 years, she has been published in dozens of publications internationally and won an excellence award. Since joining iPhone Life in 2020, she has written how-to articles as well as complex guides about Apple products, software, and apps. Olena grew up using Macs and exploring all the latest tech. Her Maui home is the epitome of an Apple ecosystem, full of compatible smart gear to boot. Olena’s favorite device is the Apple Watch Ultra because it can survive all her adventures and travels, and even her furbabies.
 Leanne Hays

 Rhett Intriago
 Ashleigh Page
 Rachel Needell
 Olena Kagui
 Amy Spitzfaden Both


 Susan Misuraca
