An iPad on its own is a great device, but it has limitations. Adding a Folio case, a Bluetooth mouse, a keyboard, and an Apple Pencil to your setup will completely transform your iPad experience. Here are some of our favorite iPad accessories and a few tips on how to use them.
Apple Pencil & How to Use It
While not for everyone, the Apple Pencil is amazing as far as styluses go. You may be wondering what a stylus is actually good for. The answer? You’ll find it useful for tasks that require more precision than your finger yet more flexibility than a keyboard—think old-fashioned note-taking, painting, signing electronic documents, and playing games.
The Pencil excels at all of this, with sensors that can detect position, force, and tilt. Much like an actual pencil, a light touch gives you a lighter stroke, and harder pressure makes a heavier stroke. It has amazingly low latency, meaning there’s no noticeable lag time between when you move the Pencil and when the appropriate markings appear on the screen.
Which Apple Pencil Should You Get?
Currently, there are two generations of the Apple Pencil, and they each pair with different iPads.
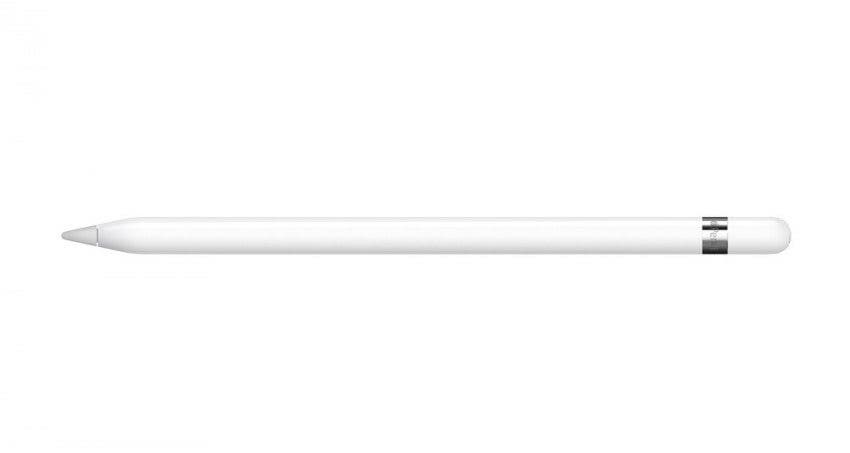
The first generation Apple Pencil is compatible with:
- iPad (6th, 7th, and 8th generation)
- iPad Air (3rd generation)
- iPad mini (5th generation)
- iPad Pro 12.9-inch (1st and 2nd generation) • iPad Pro 10.5-inch
- iPad Pro 9.7-inch
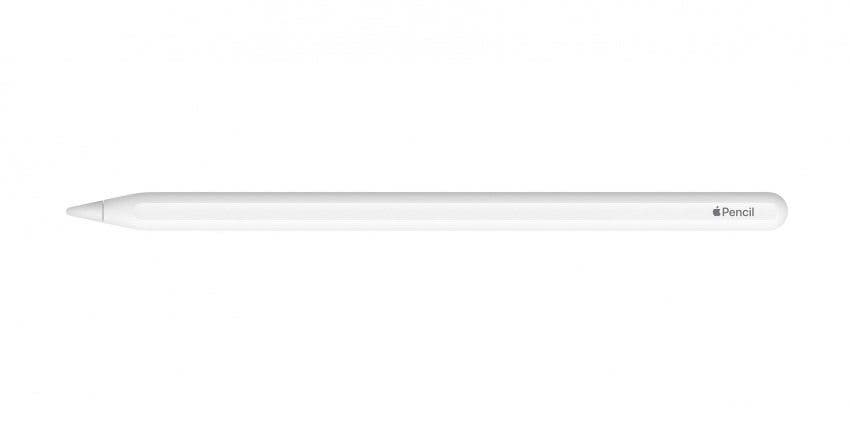
The second generation Apple Pencil can be used with:
- iPad Pro 12.9-inch (3rd, 4th, and 5th generation)
- iPad Pro 11-inch (1st, 2nd, and 3rd generation)
- iPad Air (4th and 5th generation)
How to Take Screenshots with your Apple Pencil
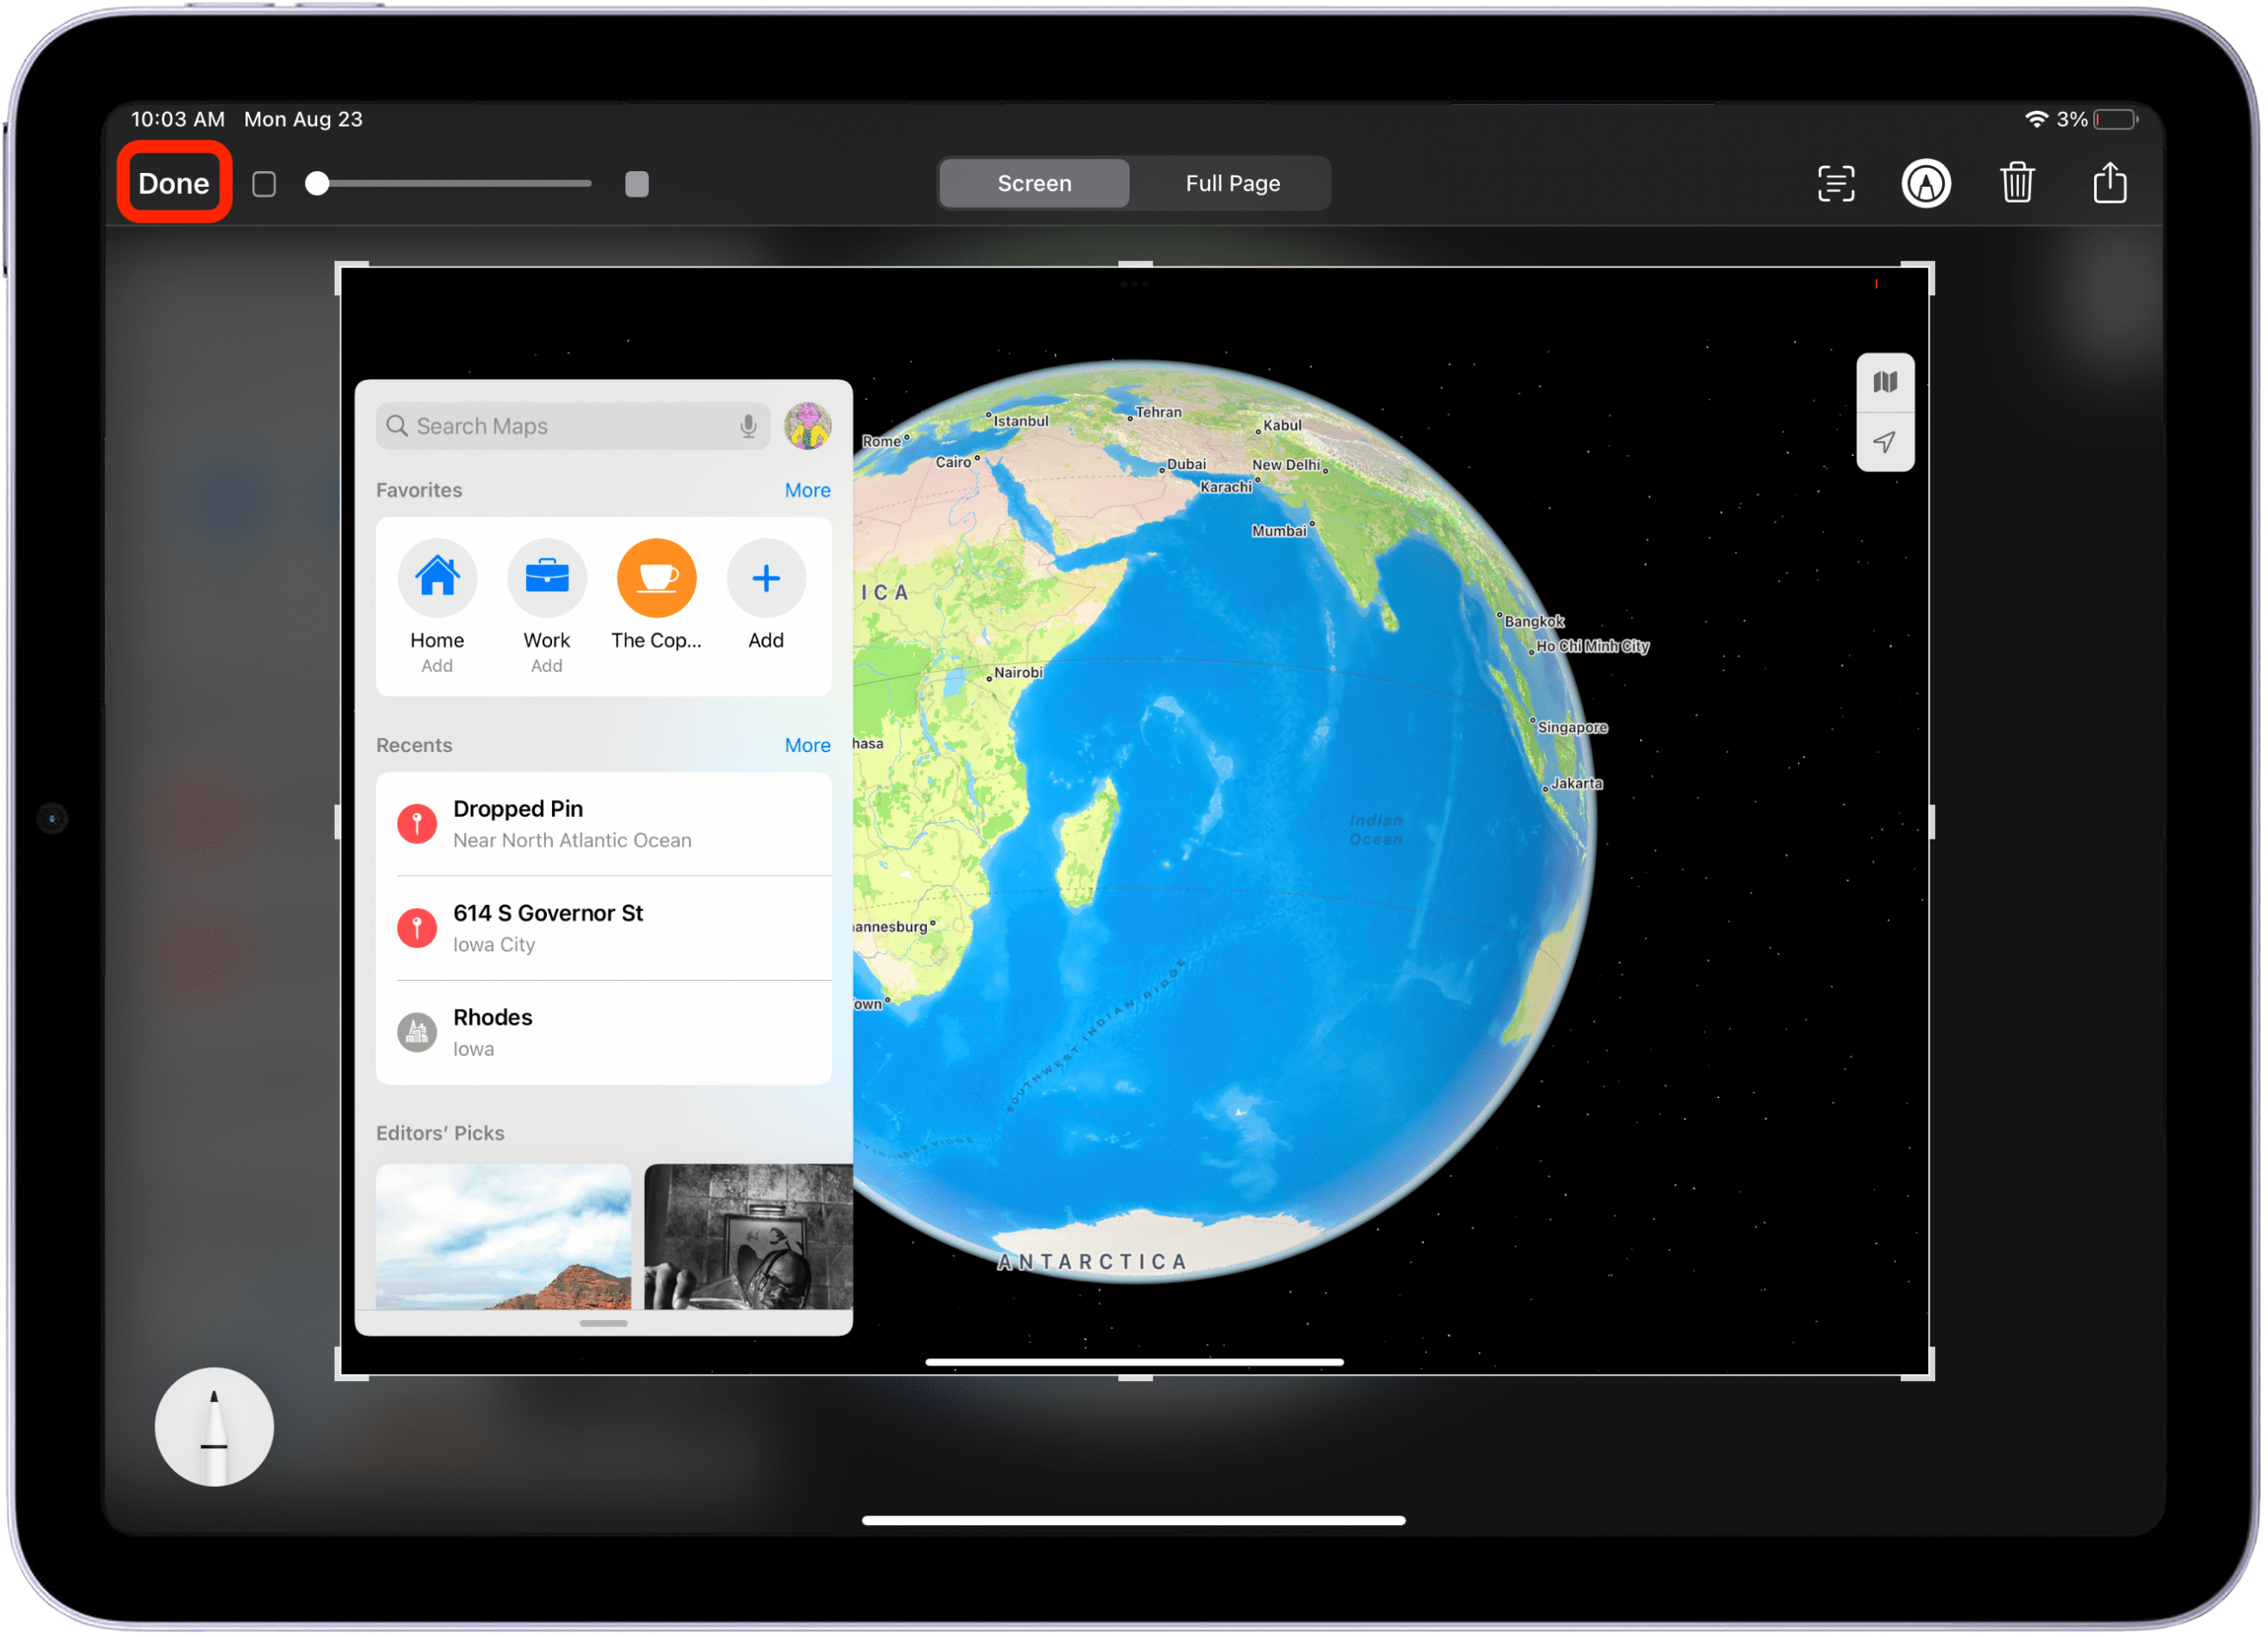
Taking an iPad screenshot using the iPad’s physical buttons can be a pain. The iPad’s buttons are far apart, plus it’s easy to get the combination wrong and accidentally lock the iPad. But, if you have an Apple Pencil, then you can use a simple sliding gesture to quickly capture an iPad screenshot without having to fumble for the right buttons. To do this:
-
Place your Pencil on the bottom left or right corner of the screen. Drag the pencil toward the middle of the screen—the Pencil needs to be placed exactly at the corner for this gesture to work.
-
Mark the screenshot up as needed and then tap Done to save the screenshot.

How to Draw with the Apple Pencil
The Apple Pencil tip is pressure-sensitive, which is especially helpful for any app that allows for drawing (such as Notes). With less pressure, you can draw thinner lines or lighter strokes of color. As you press down on the Apple Pencil tip, the lines will become thicker and the colors more opaque. The whole tip (also referred to as a nib or cone) is usable for your creative endeavors. Try tilting the Apple Pencil, and you'll see the side of the tip works well for shading, much like a regular coloring tool. As you use the Apple Pencil, you'll notice it seamlessly goes from art tool to stylus. You can alternate between working on your project and tapping on your iPad with the Apple Pencil to open menus or access multitasking features like Slide Over or Split View.
If you're using an Apple Pencil 2, this accessory has an additional feature the original Apple Pencil lacks. You can customize the settings of the Apple Pencil 2 so that when you double-tap the lower part of the Apple Pencil 2 barrel (above the tip), it will toggle between tools within an app. For example, within the Notes app, you can set the double-tap to toggle between a drawing tool and the eraser. Within other apps, the double-tap can also be used for actions such as opening a color palette or opacity menu.
How to Use Scribble with your Apple Pencil
As of iPadOS14, Apple introduced a powerful new function for the Apple Pencil called Scribble. Basically the way it works is you can handwrite in any text field and your iPad will automatically convert your handwriting into typed text. It actually works really well. I’ve found that it pretty much always translates what I’m trying to write. Until now, the Apple Pencil has largely been a tool for designers and illustrators, but with this update, its usefulness has been massively amplified. If you’re a person who prefers to write by hand, this could be a great alternative. You can use Scribble just about anywhere where you would type, including Messages, Mail, Safari, or Facebook. So let’s try it out.
Enabling Scribble
Quickly, before we start with the fun stuff, we just want to check our settings and make sure that Scribble is enabled. To do this, open Settings, tap Apple Pencil, and make sure Scribble is toggled on

Writing Messages
Let’s try using Scribble to write out a message in the Messages app.
-
To do this, first start a new message. Then tap in the text field with your Apple Pencil and begin writing. Your iPad will automatically translate your handwriting into typed text.
-
You’ll want to keep an eye out for this Apple Pencil icon. If you tap this, it brings up this context menu, giving you access to an undo button, a redo button, onscreen keyboard access, a page break, and some other options. This toolbar is going to have different controls based on what you’re doing.
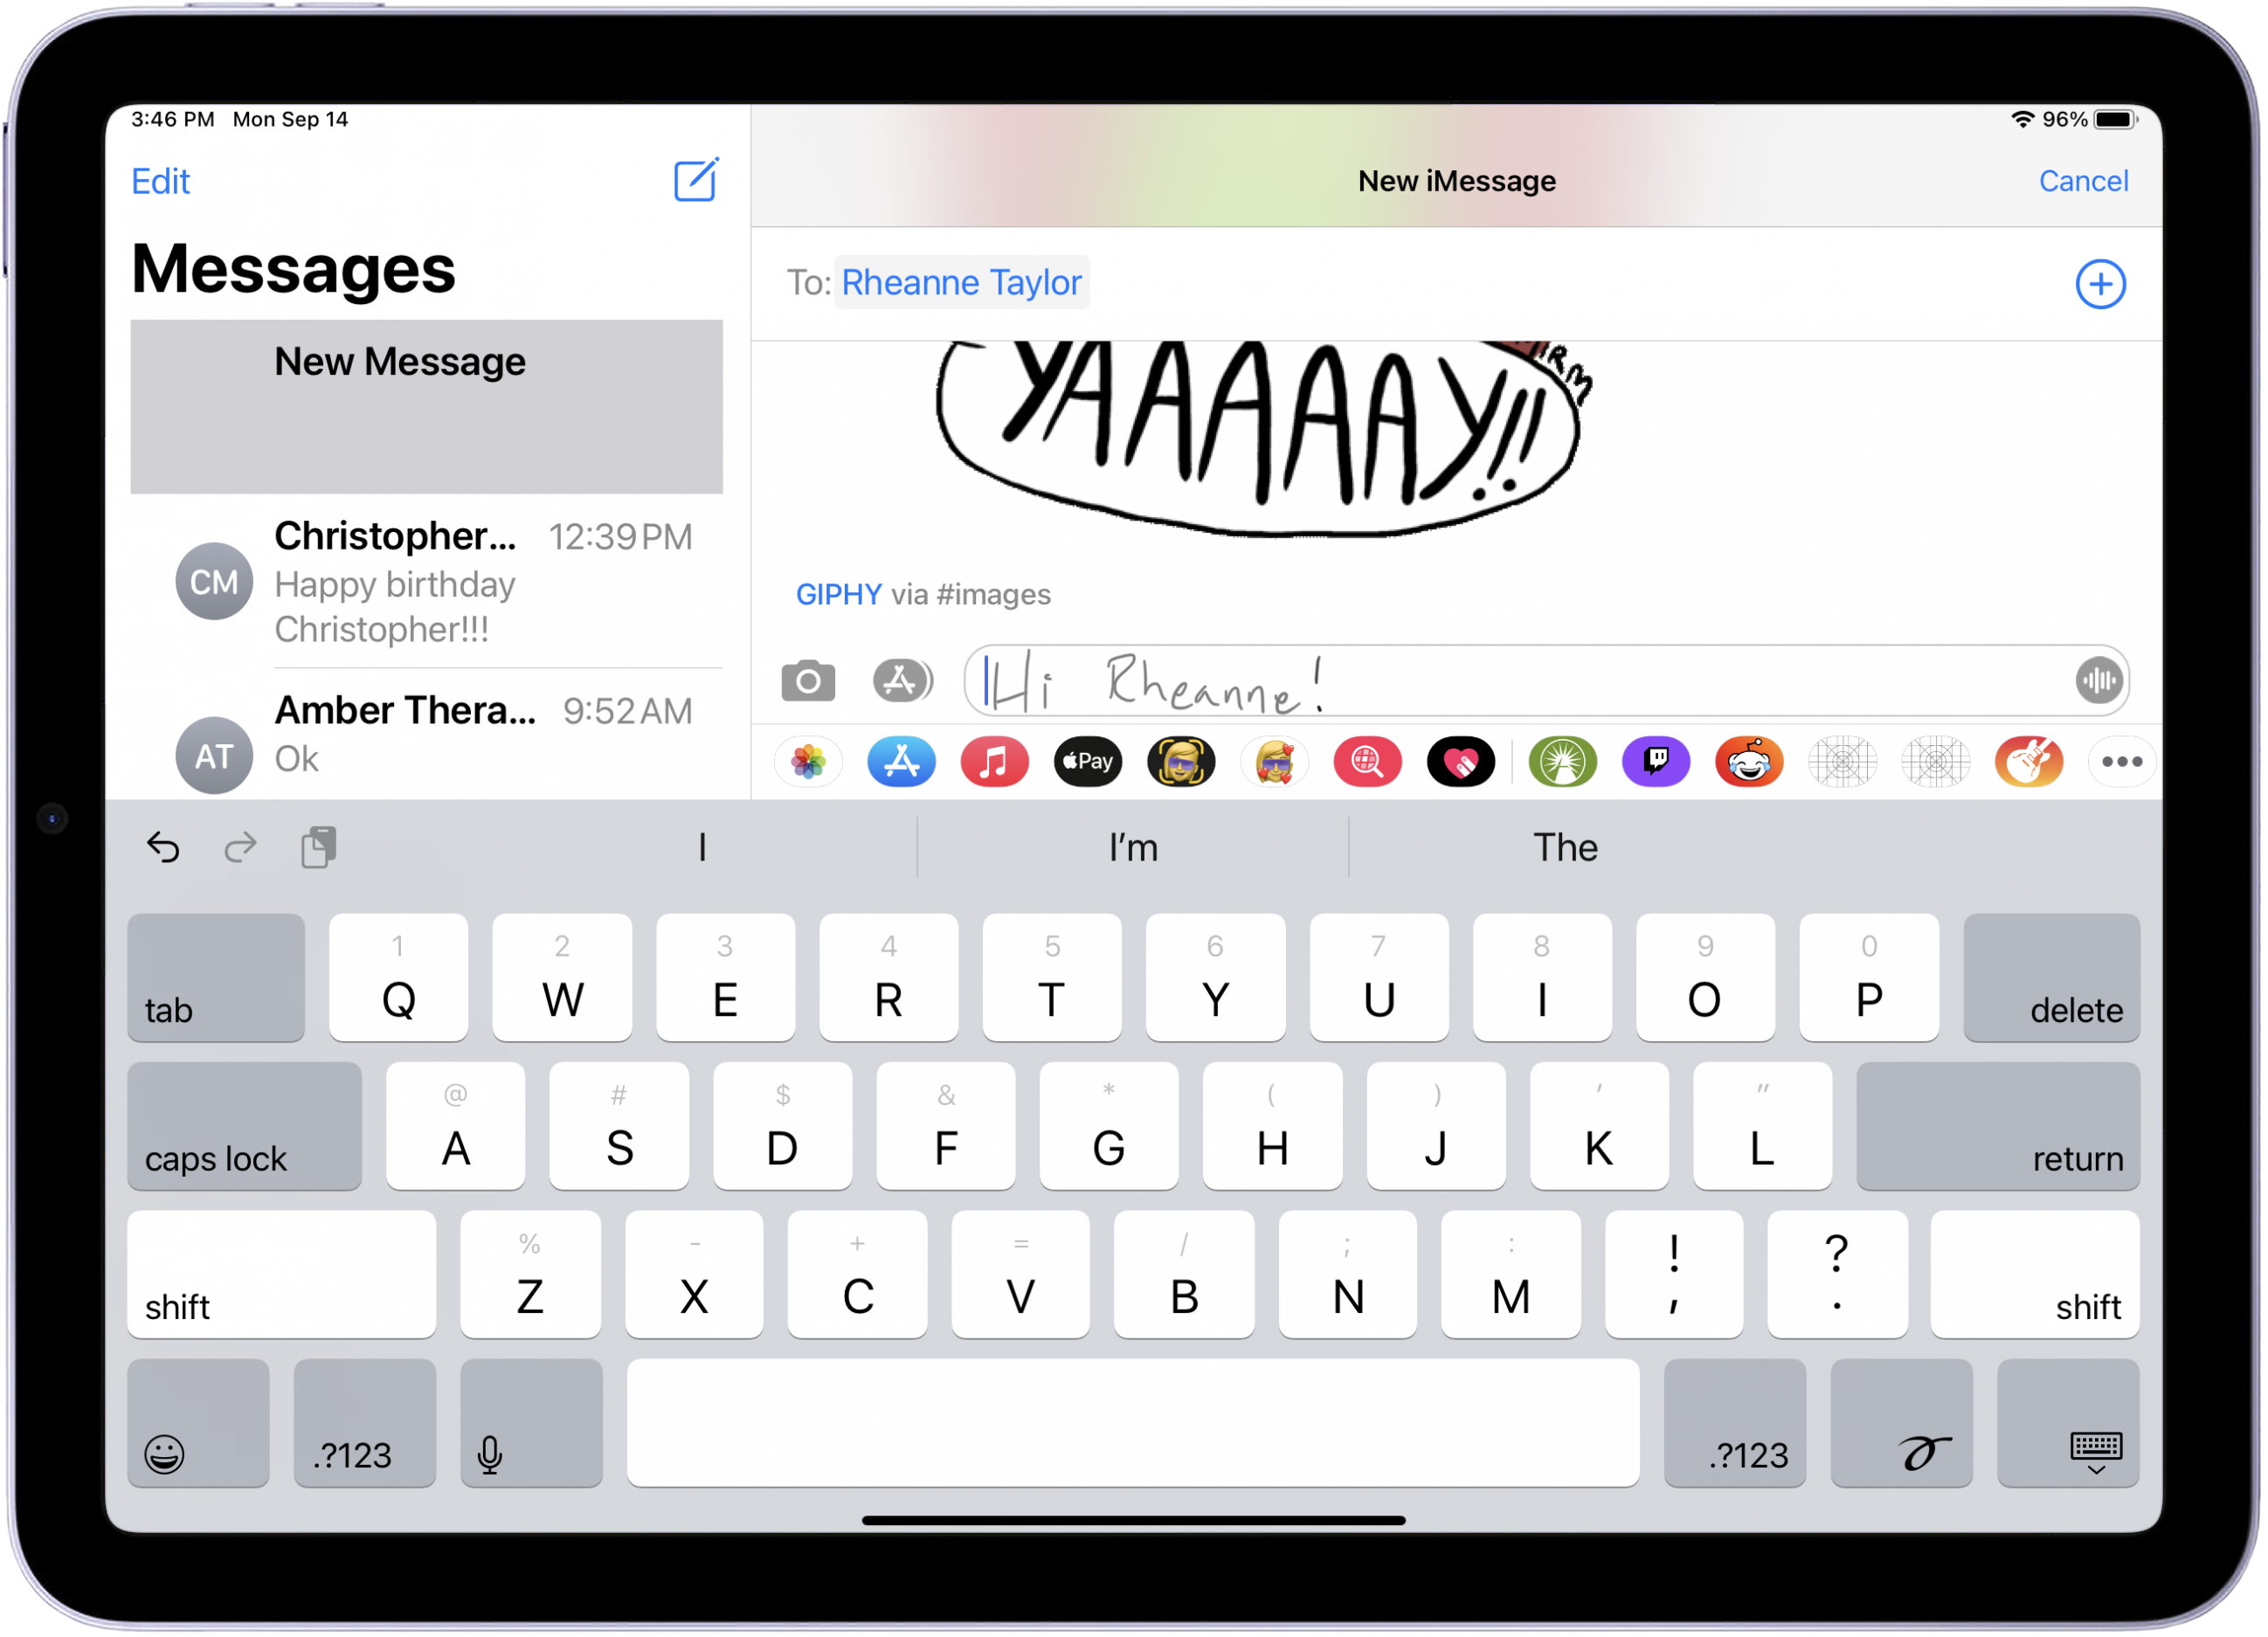

If you happen to make a mistake while writing, which is bound to happen, all you have to do is scratch out the word, and it erases it. You can also select a word by circling it. If you want to start a whole sentence over, you can just circle it to select it, and then just write your new words after it.
Best Ways to Use the Apple Pencil in Notes
More so than any other app, the Notes app has some incredible new functionality with the Apple Pencil. Apple took a cue from one of our favorite iPad apps, Procreate, and added a new feature that allows you to create cleaner shapes.
-
To do this, just draw a shape, hold your pencil in place without lifting for a moment, and then the iPad will detect your shape and create a nice clean version of it.
-
You can also create handwritten notes in the Notes app, but if you want it to actively convert your handwriting to text, you can do that too. Just tap the stylus icon to bring up your Apple Pencil tools if they’re not already active. Then choose the pencil tool that has the letter A on it. This is going to actively convert what you’re writing into typed text as you write it. You can turn this off by choosing any of the other pencil tools.
-
You can move handwritten text around in new ways. If you handwrite something out, you can tap and hold on a word and it’ll select it. Then you can tap, hold, and drag to move the text around within your note. Once you’ve selected a word, you can drag your handles to choose what parts of the handwritten text you want, and from there you can duplicate or delete the words.
-
Tap the Copy as Text option to copy what you’ve just written, and then paste it anywhere as typed text (such as a text message, Google Doc, or email).
-
You can also tap the Translate option to translate typed or handwritten text into your preferred language.


Keyboards
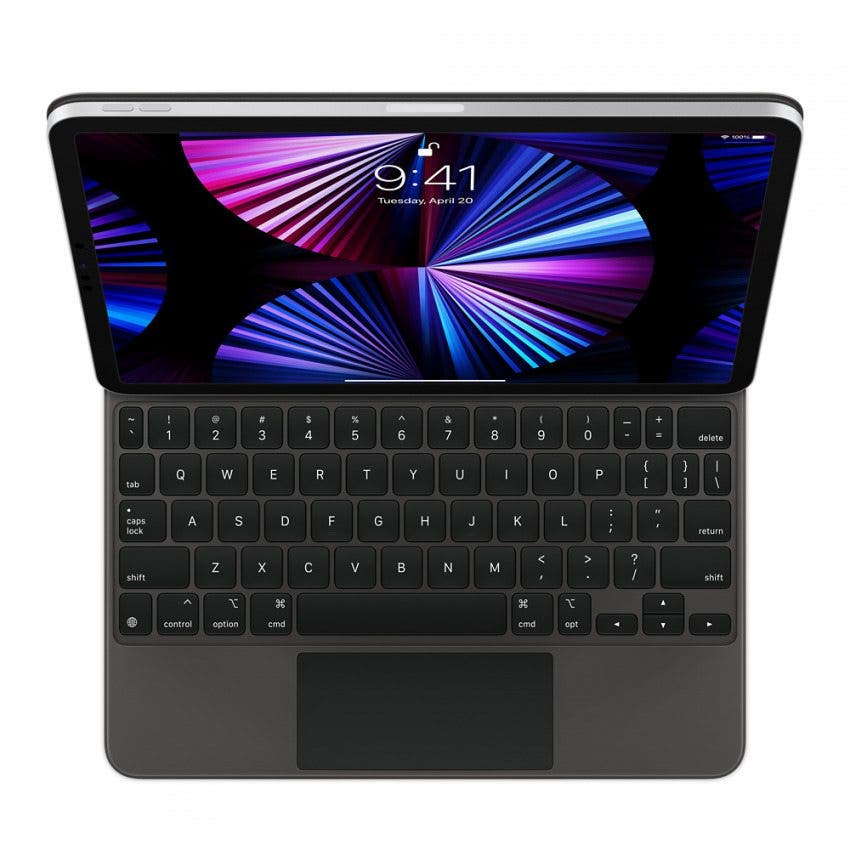
Apple Magic Keyboard with Trackpad - ($299)
The Apple Magic Keyboard is a full-sized, backlit keyboard that allows users to attach their iPad Pro or iPad Air magnetically, then adjust to multiple viewing angles. This keyboard offers USB-C pass-through charging, so the port on the iPad is free for connecting other accessories. The keyboard works with the latest version of iPadOS to facilitate responsive gestures, so you'll have your smoothest iPad workflow ever.
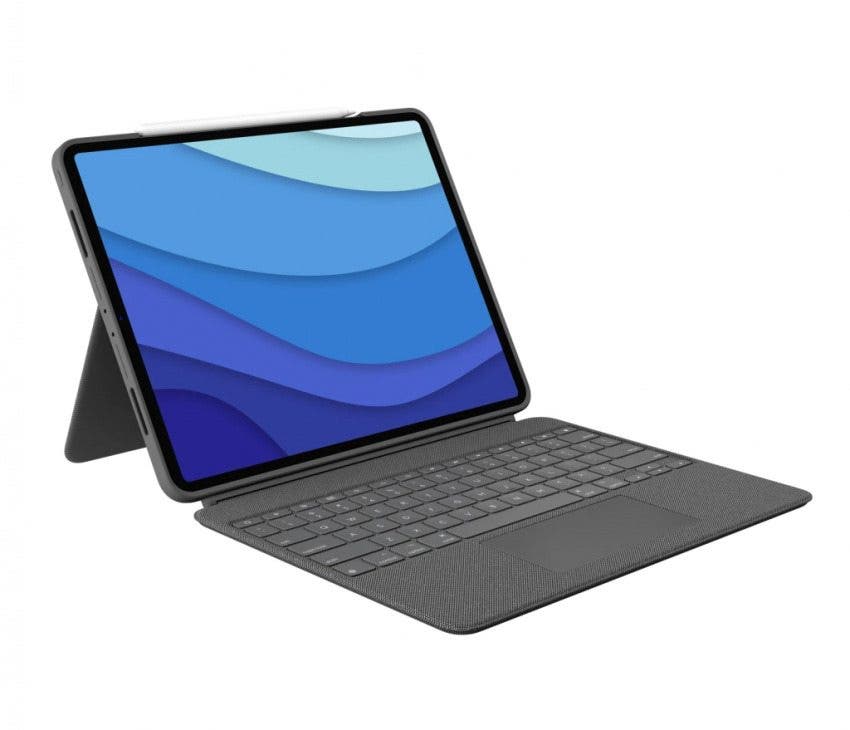
Logitech Combo Touch Keyboard - ($149-$229)
This backlit keyboard-trackpad-case-in-one is the only third-party keyboard that connects directly to the iPad via the magnetic ports that Apple’s Magic Keyboard connects to. The convenience of having a keyboard that connects directly to the iPad as opposed to using bluetooth makes for a superior typing experience that never freezes or glitches. Additionally, unlike Apple’s Magic Keyboard, it has a solid protective case that offers multiple viewing angles. The only potential downside of this case is that it is a bit on the heavy side.

Brydge MAX Keyboard - (Starting at $149.99)
If you’re looking for something a little less pricey than Apple’s Magic Keyboard, Brydge offers a variety of wireless keyboards with trackpads for the iPad Pro and iPad Air, with options including different keyboard sizes and larger trackpads. With a multi-touch trackpad and adjustable backlit keys, this keyboard will help to provide the functionality of a laptop at a lower cost than Apple offers..
iPad Cases

STM Atlas Folio Case - ($39.95–$69.95)
This fabric-covered folio case stylishly protects my iPad on every side. I love how easy it is to find the perfect viewing angle when I use it as a stand and the way the cover’s magnetic closure saves energy by sending the iPad to sleep. Bonus! If you have an iPad with Apple Pencil support, the Atlas will keep the Pencil snug and protected in its holder when the folio is closed.

Zagg Messenger Folio Tablet Keyboard Case - (Starting at $19.99)
This folio case holds the iPad Pro securely in place and works with screen protectors if you want extra protection. I found the keyboard to be small but easy to type on, and I liked that I could easily adjust the iPad screen to any angle. The case also includes an Apple Pencil holder. The keyboard is not detachable, but you can fold it out of the way when using just the iPad.

Otterbox Defender Series Pro iPad Case - ($89.95–$129-95)
If protecting your iPad from falls and drops is a top priority for you, we highly recommend the Otterbox Defender Pro. The case has port covers to block dirt and debris, anti-microbial technology to help stop the growth of germs and bacteria, and slightly raised edges to protect the iPad’s camera and screen. This case allows easy access to the Apple Pencil and a comfy grip.
Adapters
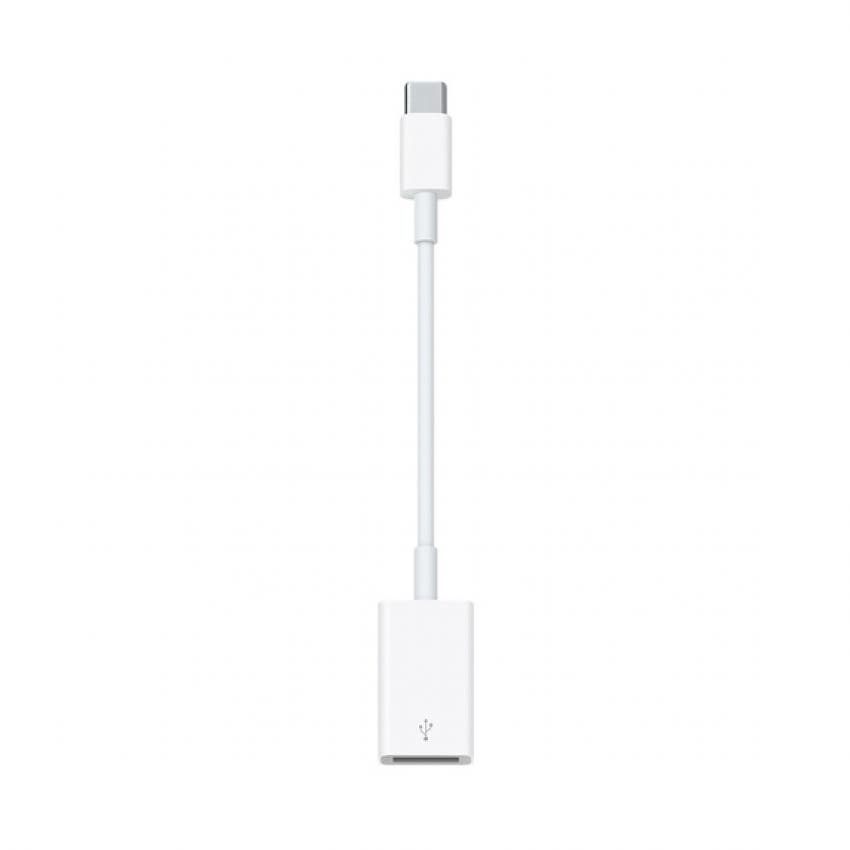
Apple USB Adapter - ($19–$29)
Apple kept the iPad very sparse when it comes to ports, which complicates otherwise straightforward tasks like offloading photos from your digital camera or recording high-quality audio with a USB microphone. Yet this doesn’t have to be an issue if you invest in a USB adapter (Lightning to USB or USB-C to USB, depending on your iPad model). Once you have one, you’ll be pleasantly surprised by how versatile your iPad will become. If you like sharing slideshows or making presentations, you might also want to pick up an HDMI adapter or VGA adapter to project your screen on a TV or computer.
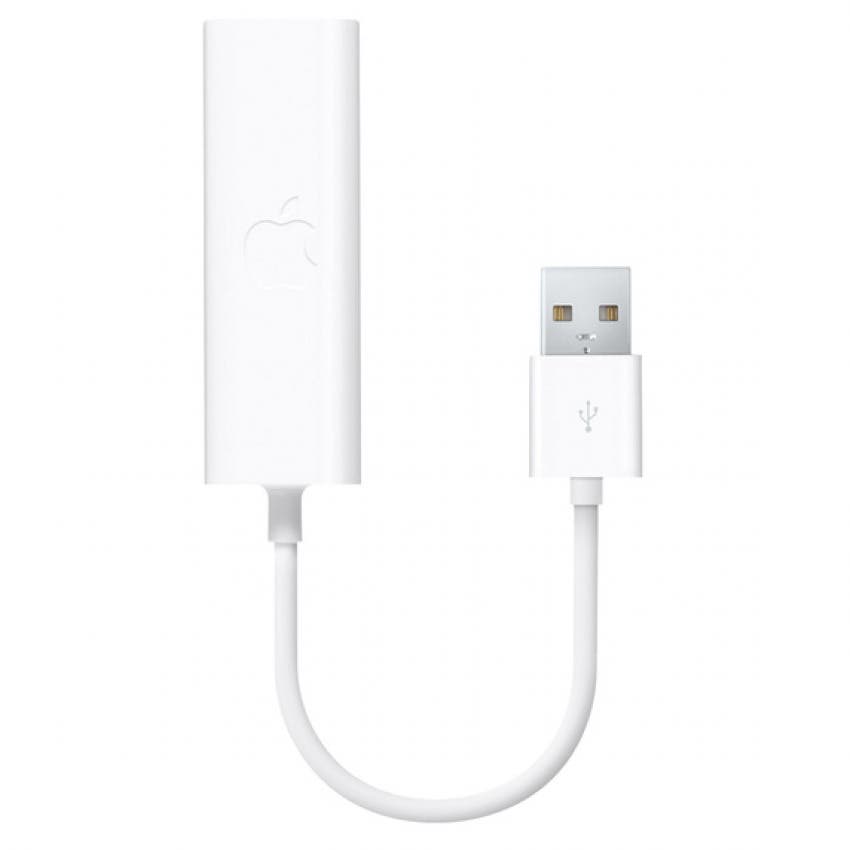
Apple USB-C to Ethernet Adapter - ($29.95)
If you’re planning to use your iPad as a serious work tool, you’re going to want an Ethernet adapter for a guaranteed high-speed internet connection. A limitation of the iPad is that it’s built to connect solely to Wi-Fi, leaving you high and dry if you lose your wireless connection or experience network problems. To connect to Ethernet, disable Wi-Fi on your iPad, and you’ll be ready to go.
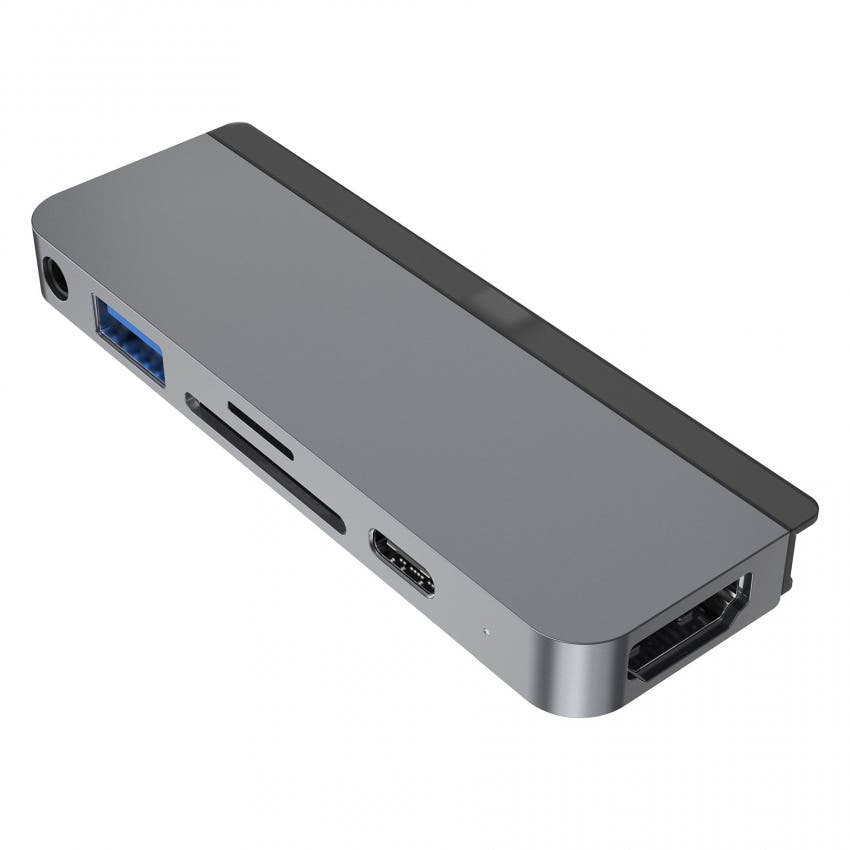
HyperDrive 6-in-1 USB-C Hub - ($99)
This USB-C Hub allows you to connect to a wide variety of devices and has an HDMI port for clear video output, a USB-A port, an audio jack for wired headphones, MicroSD and SD ports for fast photography data transfers, and USB-C power delivery (allowing you to charge your iPad even while you’re connected to other devices). The Hyper Hub adapters cost more than a single-use adapter but offer a lot of versatility in connecting with other devices.
Other Miscellaneous Accessories

Scosche HeadRest Mount - ($29.99)
If you have kids, an iPad car mount like this one from Scosche should be at the top of your shopping list. The mount creates an in-car entertainment system by attaching to the back of either of the front seat headrests and holding tablets with 8- to 10-inch screens. Launch a game or play a movie, and settle in for a more relaxing ride.
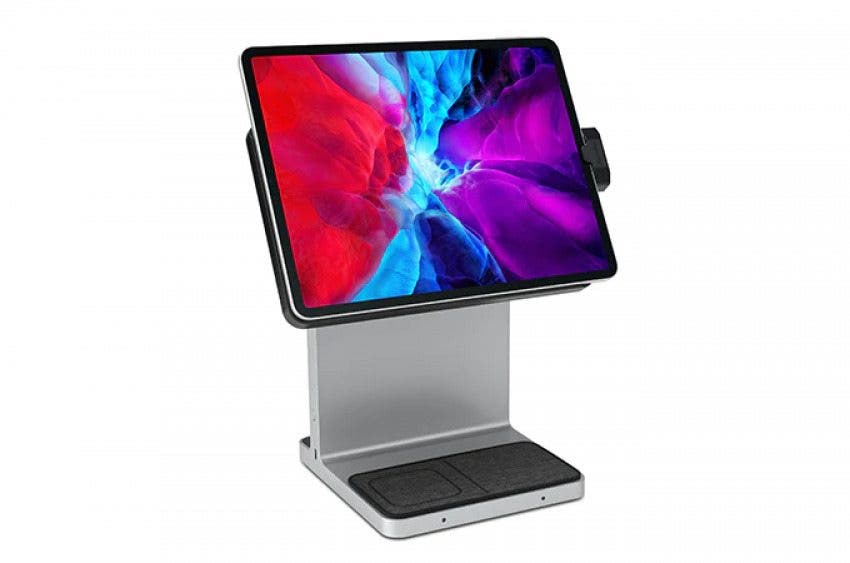
Kensington StudioDock iPad Docking Station - ($379.99-$399.99)
Although a bit on the pricey side, if you’re looking for a premium iPad stand to maximize your iPad capabilities, the Kensington StudioDock is a fantastic choice. It has a built-in hub for ethernet, USB, HDMI and power delivery to charge the iPad, plus two wireless chargers for your phone and AirPods. This stand will really take your tablet to the next level.

TwelveSouth Compass 2 & Compass Pro - (Starting at $59.99)
The Compass 2 and Compass Pro (depending on your iPad model) is my favorite stand to use in the kitchen. Its three-pronged design gives the iPad some extra elevation, making it less likely to get food on the device while you’re cooking. If you need to type, you can utilize its hidden fourth leg that props it at a more horizontal angle. Like an easel, the Compass 2’s legs fold up into a ruler-like rod, which you can then place in a kitchen drawer or in the included tote to easily carry with you.

Herschel Anchor Sleeve - (Starting at $31.99)
I’m a fan of Herschel bags—the Vancouver-based bag company makes sharp looking bags that are high quality for the price point. If you’re looking for a bag specially designed for your iPad, the Anchor is the way to go. Its solid exterior poly fabric looks casual yet stylish and is easy to clean, and the interior pocket is lined with fleece, keeping your device nice and safe.

