How to Leave a Shared Photo Album on iPhone
Leave Shared Albums to reduce clutter & avoid unnecessary notifications.


Shared Albums on iPhone are incredibly useful when sharing photos with friends and family. Rather than sending the same photos to multiple people, you can just upload the photos to one album that is then shared with everyone. However, if you don’t want to be a part of a Shared Album, leaving is easy.
Why You’ll Love This Tip
- Reduce clutter by leaving Shared Albums that are no longer relevant.
- Put a stop to repeated notifications related to Shared Albums.
How to Leave an iCloud Shared Album
You'll want to make sure you save any photos you want to keep before leaving the Shared Album. After you unsubscribe, you will lose access to the photos, and the album will be removed from your phone. For more handy tips, sign up for our free Tip of the Day newsletter. Now, here’s how to leave Shared Albums on your iPhone:
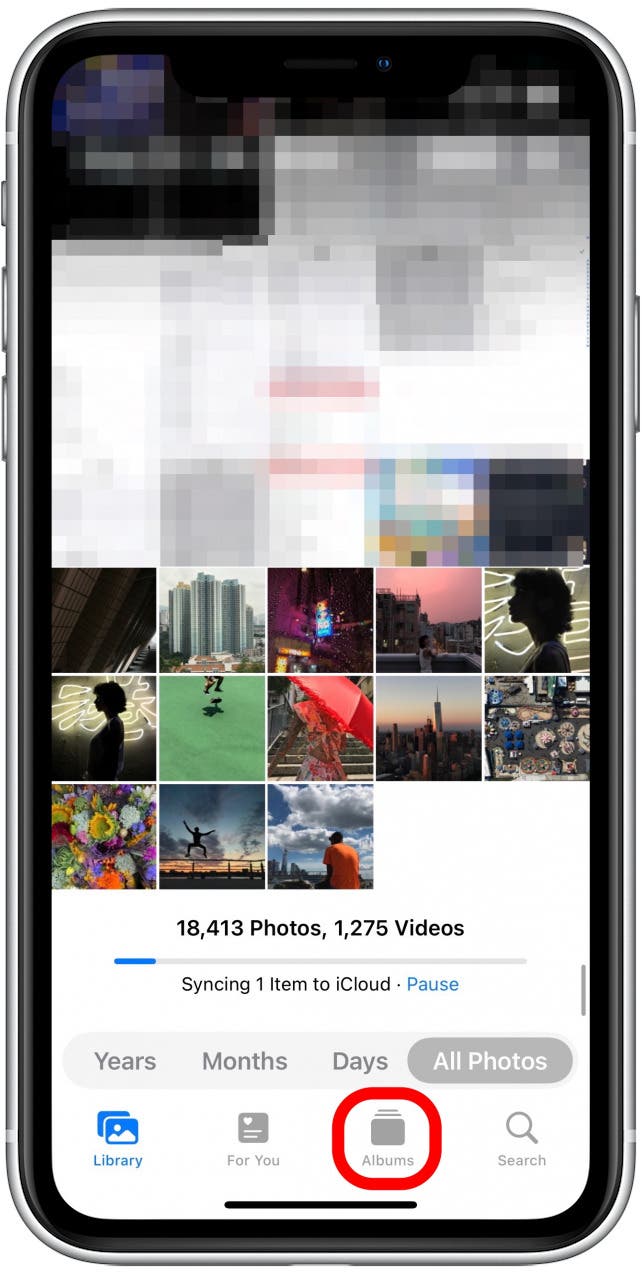
- Open the Photos app and tap the Albums tab at the bottom of the screen.
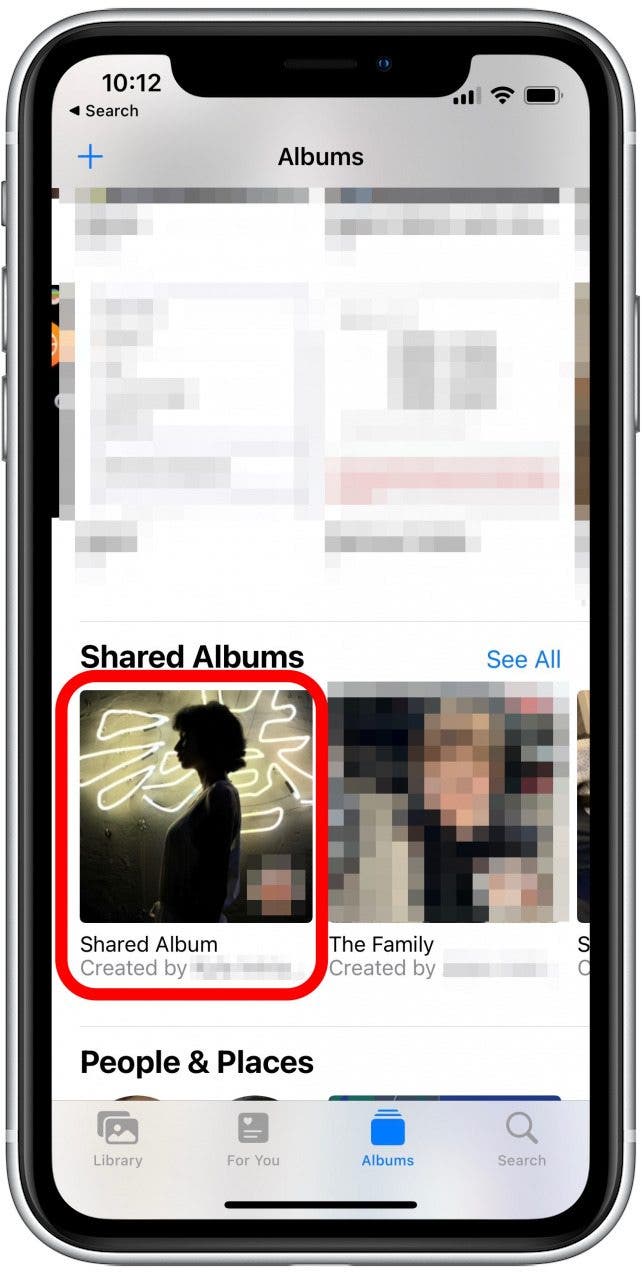
- Find and tap the Shared Album you want to leave.
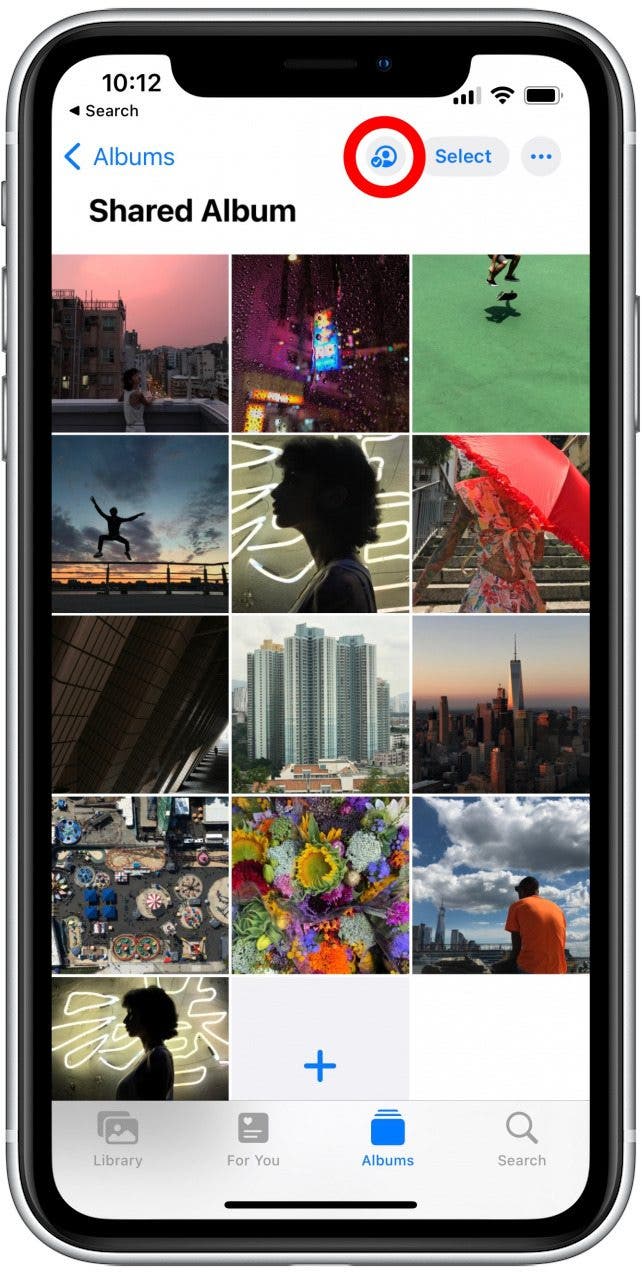
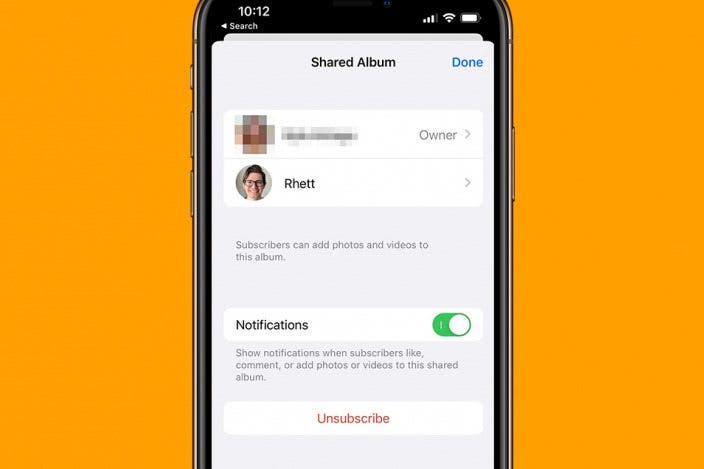
- Tap the people icon in the upper-right corner of your screen.
- Tap Unsubscribe. This will remove the album from your device, and you will no longer have access to the photos.
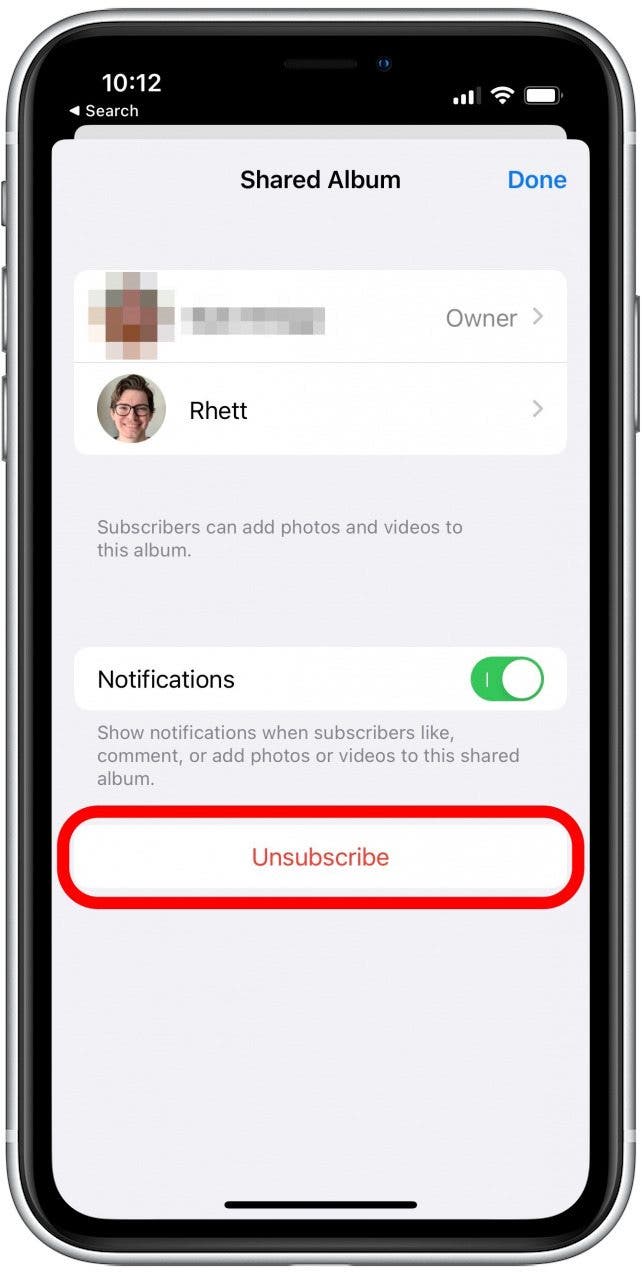
- Tap Unsubscribe again to confirm you want to leave the Shared Album.
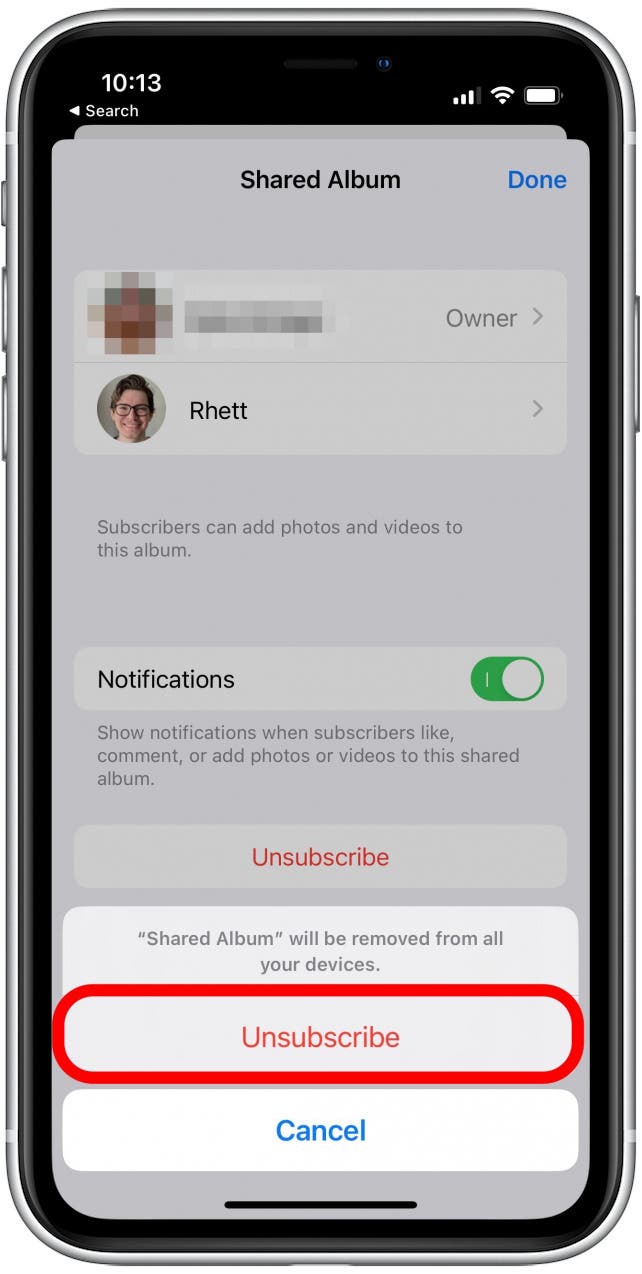
Now you’re ready to clear clutter and leave any shared albums that you no longer want to be a part of! Looking for a good way to back up your photos? Check out these easy ways to transfer photos from your iPhone to your computer.
Every day, we send useful tips with screenshots and step-by-step instructions to over 600,000 subscribers for free. You'll be surprised what your Apple devices can really do.

Rhett Intriago
Rhett Intriago is a Feature Writer at iPhone Life, offering his expertise in all things iPhone, Apple Watch, and AirPods. He enjoys writing on topics related to maintaining privacy in a digital world, as well as iPhone security. He’s been a tech enthusiast all his life, with experiences ranging from jailbreaking his iPhone to building his own gaming PC.
Despite his disdain for the beach, Rhett is based in Florida. In his free time, he enjoys playing the latest games, spoiling his cats, or discovering new places with his wife, Kyla.

 Rhett Intriago
 Leanne Hays
 Rachel Needell
 Michael Schill
 Olena Kagui

 Amy Spitzfaden Both