How to Use New iPhone Journal App


With 10-plus years of experience with Apple devices, Rachel specializes in all things iPad and is a Notes app expert. Find her writing in the Daily Tip newsletter and iPhone Life magazine.
Learn More

With 10-plus years of experience with Apple devices, Rachel specializes in all things iPad and is a Notes app expert. Find her writing in the Daily Tip newsletter and iPhone Life magazine.
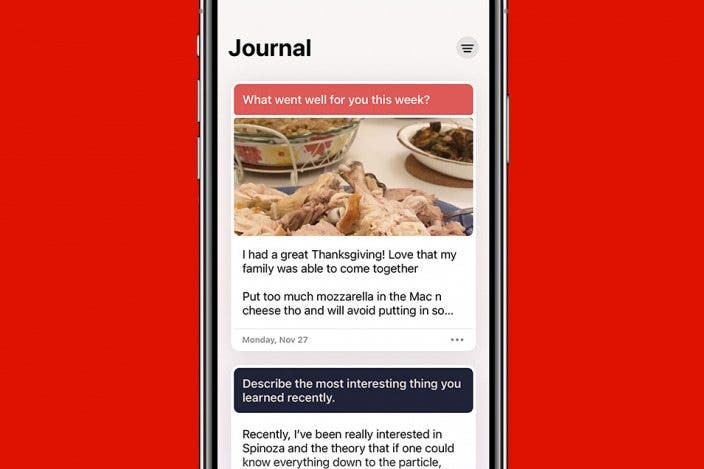
Learn MoreApple introduced its new Journal app exclusively for iPhone with iOS 17.2. The app is very simple and has a few cool features that allow you to create long-term habits, keep your diary entries safe, and even give you prompts when you're unsure what to write about. Here's a quick walkthrough of the new Journaling app for iPhone!
Why You'll Love This Tip:
- Learn how to record Journal entries in iPhone's new Journal app.
- Learn how to add media to journal entries as well as password-protect them.
How to Use the Journal App for iPhone
System Requirements:
In order to perform this tip, your iPhone must be running iOS 17.2 or later. Learn how to update your device to the latest iOS.
When you first open the Journal app, you will be prompted with a helpful walkthrough that will teach you some of the ins and outs of the new app. However, if you've already opened the app and clicked through the tutorial too quickly, this tip is for you. First, we'll discuss how to create an entry in the Journal app. Then, we'll go over how to lock your journal. If you like learning about Apple's latest software releases, be sure to sign up for our free Tip of the Day!
How to Add an Entry to the Journal App
Keep in mind, as you go through this tip, that if you have not used the Journal app before, many of these options will come with prompts to set them up and give permissions for the Journal app to access things like your Camera and Photos apps. First, you'll want to learn how to add an entry in the Journal app, and what media can be attached.
- On your iPhone, open the Journal app.
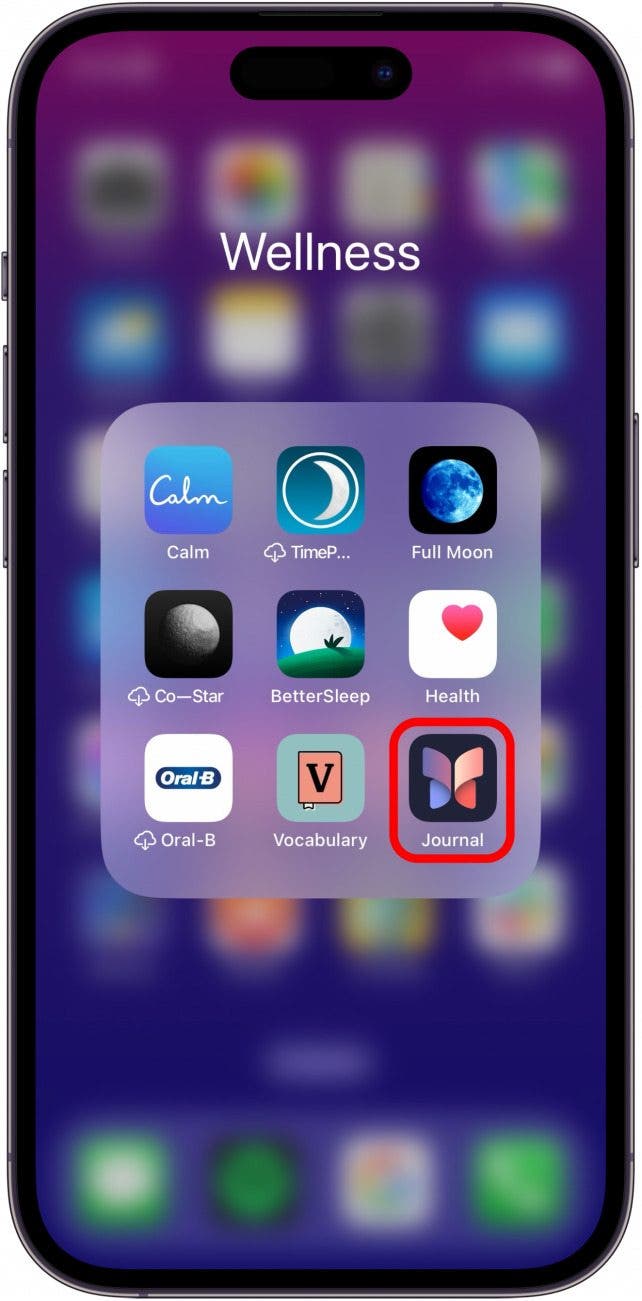
- To begin a new entry, tap the Plus button.
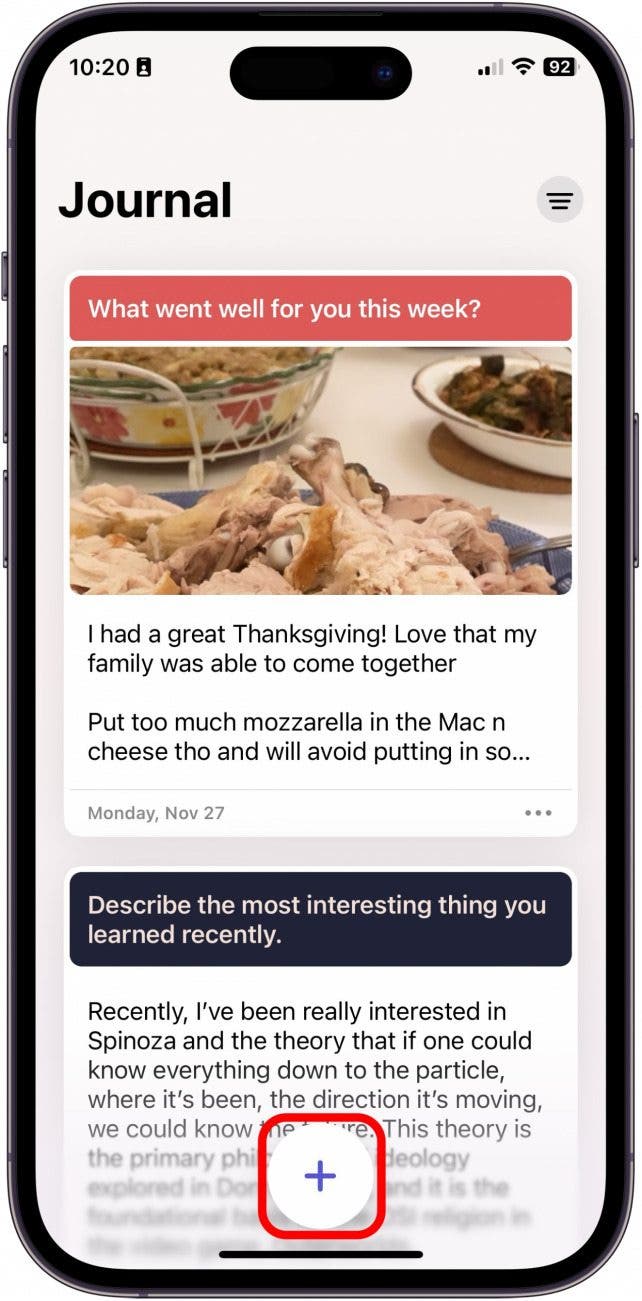
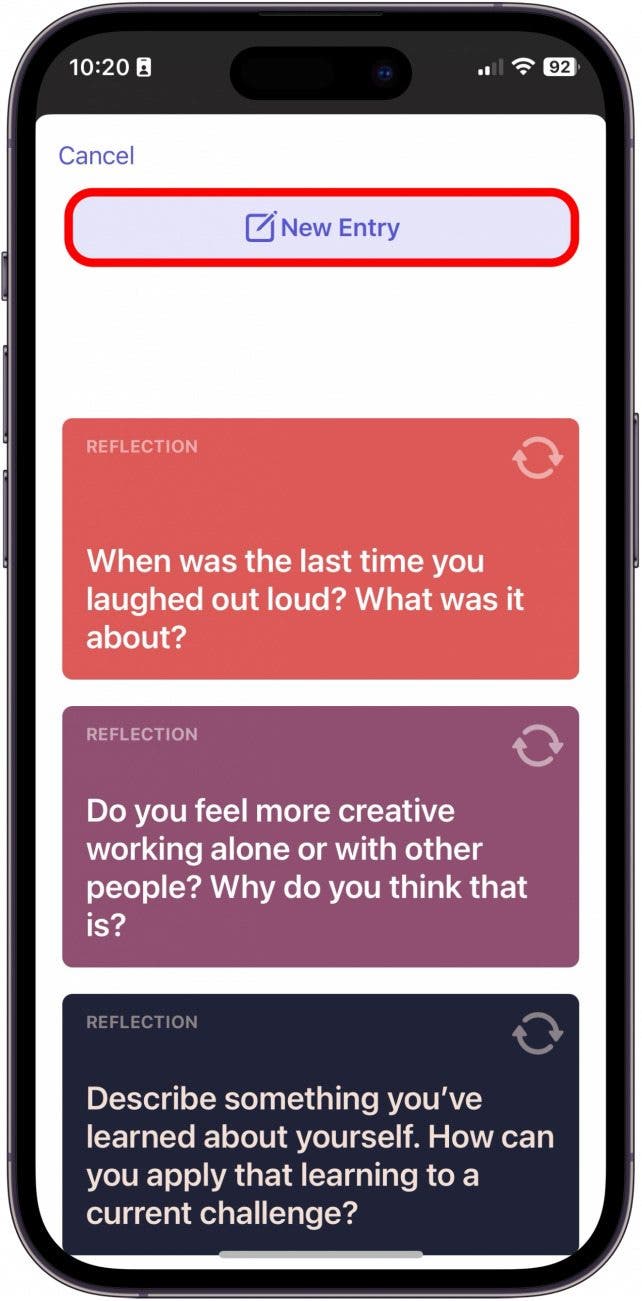
- Choose from a prompt or select New Entry.
- Here's where you'll write your text. If you want to add a prompt after you've started your entry, tap the Magic Wand.
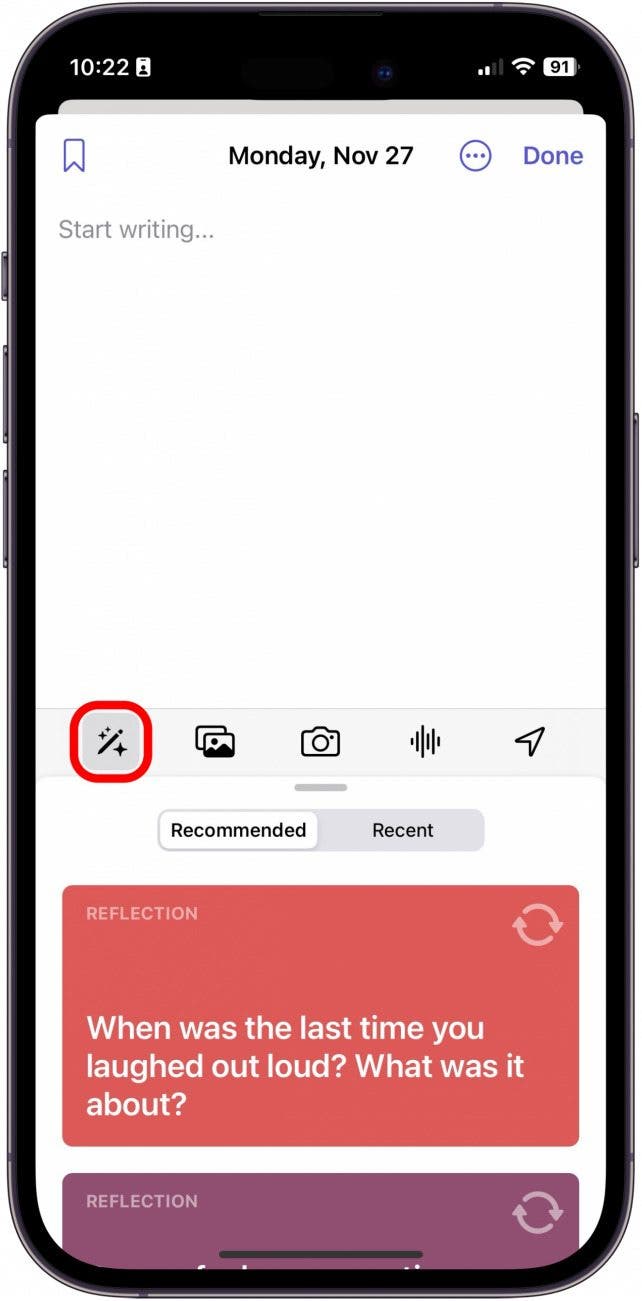
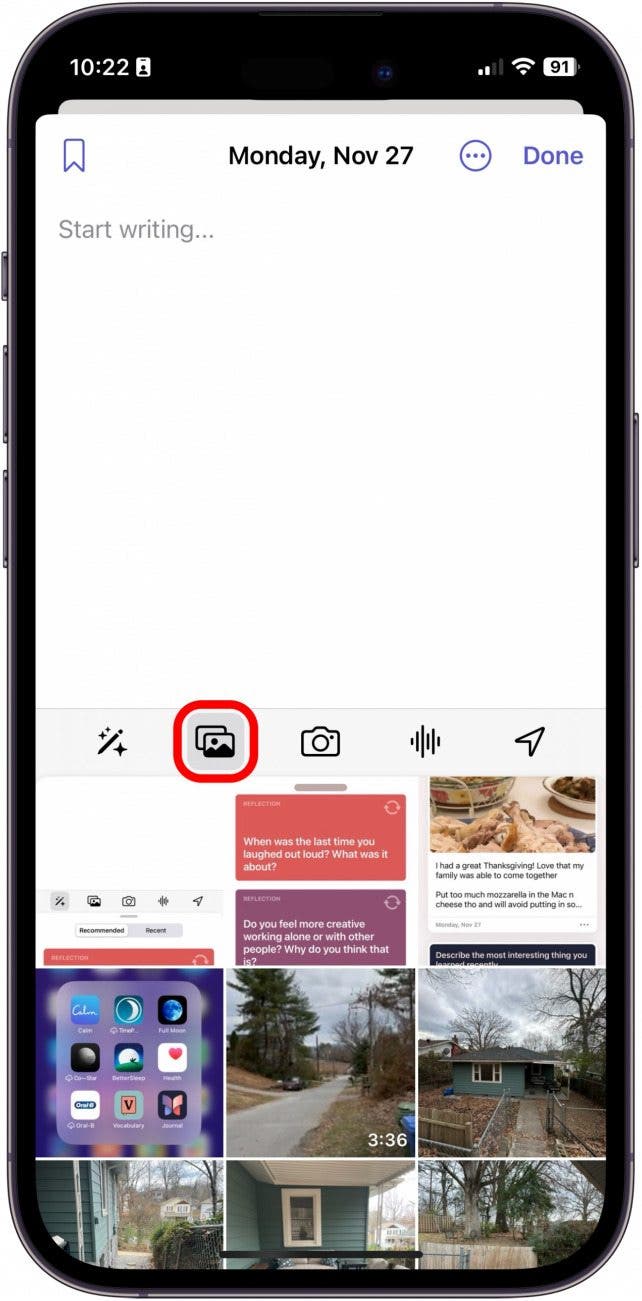
- To add a photo, tap the Photos icon.
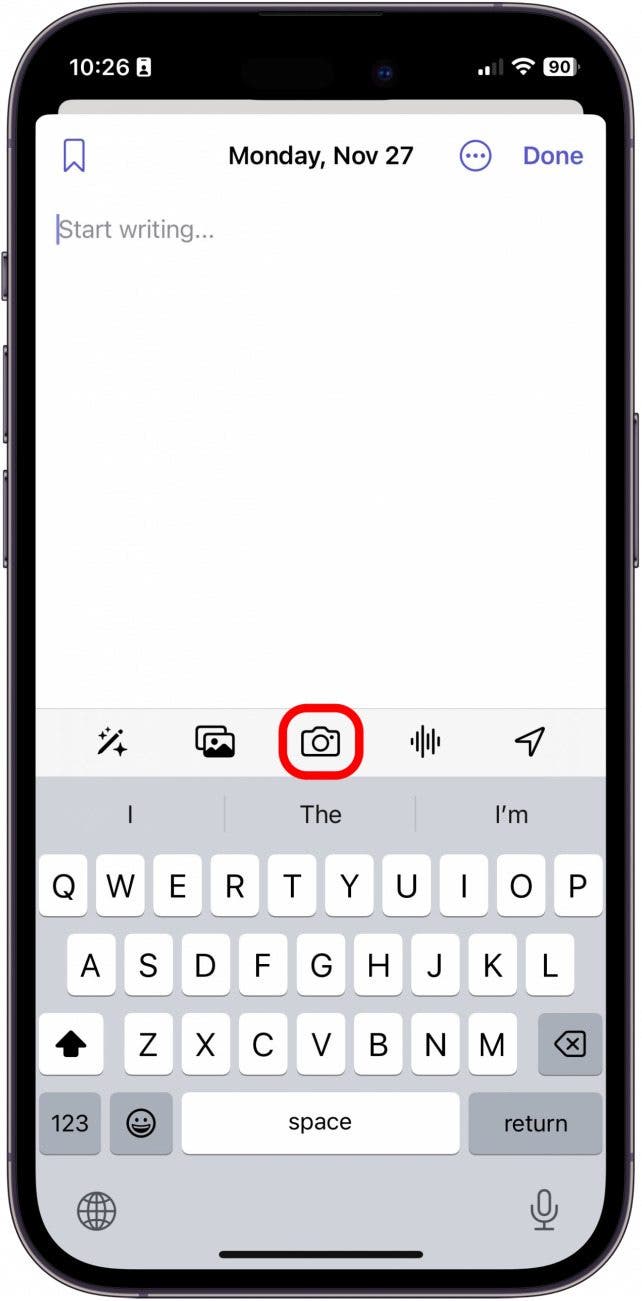
- To take a photo now, tap the Camera icon.
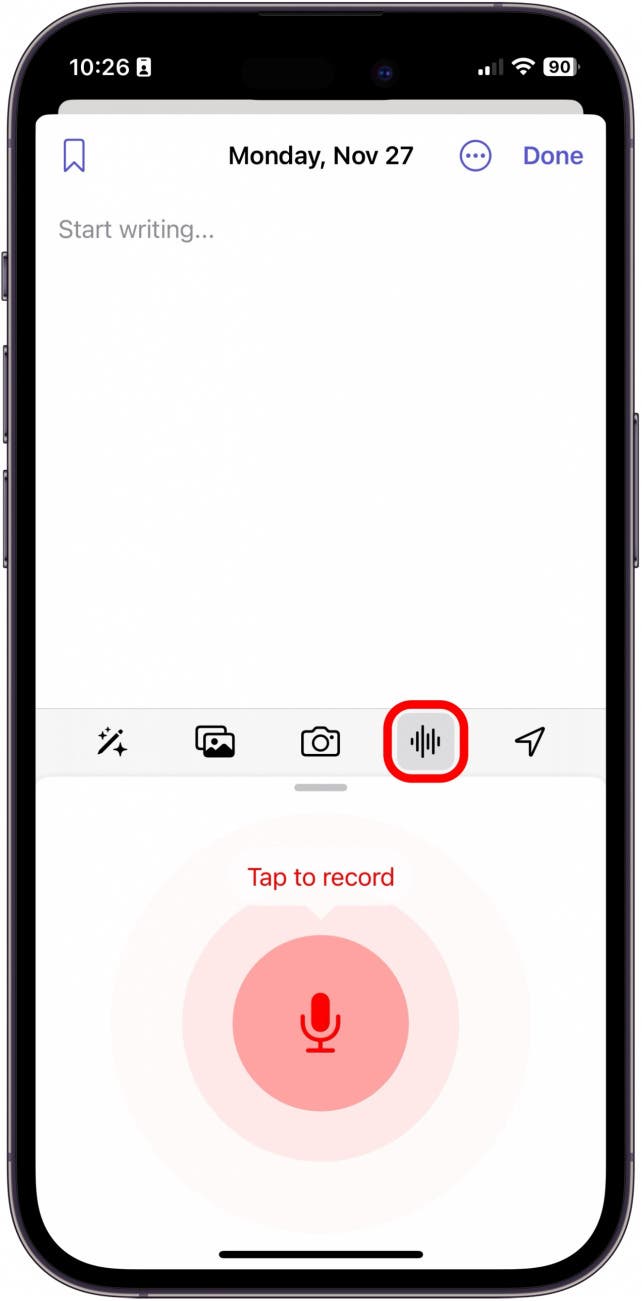
- To record a voice memo directly in the entry, tap the Voice Record icon.
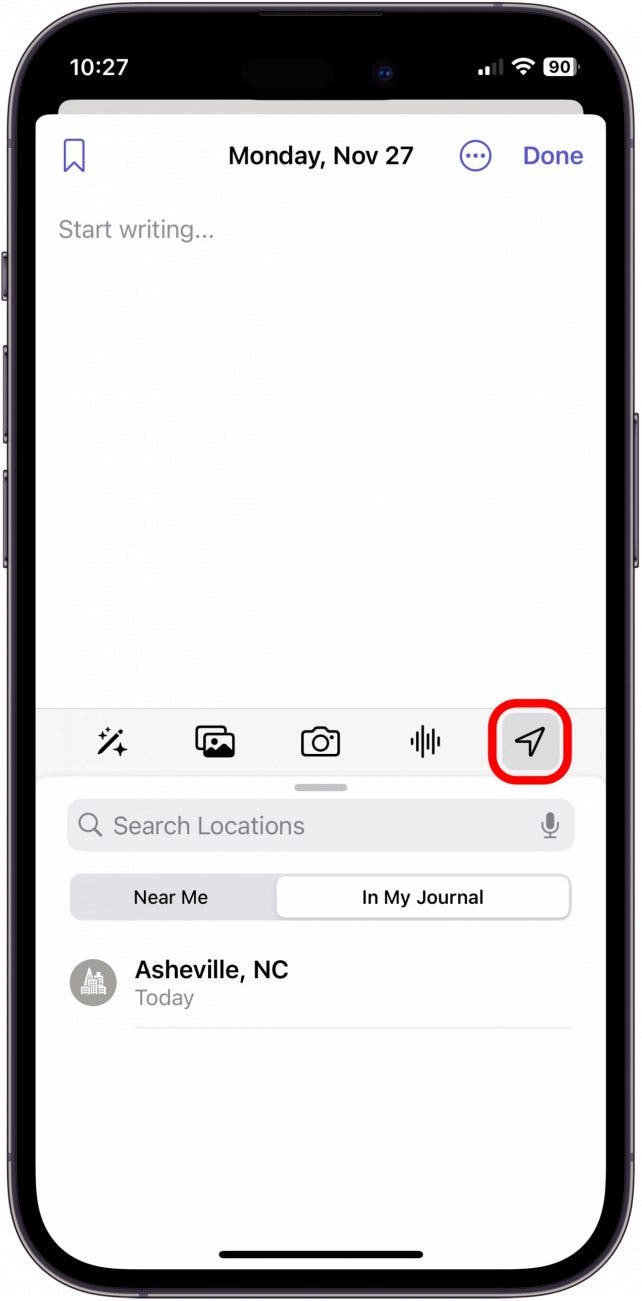
- To add a location to your entry, tap the Location icon.
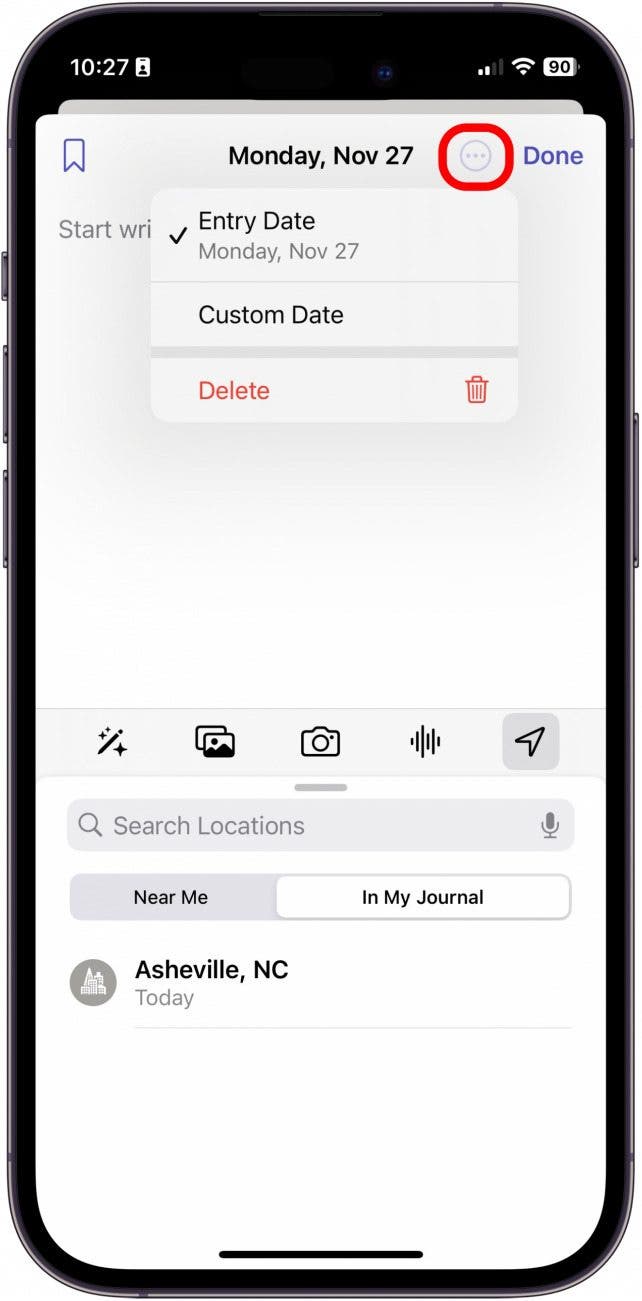
- You can edit the date by tapping the three dots button.
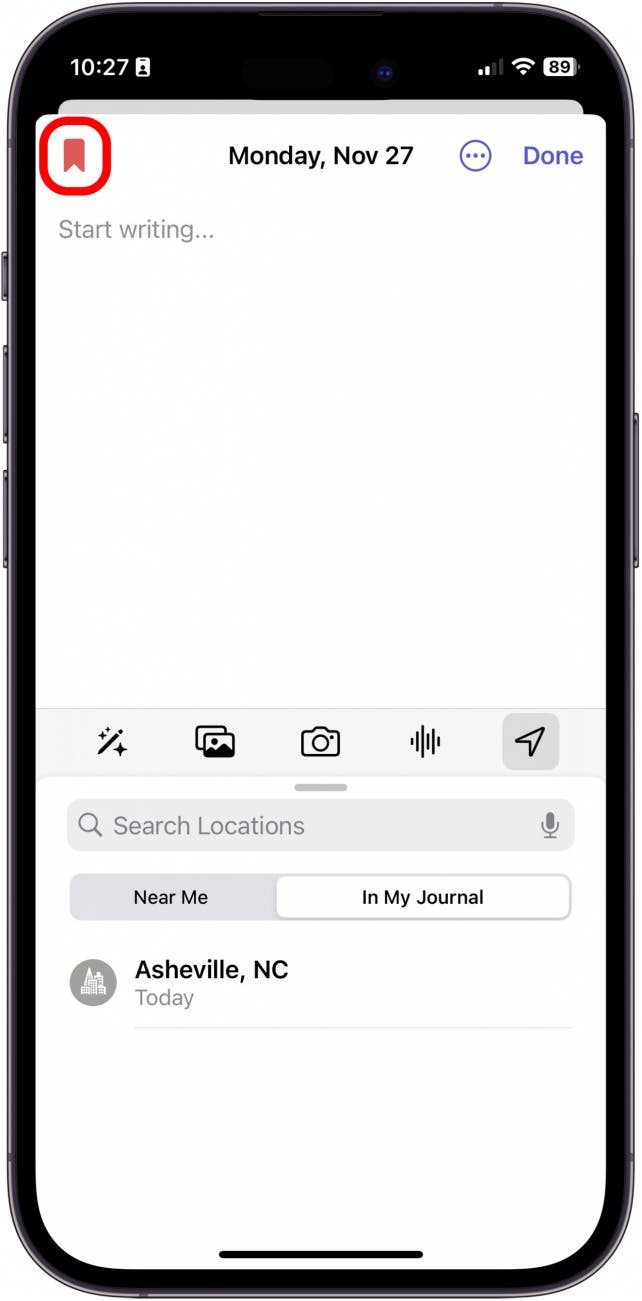
- You can bookmark a particular entry by tapping the Bookmark button.
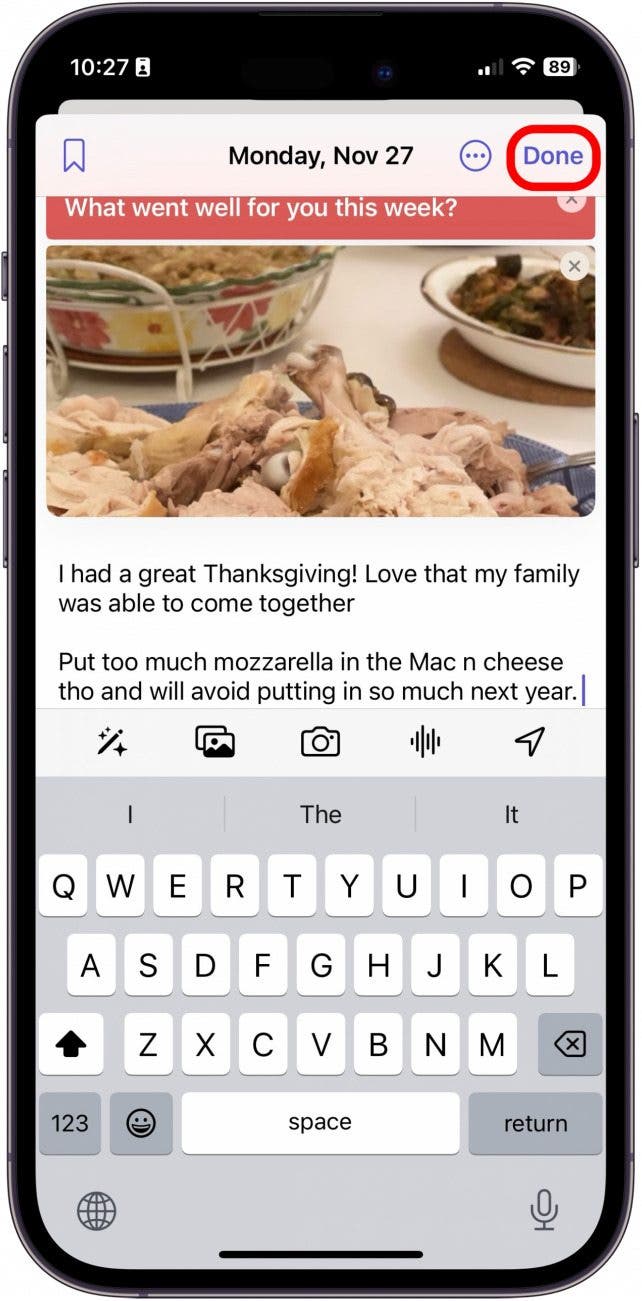
- When you're done, tap Done.
How to Lock Journal Entries on iPhone
Next, and most importantly, you'll need to leave the Journal app and open Settings in order to customize the locking journal feature.
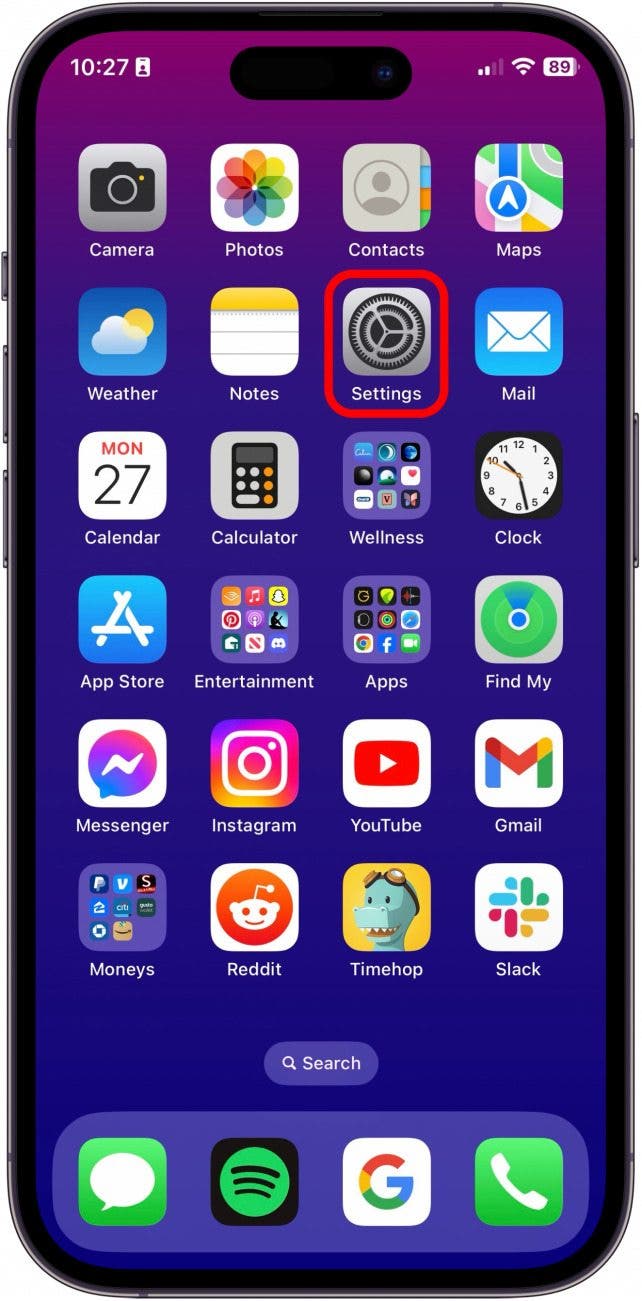
- Go to the Settings app.
- Tap Journal.
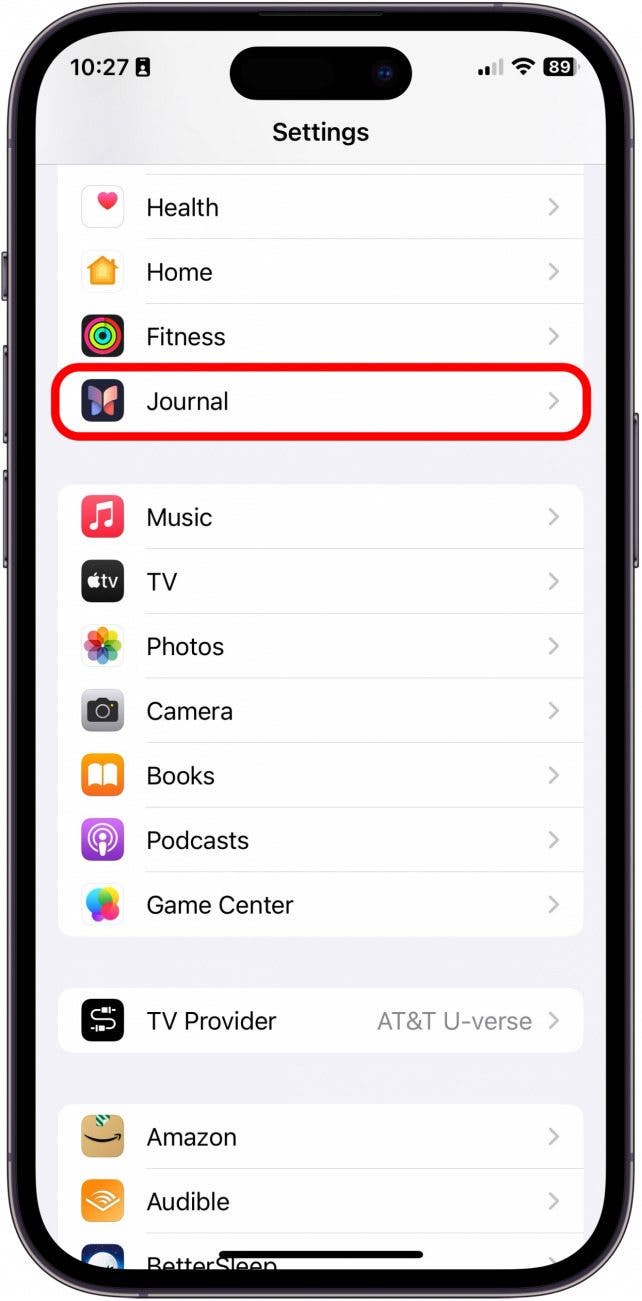
- Tap Lock Journal.
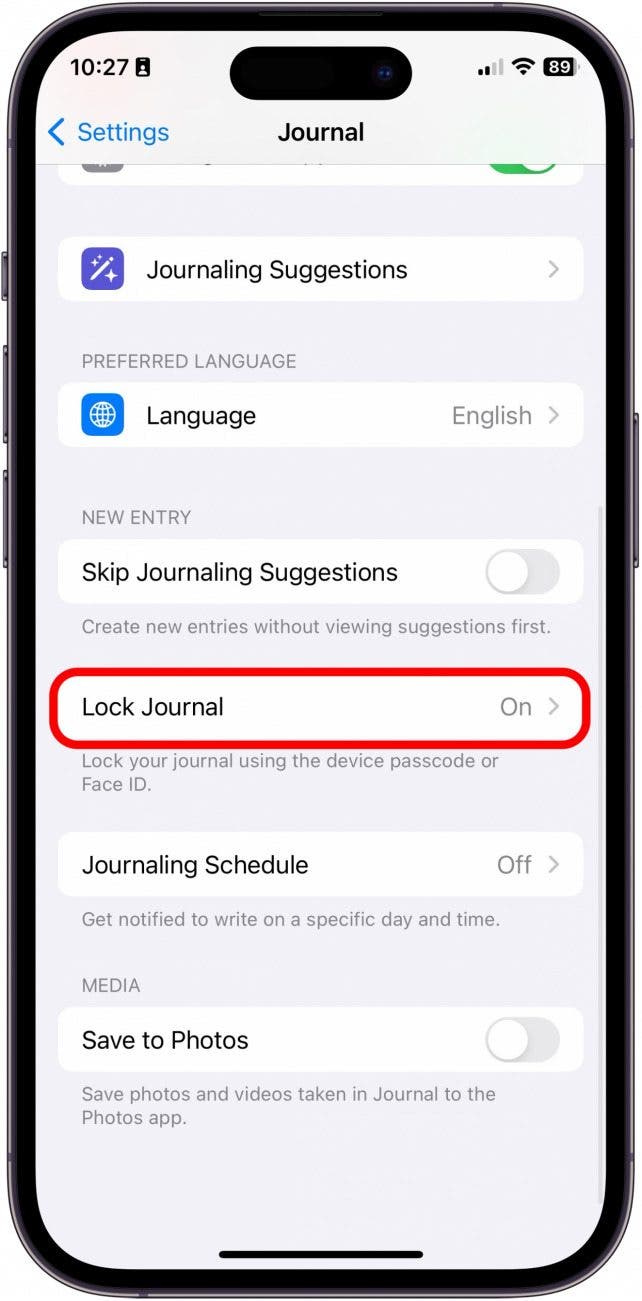
- Enter your iPhone Passcode.
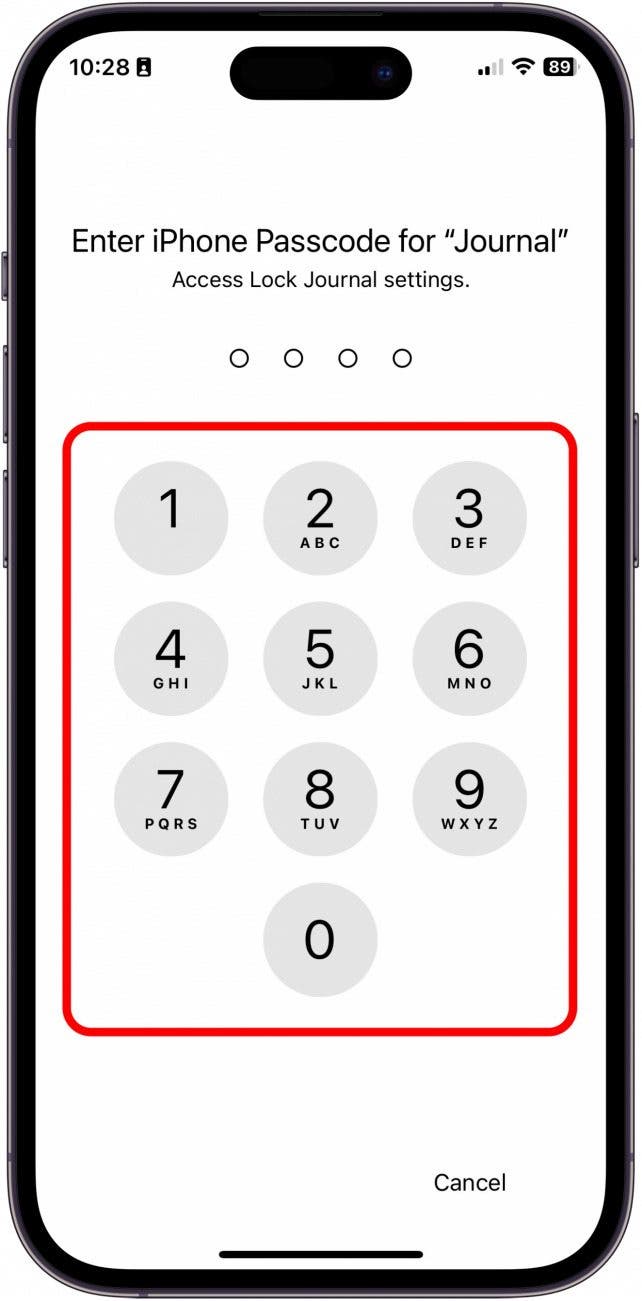
- Toggle on Lock.
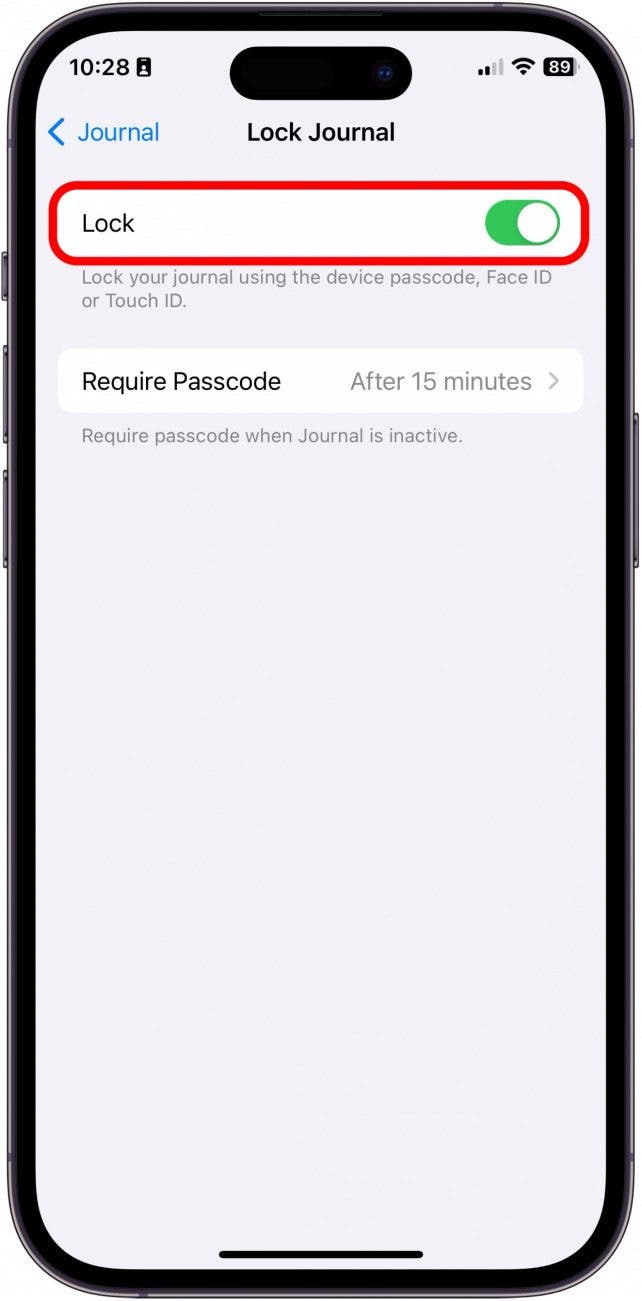
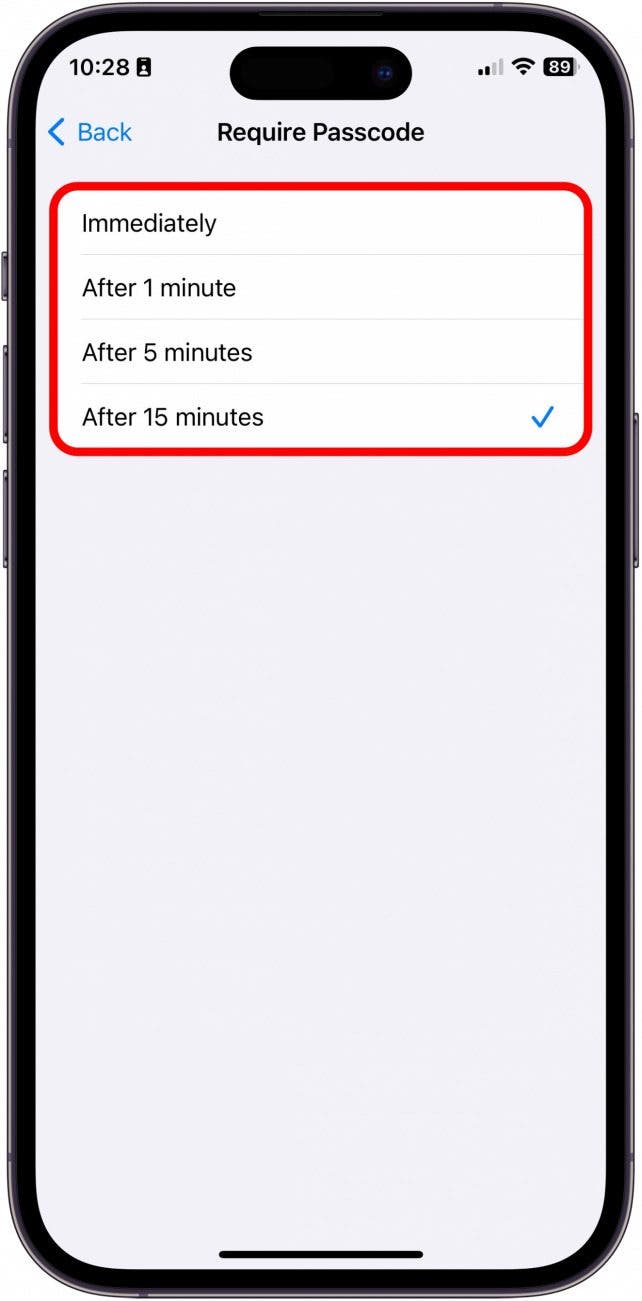
- Tap Require Passcode.
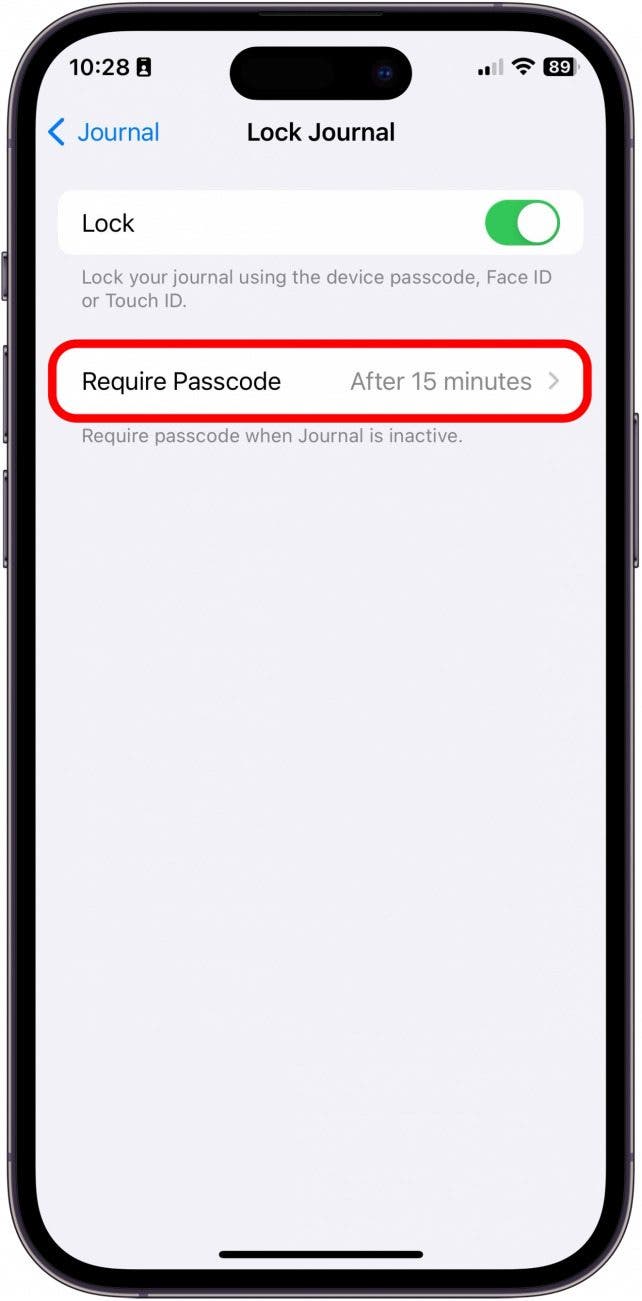
- Select how long the journal needs to be inactive to require the passcode.
And that's how the new Journal app works on iPhone. Unfortunately, at this time, it doesn't look like we'll be getting the app on iPad or Mac any time soon. However, I think the app would be a great addition to both devices! Plus, it's definitely nice to have an Apple-native Journal app that comes free on the iPhone.


 Rhett Intriago
 Olena Kagui
 Leanne Hays


 Rachel Needell


 Belinda Sanmiguel