How to Set Up Apple’s Authenticator App


Two-factor or multi-factor authentication is a way to keep your accounts secure. Everyone who values their security and privacy should have multi-factor authentication enabled for every online account that offers it. You can usually do this with a phone number, but using an authenticator app is more secure. Does Apple have an authenticator app? Yes! In this tip, I'll show you how to set up Apple's authenticator app on your iPhone.
Why You'll Love This Tip
- Keep your accounts secure by requiring unique six-digit codes to log in.
- Easily access your multi-factor authentication codes from the Settings app.
- Keep in mind that not every service offers authenticator codes as a multi-factor authentication option.
How to Set Up iPhone Authenticator App
System Requirements
This tip was performed on an iPhone 15 Pro running iOS 26. Find out how to update to the latest version of iOS.
Having a second security factor ensures that if someone obtains your password, they will be unable to log into your account because they would also need the six-digit code provided by the authenticator app. While you can install third-party authenticator apps like Google’s or Microsoft’s code generator apps, you can also opt to use Apple’s Passwords app. Any of these apps is a good choice, as long as you are using multi-factor authentication. To use Apple's authenticator feature, you’ll need to set it up for each account individually.
Now, to get started, visit the website you want to set up multi-factor authentication for. You’ll need to access your account settings on the website and find the security section. This process will look slightly different for each website or service, but the general steps should apply. Now, here’s how to set up an authenticator app on your iPhone:
- Visit the website where you want to add multi-factor authentication and navigate to your account settings. For this example, I used my Etsy account, but this will work with many different sites.
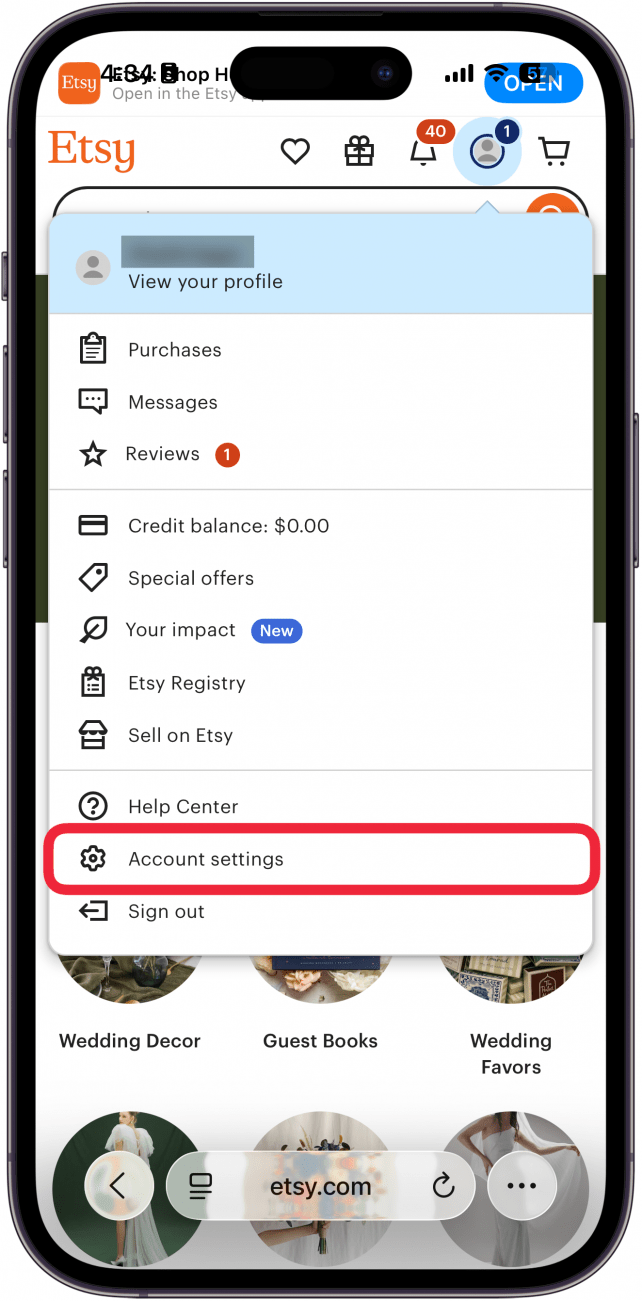
- Find your account's security settings. For Etsy, this is the Security tab.
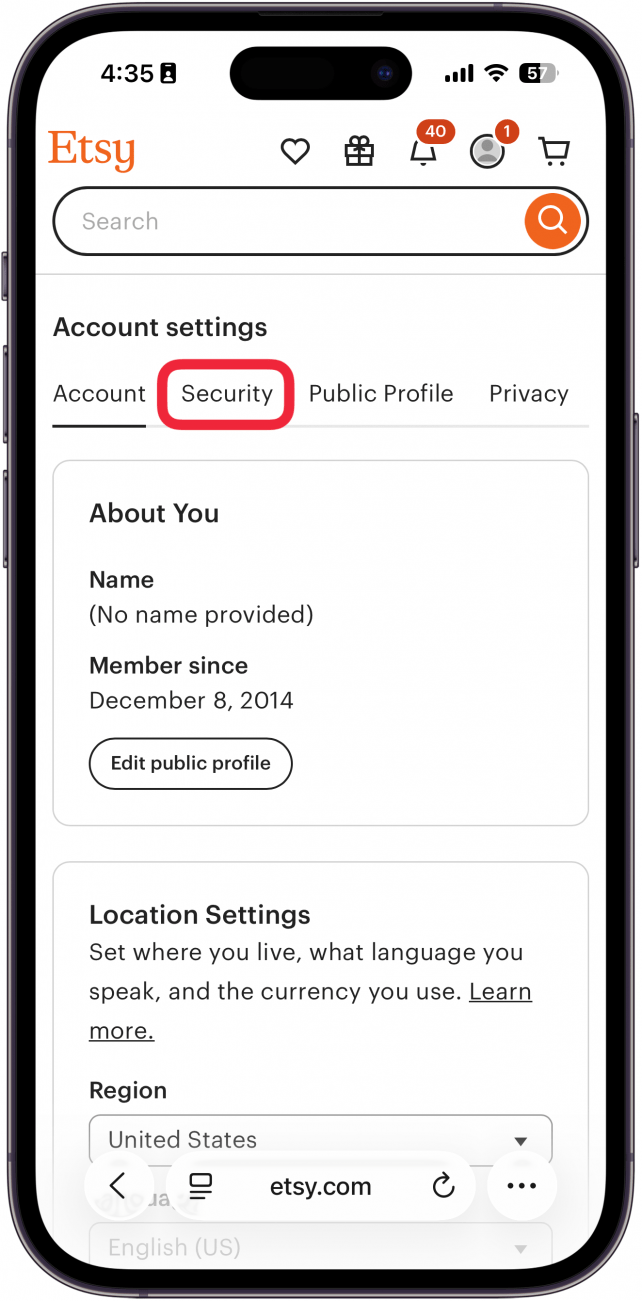
- Tap Turn on 2FA (or a similar button).
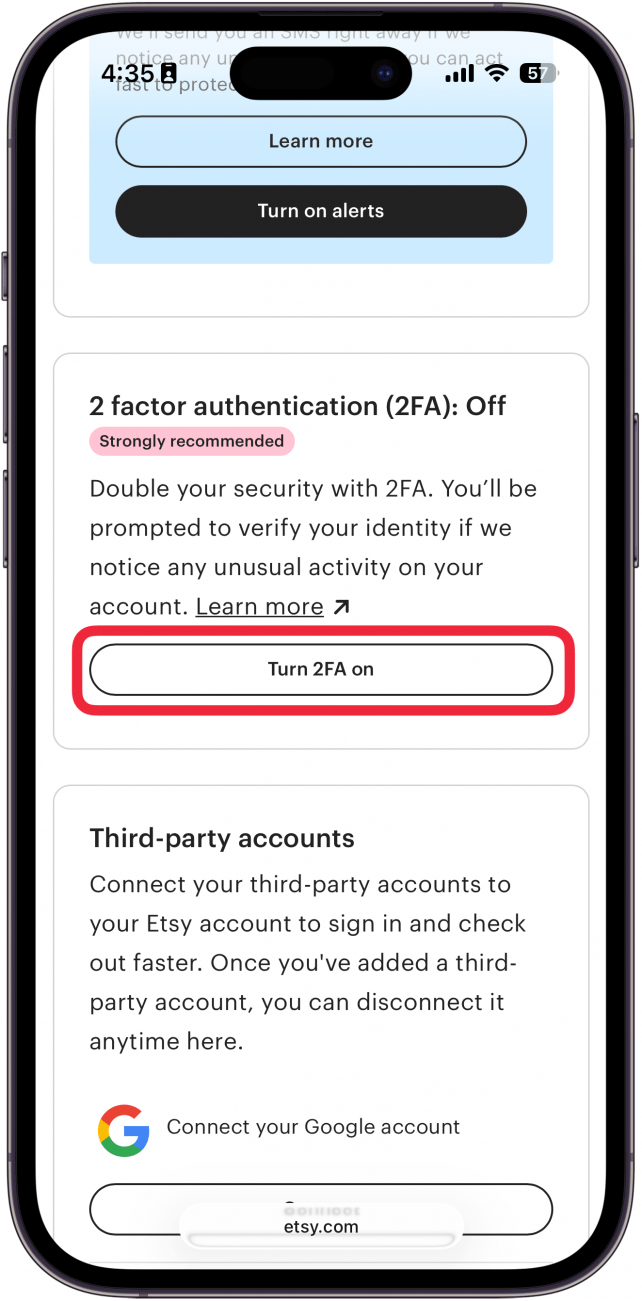
- Some websites will offer different authentication options, such as SMS. To use the Apple Authenticator app, tap Authenticator App and select Continue.
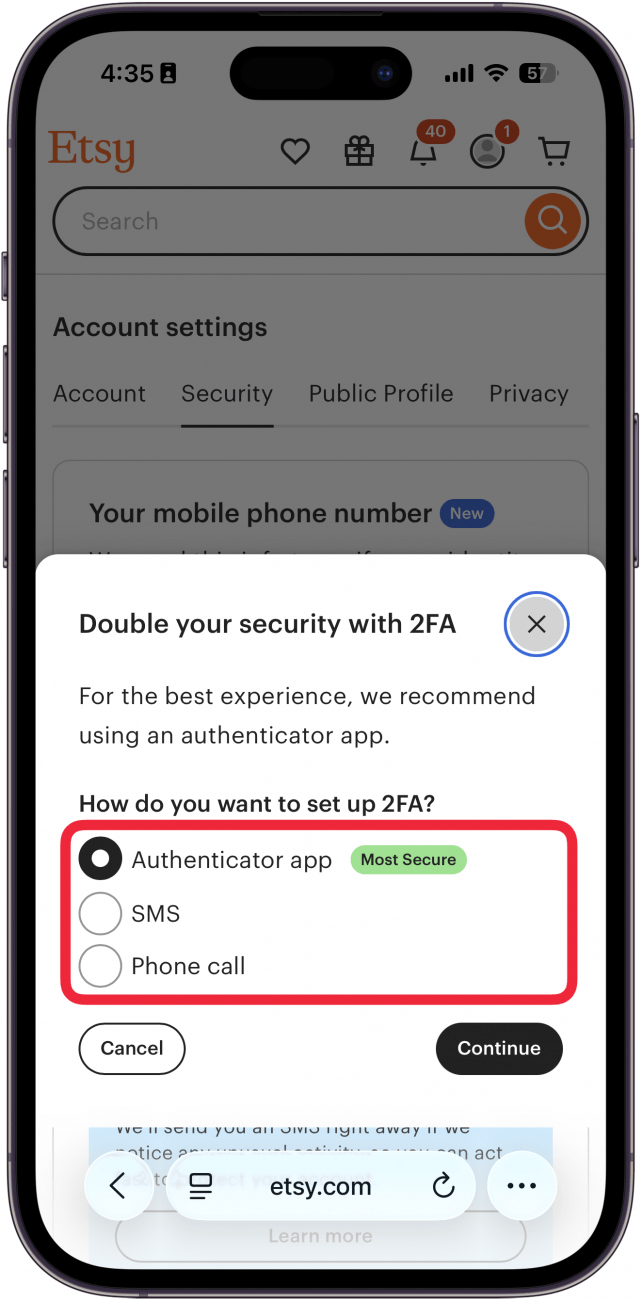
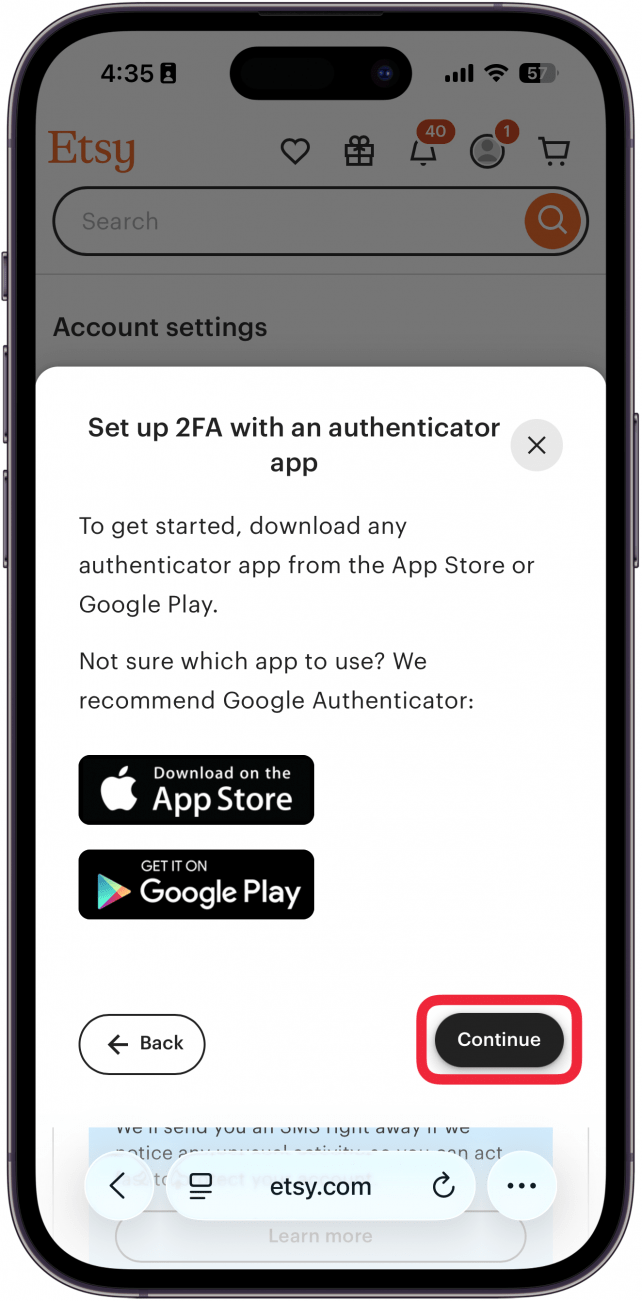
- Etsy offers an App Store link to Google Authenticator, but since we're using the Apple authenticator app, just tap Continue.
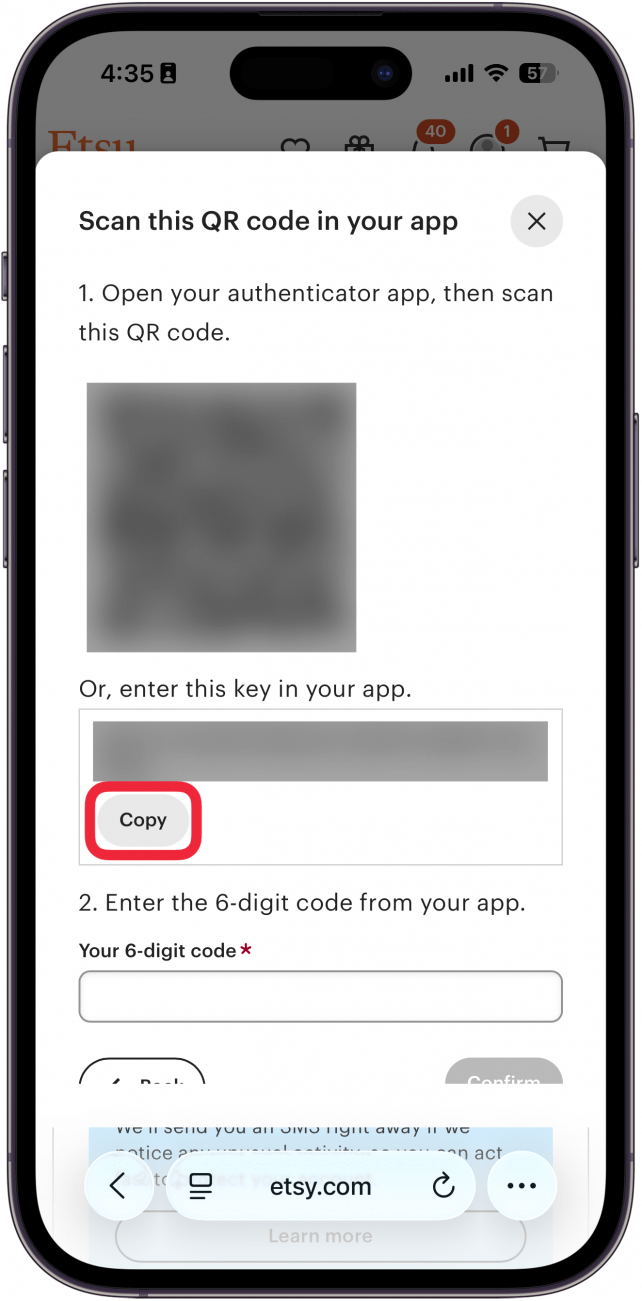
- The site will display a QR code, as well as a setup key. Keep these on hand as you proceed. If you are doing this all on your iPhone, tap Copy to copy the setup key to your clipboard.
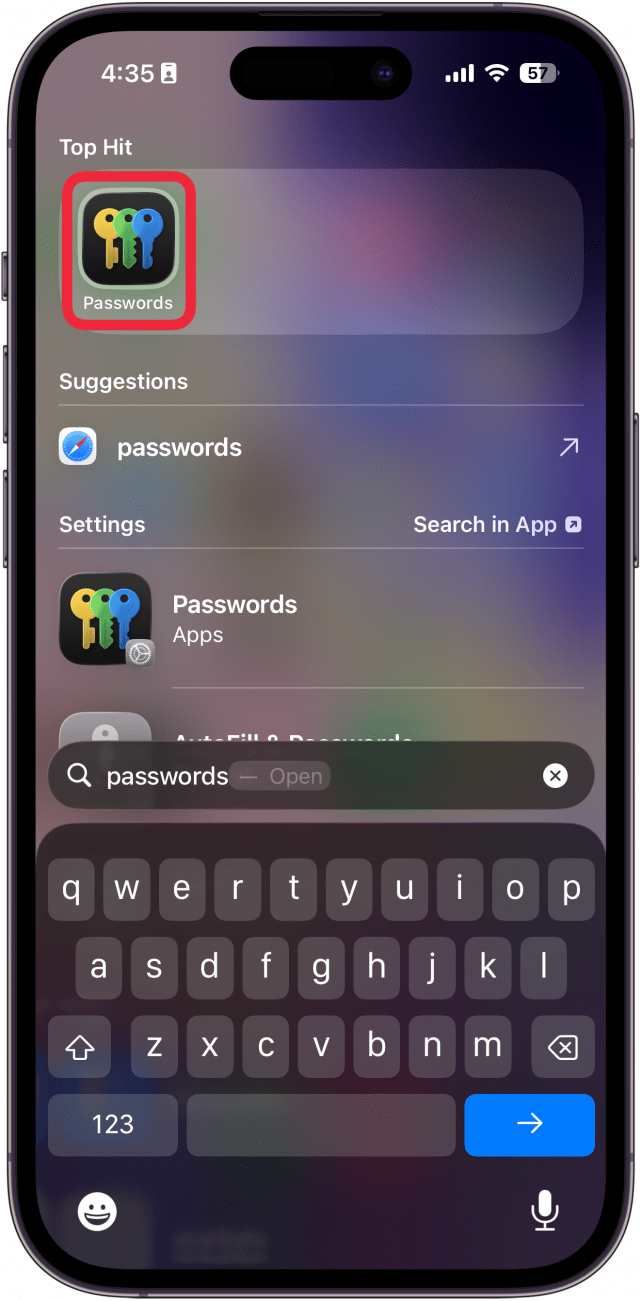
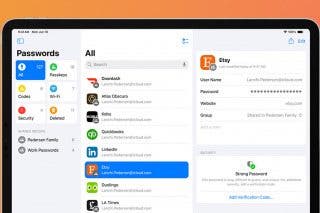
- Now, close your browser, open the Passwords app.
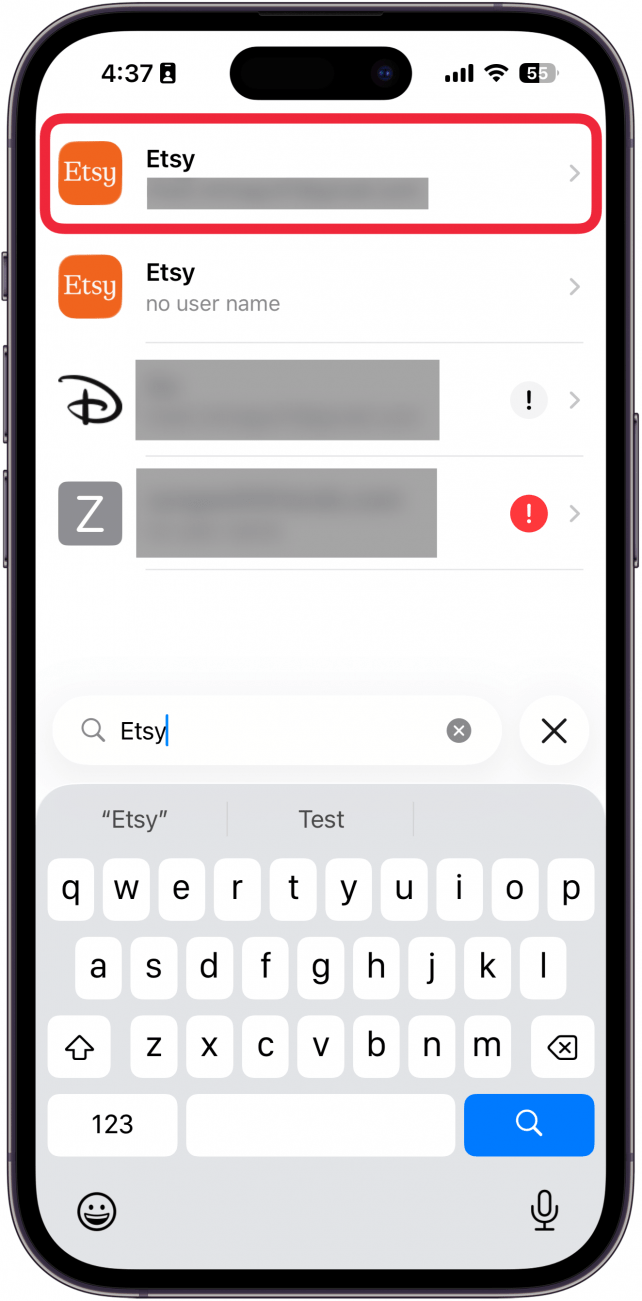
- Find the account you want to add verification codes to and tap it.
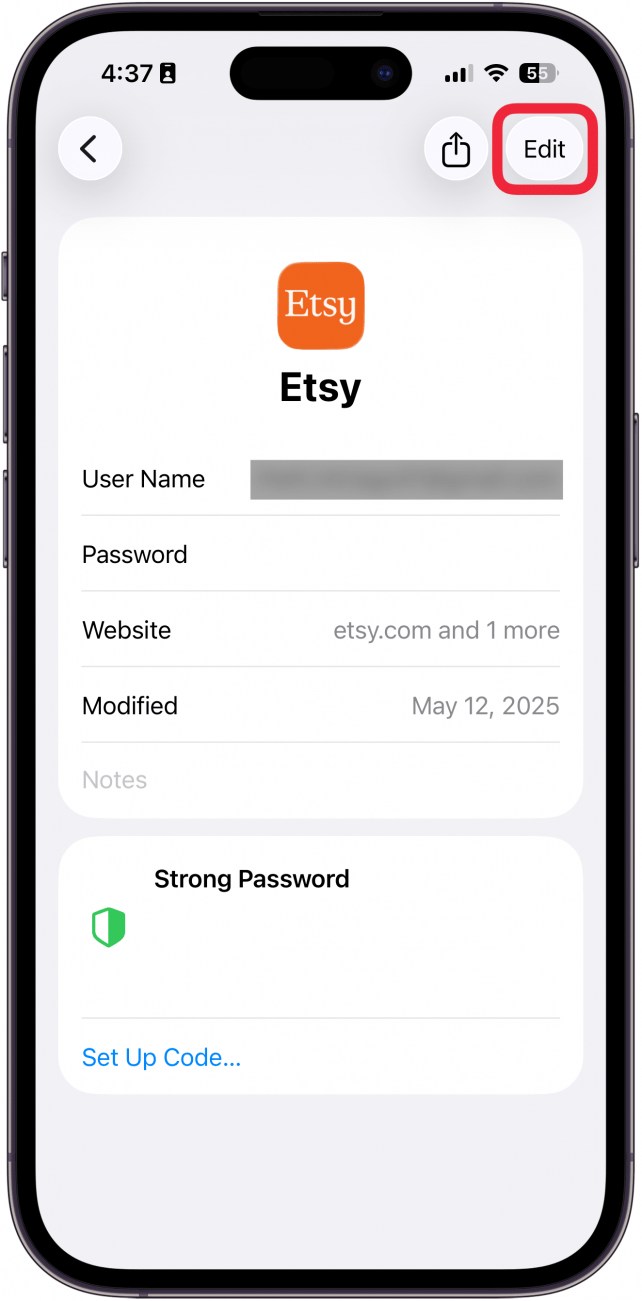
- Tap Edit.
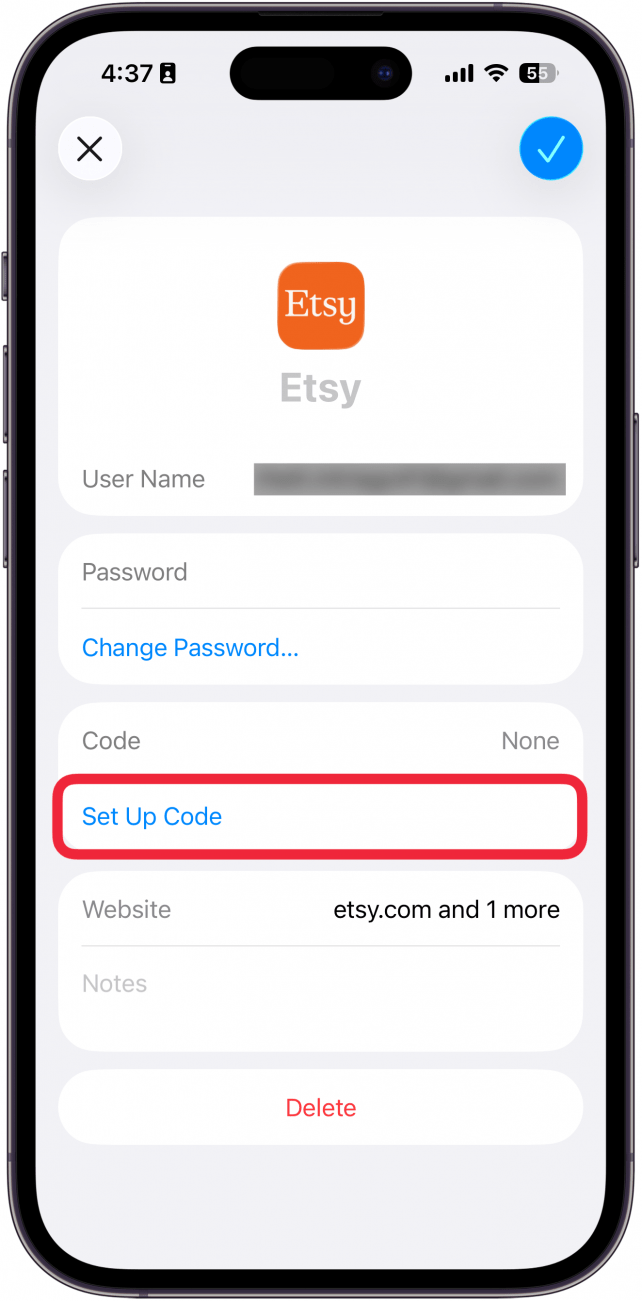
- Tap Set Up Code.
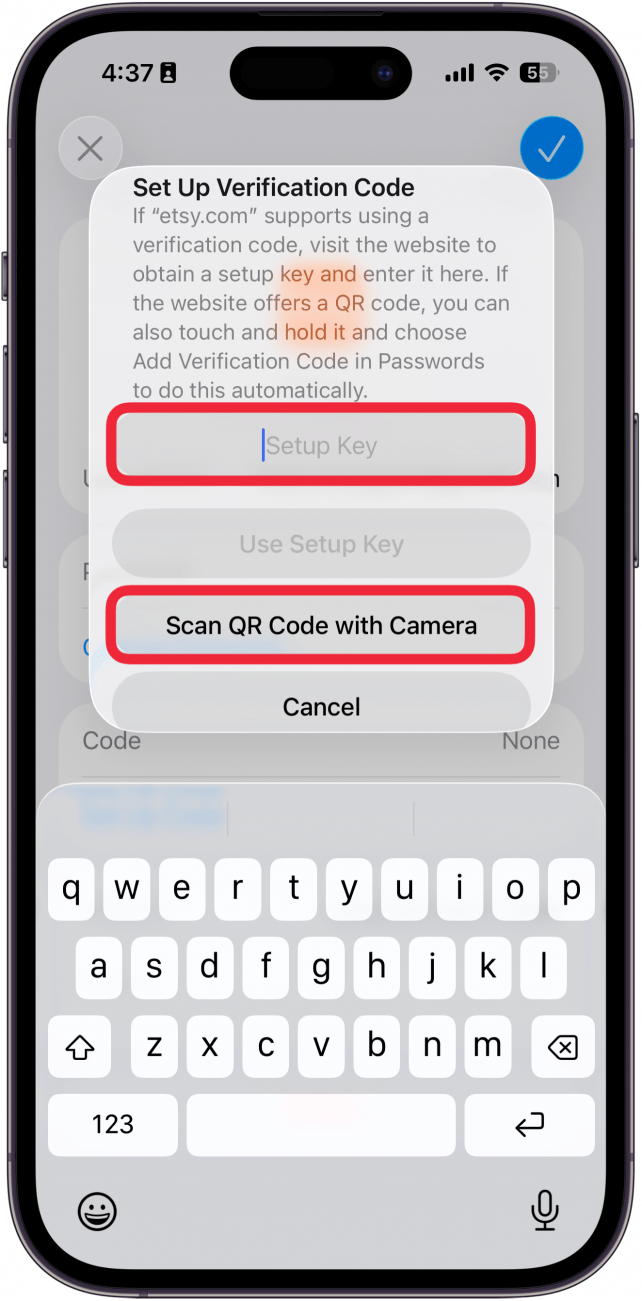
- Paste your setup key or select Scan QR Code with Camera. If you are doing this all from your iPhone, you will want to enter the setup key, or you can screenshot the QR code, email it to yourself, and open it on your computer to scan it with your phone.
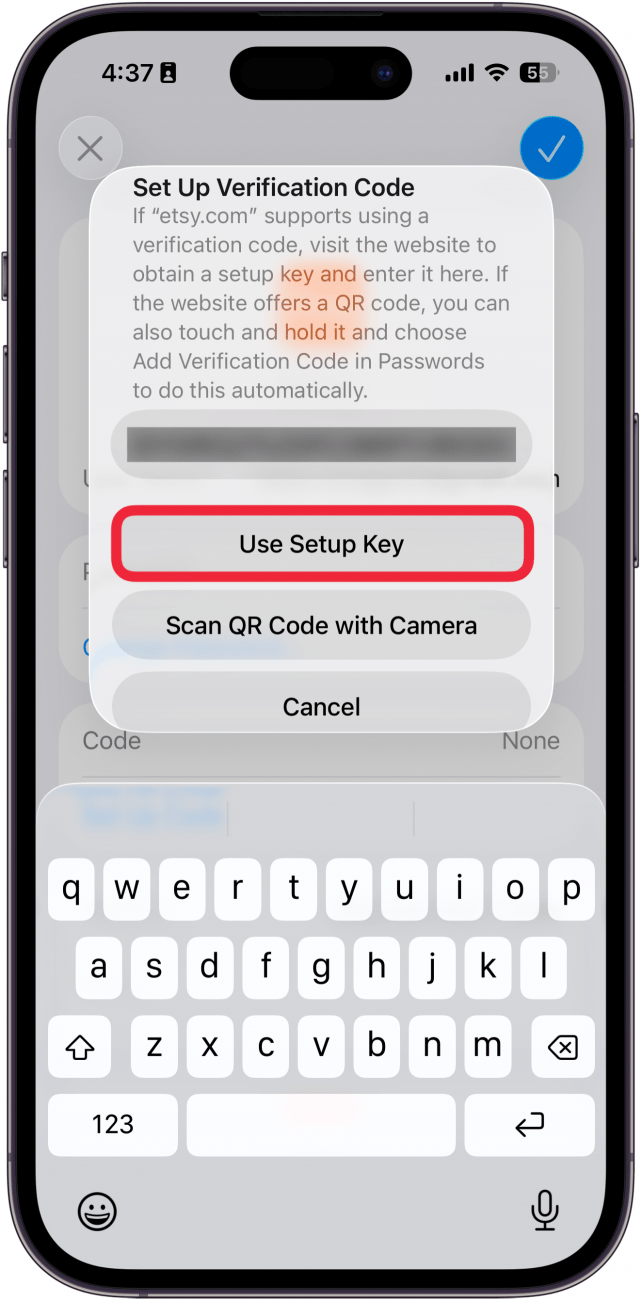
- Tap Use Setup Key if you pasted it.
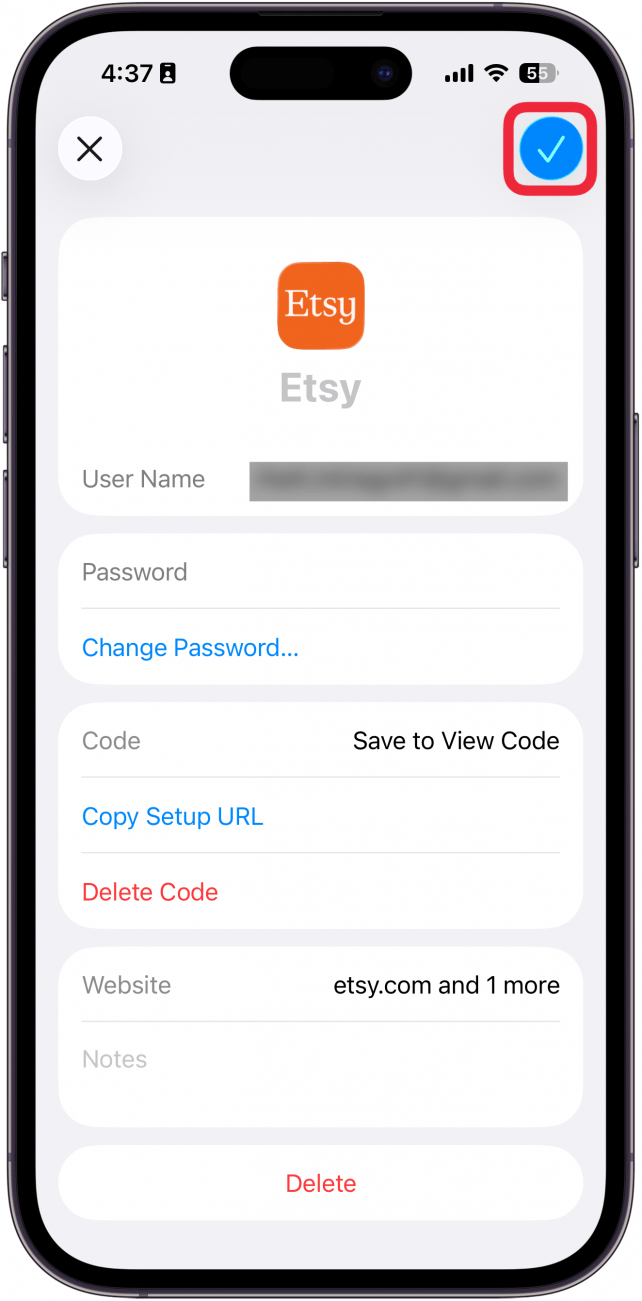
- Tap the checkmark icon to save your changes.
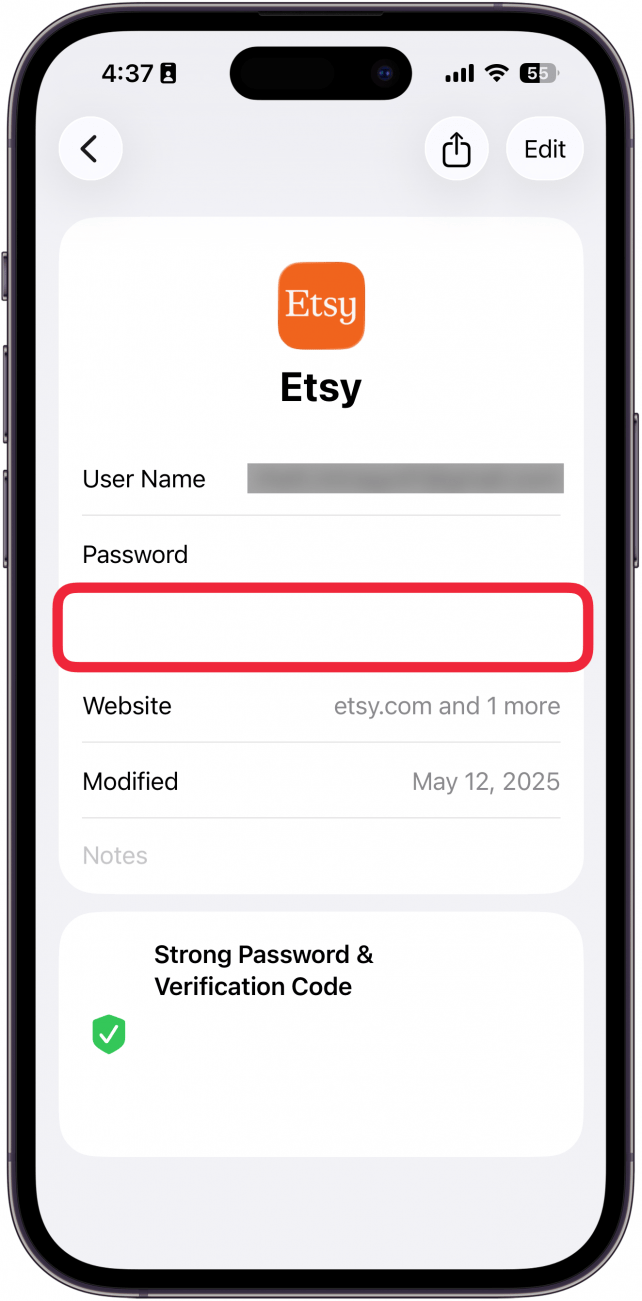
- The verification code will automatically be added to the password page. You’ll see it under the password (which you cannot see in the screenshot below, as the iPhone automatically whites out both the password and the code). Tap it to copy it to your clipboard.
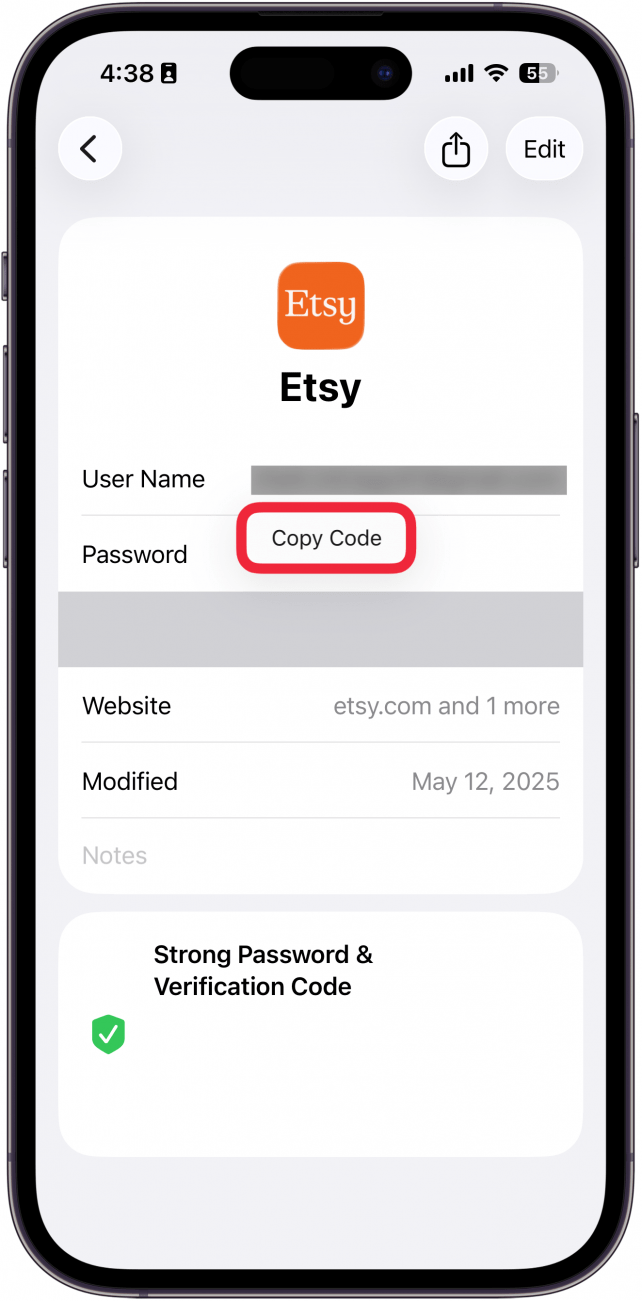
- Tap Copy Code.
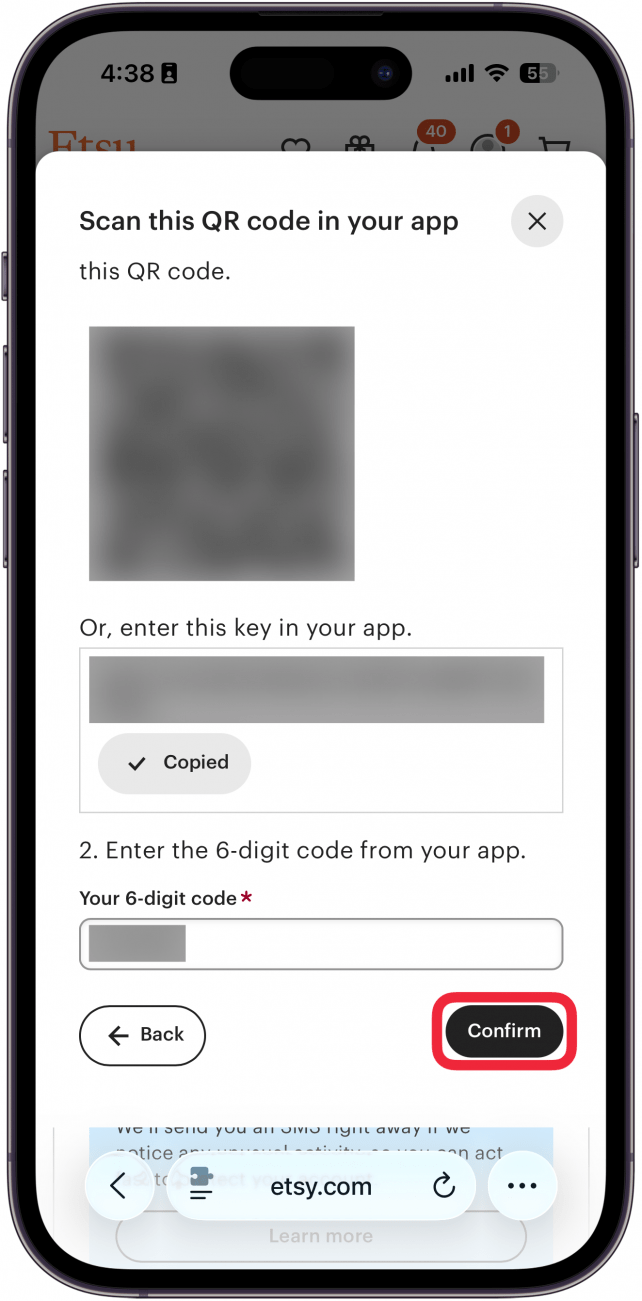
- Return to your web browser, and enter the verification code (if you copied it in the previous step, you can simply paste it here). Tap Confirm to finish setting up 2FA for this account.
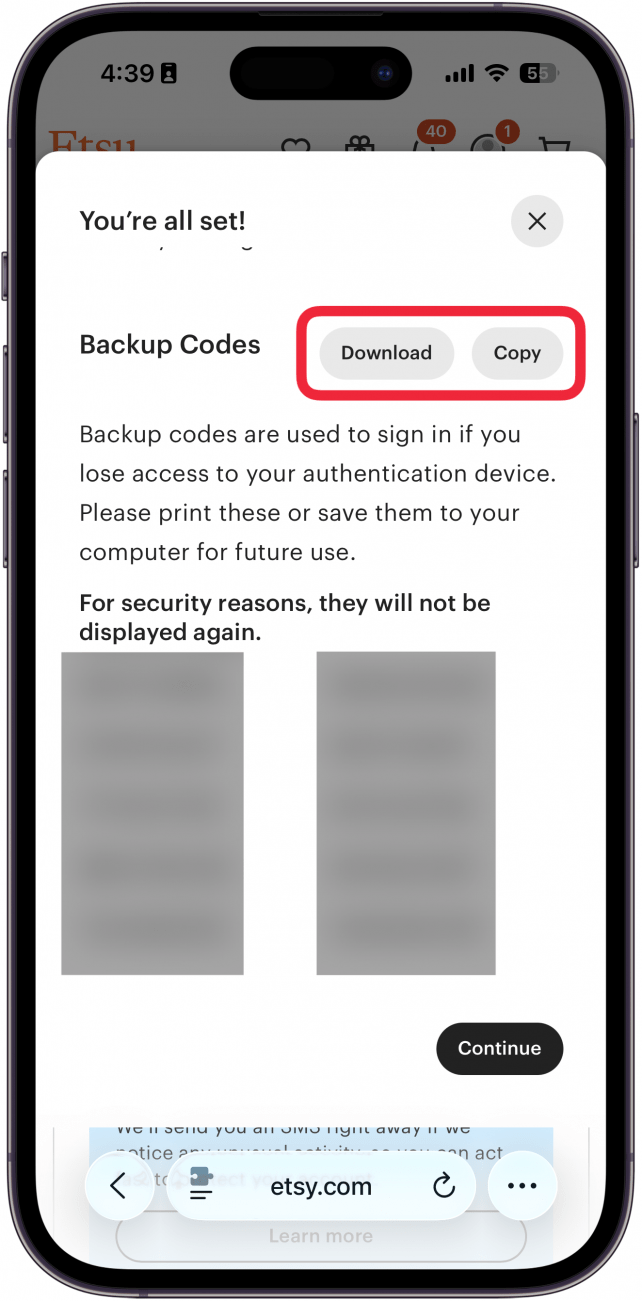
- The website will likely offer several backup codes in case you ever lose access to your authenticator app. You can tap copy to copy the codes to your clipboard. Keep these in a secure location.
That’s how to use your iPhone's authenticator app. Now, each time you log in to this account, you will be prompted to complete your sign-in using Apple's authenticator app. If you are looking to use your iPhone for two-step authentication, the Passwords app is a reliable choice. Your device will automatically generate a new code every 30 seconds, so the code you need to enter when logging in will be different every time. Next, find out how to share passwords on iPhone.
More On: iPhone Security
Top image credit: wk1003mike / Shutterstock.com
Every day, we send useful tips with screenshots and step-by-step instructions to over 600,000 subscribers for free. You'll be surprised what your Apple devices can really do.

Rhett Intriago
Rhett Intriago is a Feature Writer at iPhone Life, offering his expertise in all things iPhone, Apple Watch, and AirPods. He enjoys writing on topics related to maintaining privacy in a digital world, as well as iPhone security. He’s been a tech enthusiast all his life, with experiences ranging from jailbreaking his iPhone to building his own gaming PC.
Despite his disdain for the beach, Rhett is based in Florida. In his free time, he enjoys playing the latest games, spoiling his cats, or discovering new places with his wife, Kyla.

 Olena Kagui
 Ashleigh Page
 Rachel Needell
 Rhett Intriago


 Amy Spitzfaden Both

 David Averbach
 Cullen Thomas
 Devala Rees
 Leanne Hays