Apple’s Do Not Disturb mode is a useful feature that can help maximize productivity and keep you inconspicuous when working in a public setting. Learn how to turn on the Do Not Disturb feature on your MacBook for those much needed moments of peace. Just don’t forget to remove Do Not Disturb later on to avoid missing important notifications.
Related: How to Clean a MacBook Safely but Thoroughly
Jump To:
How to Put MacBook on Do Not Disturb
Have you ever wondered “how do I turn messages off on my Mac?” Look no further!

- Click the Notification Center icon located in the top right corner of your screen.
![Click the control center icon to turn on Do Not Disturb mode]()
- A drop-down menu will show up.
![Drop down menu with MacBook display settings]()
- Select Do Not Disturb.
![Select Do Not Disturb on MacBook]()
- Another drop-down menu will show up with options.
![Drop down menu with MacBook Do Not Disturb options]()
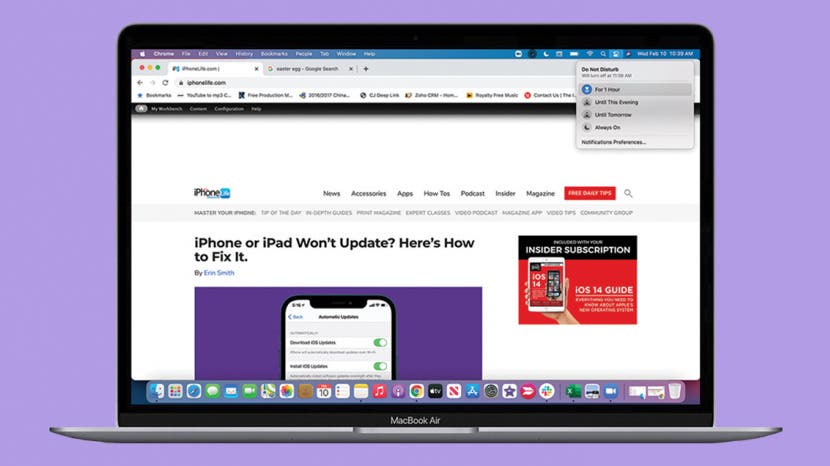
- Click on the option that suits you best. A moon icon will pop up on your Menu bar.
![Moon icon will pop up with Do Not Disturb options]()
There are four options for Do Not Disturb mode to choose from. These include:
- For 1 Hour
- Until This Evening
- Until Tomorrow
- Always On
![Four Do Not Disturb options]()
To learn more about taking MacBook Settings, sign up for our free Tip of the Day newsletter.
How to Set Custom Do Not Disturb Mode Times
If you’d like to customize your Do Not Disturb mode times, you need to open your Notification Preferences. You can do this from the Do Not Disturb drop-down menu in the Menu bar. Or you can go through System Preferences:
- Open System Preferences.
![Open System Preferences on MacBook]()
- Click on Notifications.
![Click on Notifications in System Preferences on MacBook]()
- Select Do Not Disturb.
![Select Do Not Disturb in Notification settings on MacBook]()
- Click the box that says “From…”
![Click the box that says "From" in Do Not Disturb settings]()
- Input the times you want your MacBook to be in Do Not Disturb Mode.
![Select the times for your custom Do Not Disturb settings]()
- Close the window by clicking the red x and your settings will be saved automatically.
![Close the window to save settings automatically on MacBook]()
Using the Do Not Disturb mode can help you focus on an assignment or avoid disturbing those around you. But what is Do Not Disturb mode? It is a function that makes sure you don’t see or hear notifications as they arrive. However, they will be collected in your Notification Center so that you can view them later. Now that you've mastered Do Not Disturb, check out how to use Night Shift mode on your MacBook.


