Once you’ve got an iPhone in your pocket or purse, it’s quick to become your go-to camera just because it’s there and ready, whether for taking selfies, family photos, or even more artistic fare. Personally, I almost never carry my expensive DSLR camera anymore. Instead, I keep a few tips in mind and a pocket full of small accessories so I’ll be ready when the light is just right.
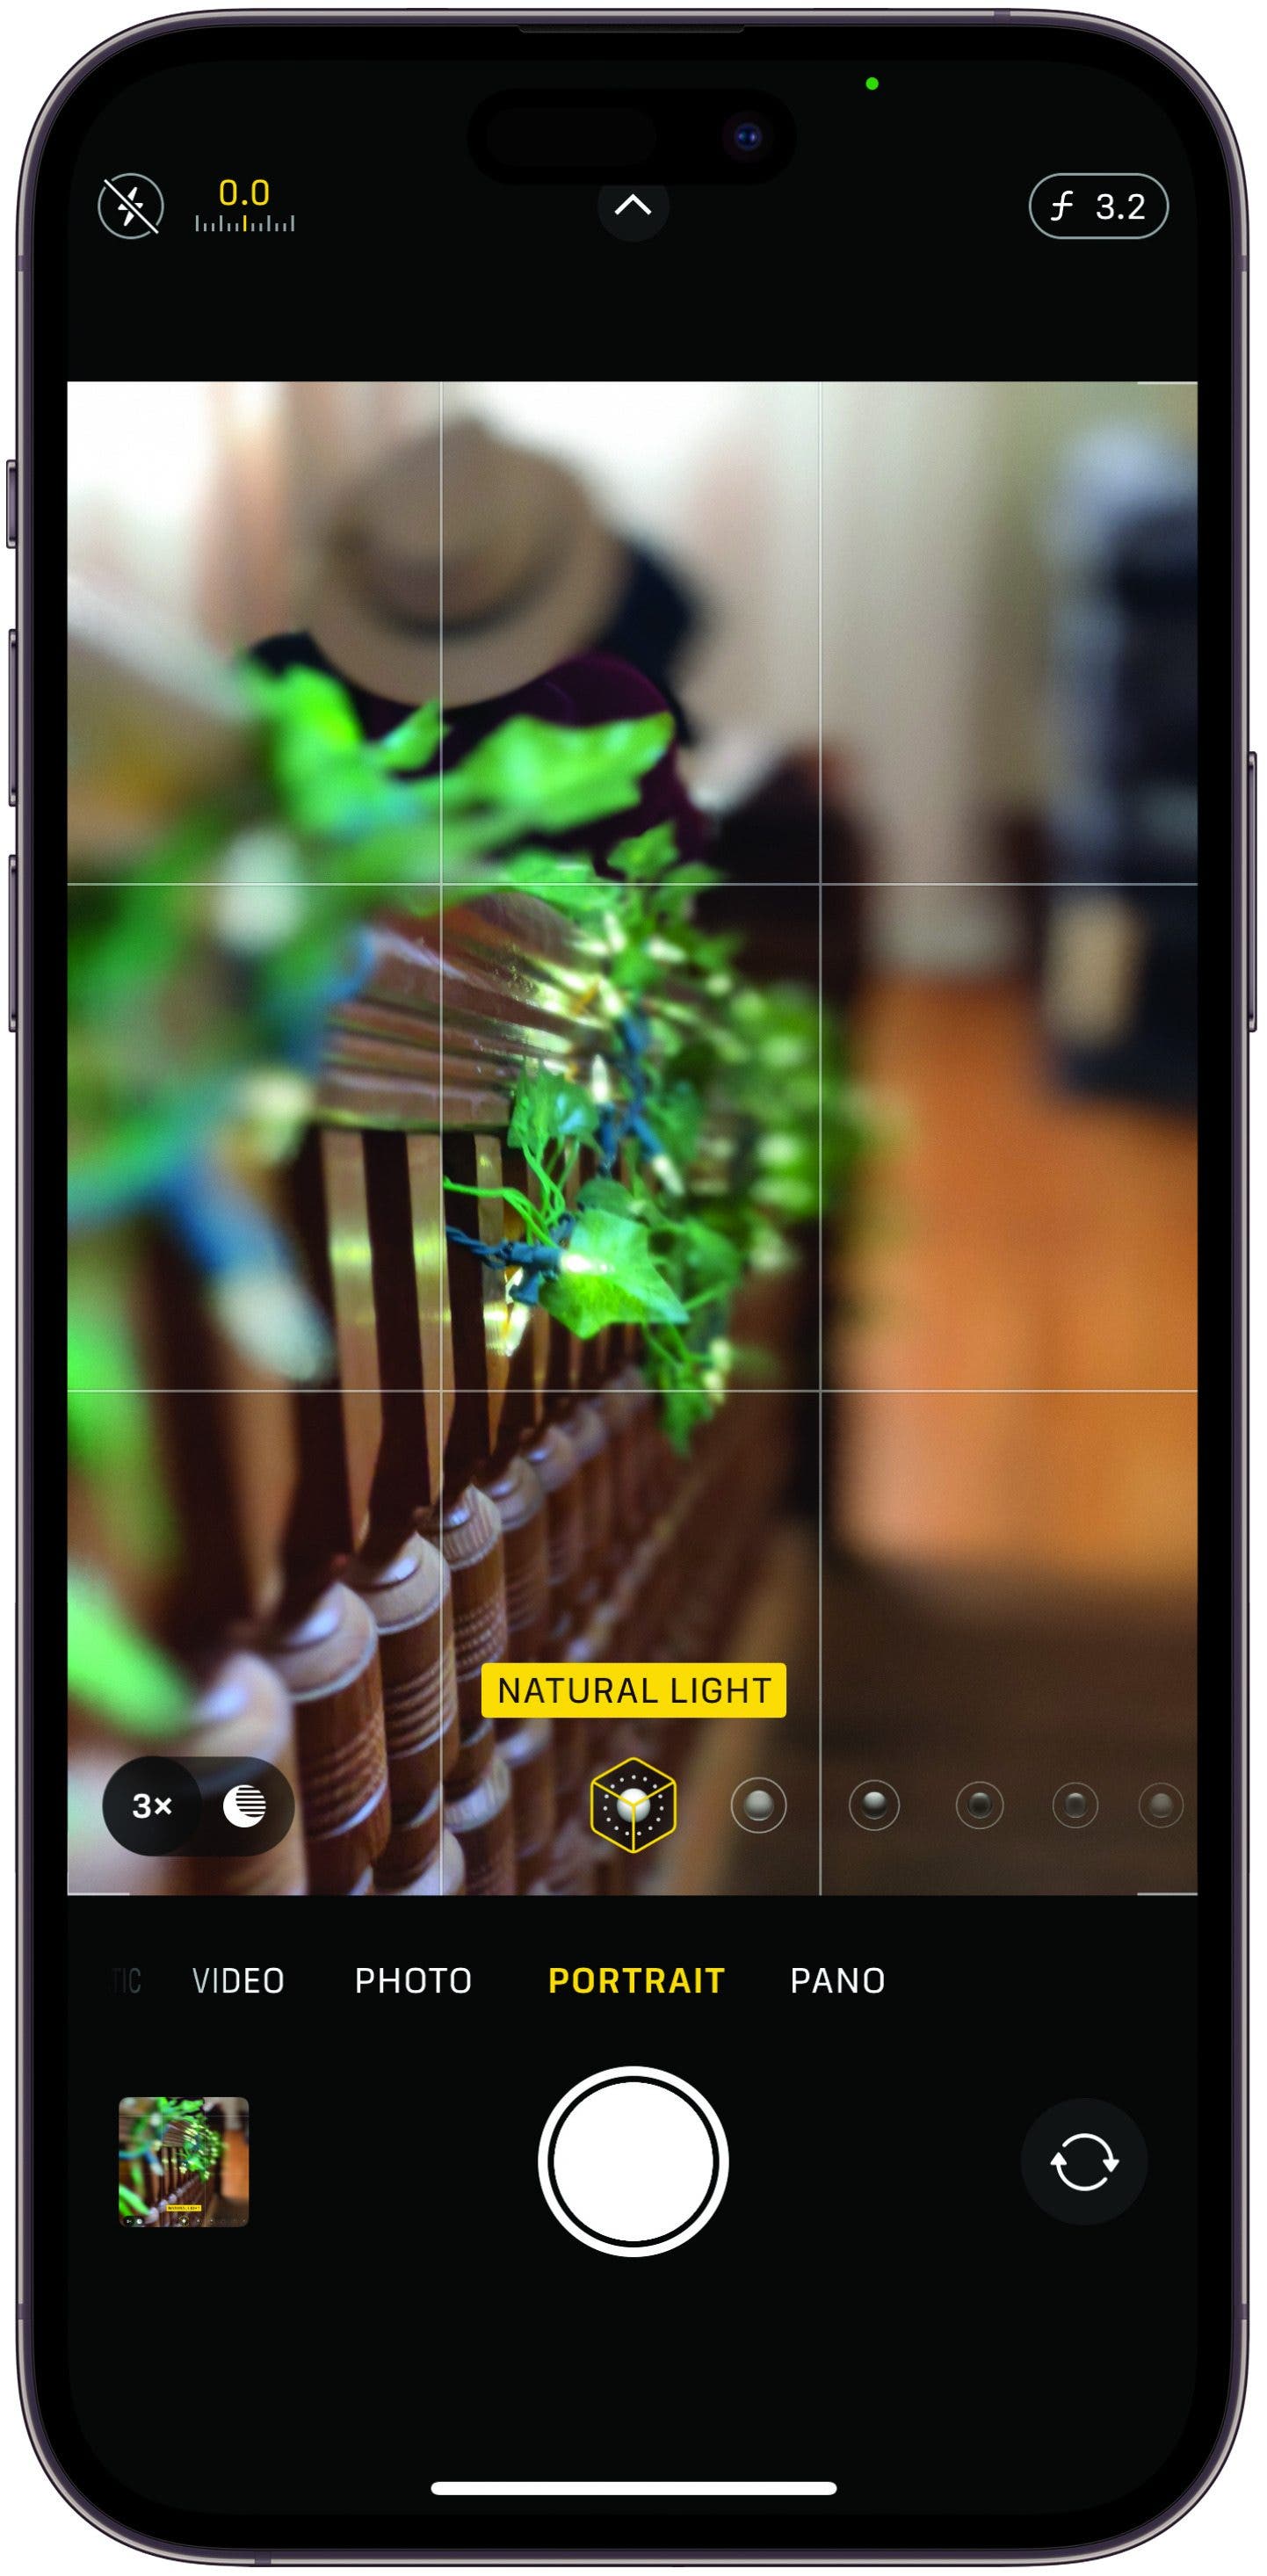
1. Blur the Foreground in Portrait Mode
We’re all familiar with the blur that Portrait mode adds to the backgrounds of our images, but one failure of that effect was how it would skip any foreground elements, making it feel somewhat artificial. No more! Try setting up a shot in Portrait mode that includes a foreground element (flowers or greenery are great for this), then tap on the subject of the photo and you’ll see the foreground as blurry and beautiful as the background. For more iPhone photography tips and tricks, be sure to sign up for our Tip of the Day newsletter.
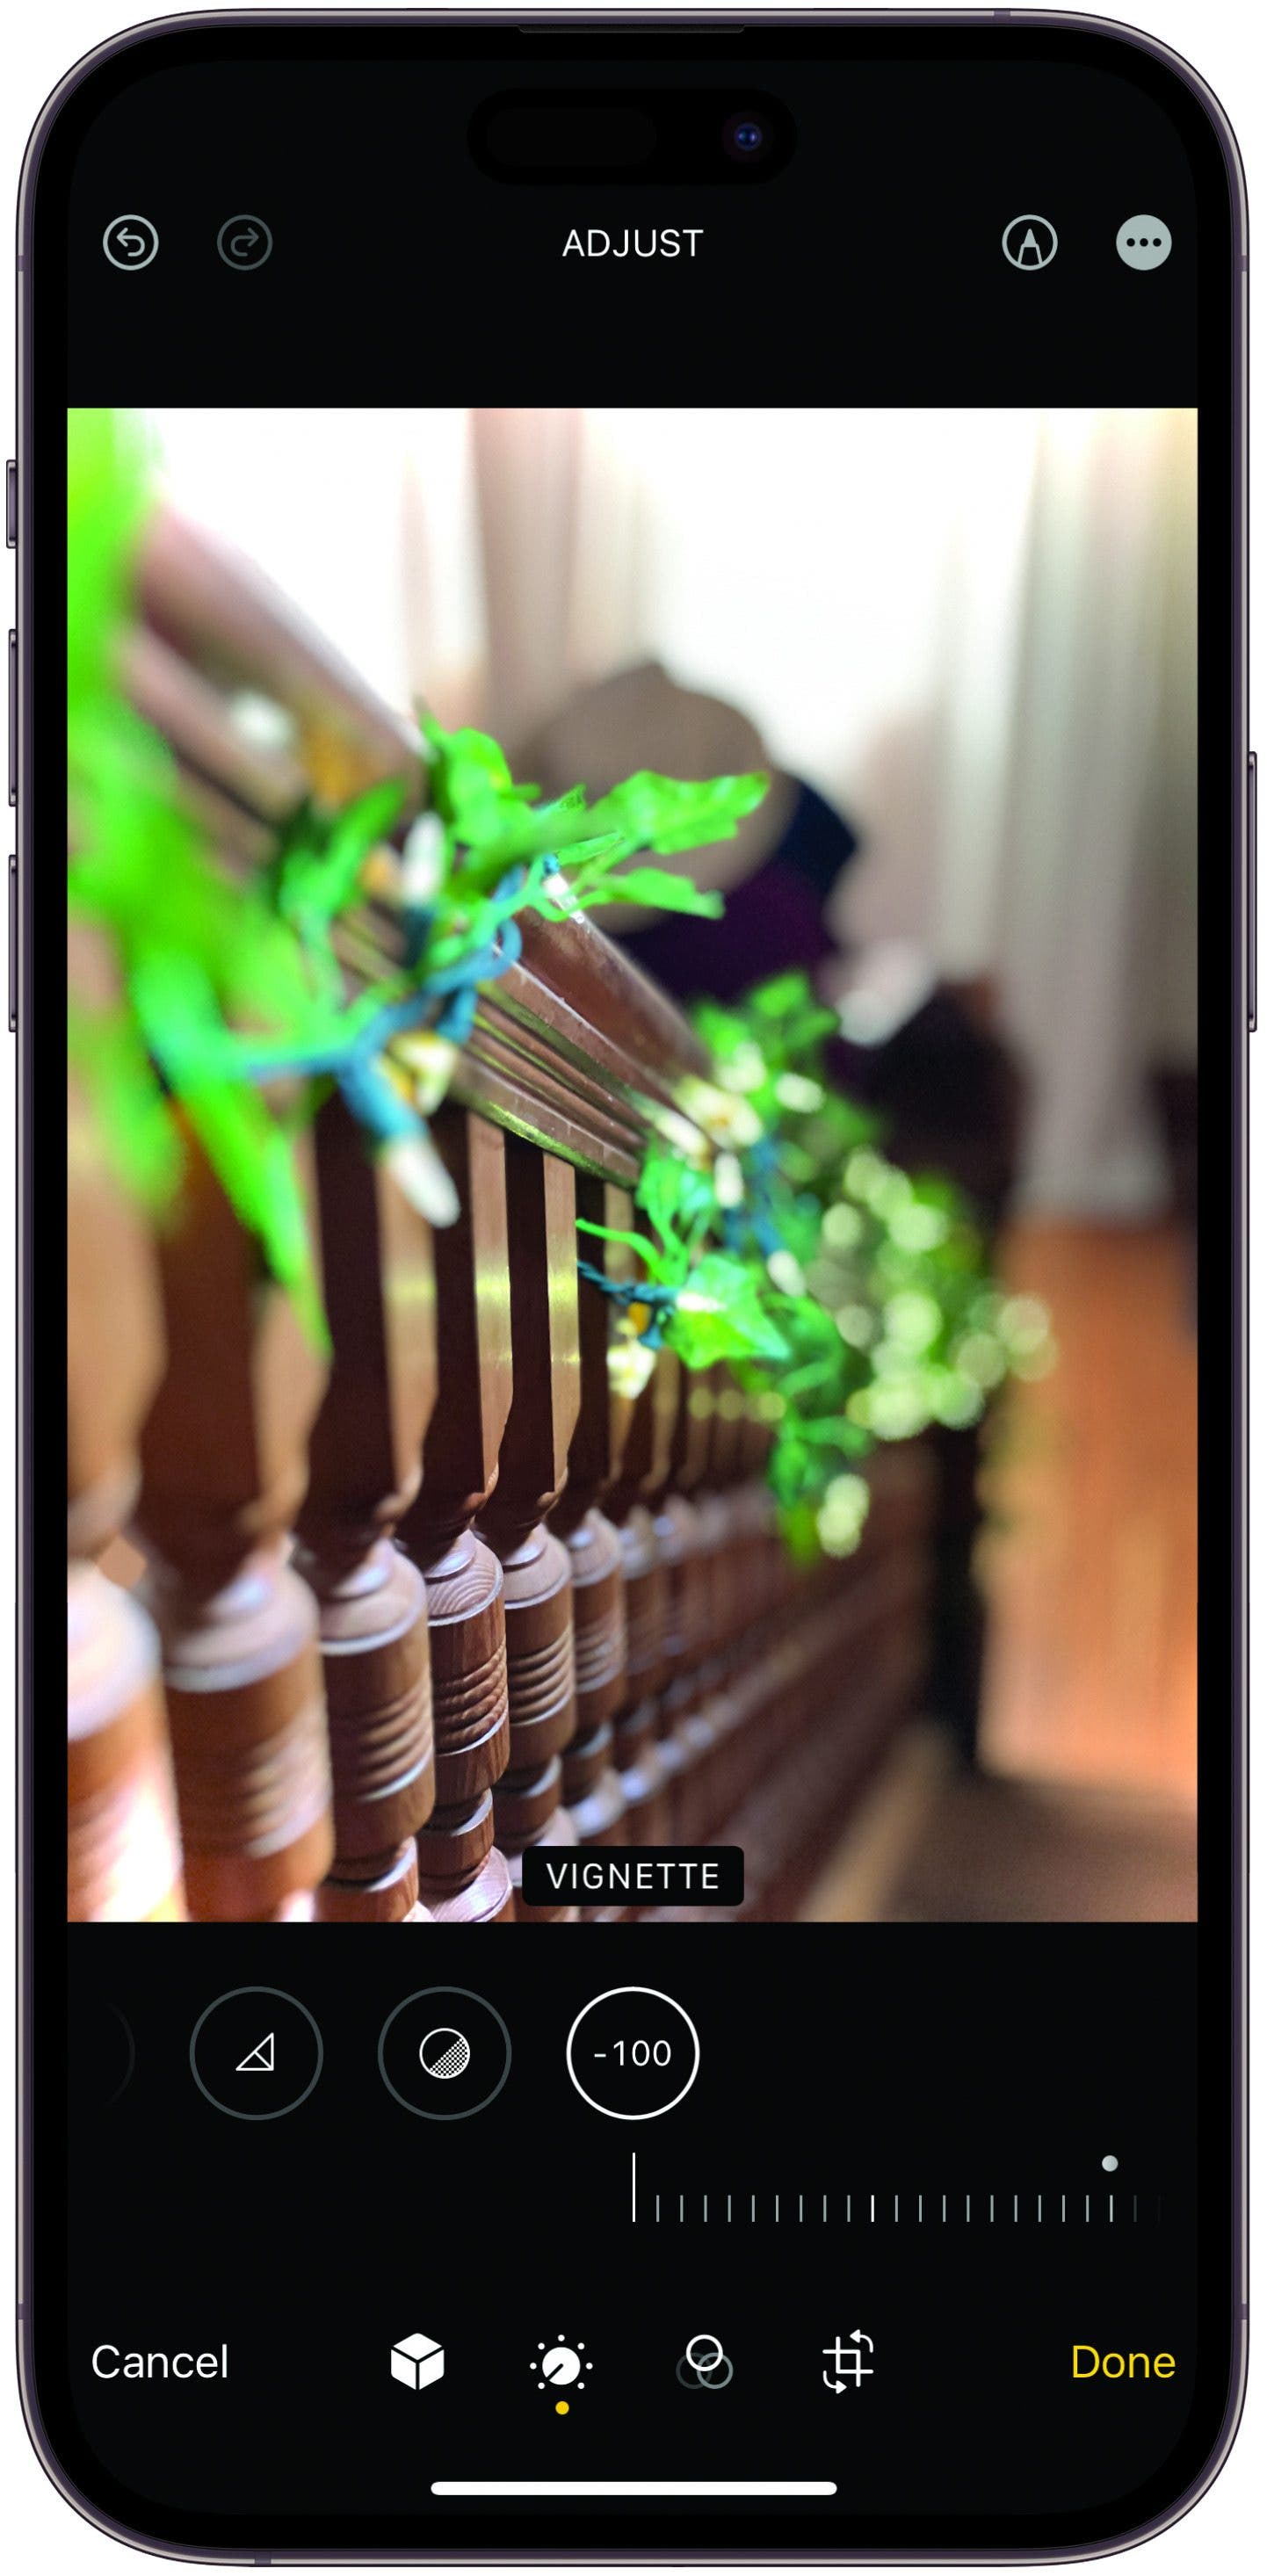
2. Edit Your Photos to Create a Look
When you edit a photo in the Photos app, you have enormous power to change its style, color, framing, and feel. Open the photo you want to edit and tap the Edit button, then tap the adjust icon (which looks like a dial) and make your tweaks by selecting an effect icon in the menu just below your photo and using the slider to adjust. For more drama, try shifting the blacks a little darker. For that washed-out retro look, try lowering the contrast and adding a light-color vignette. For a vibrant spring look, turn up the brilliance a little and add a pinch of definition. Whether you’re looking to improve a shot or just go for a different vibe, you’ve got tons of options. You can even remove red eye from photos!

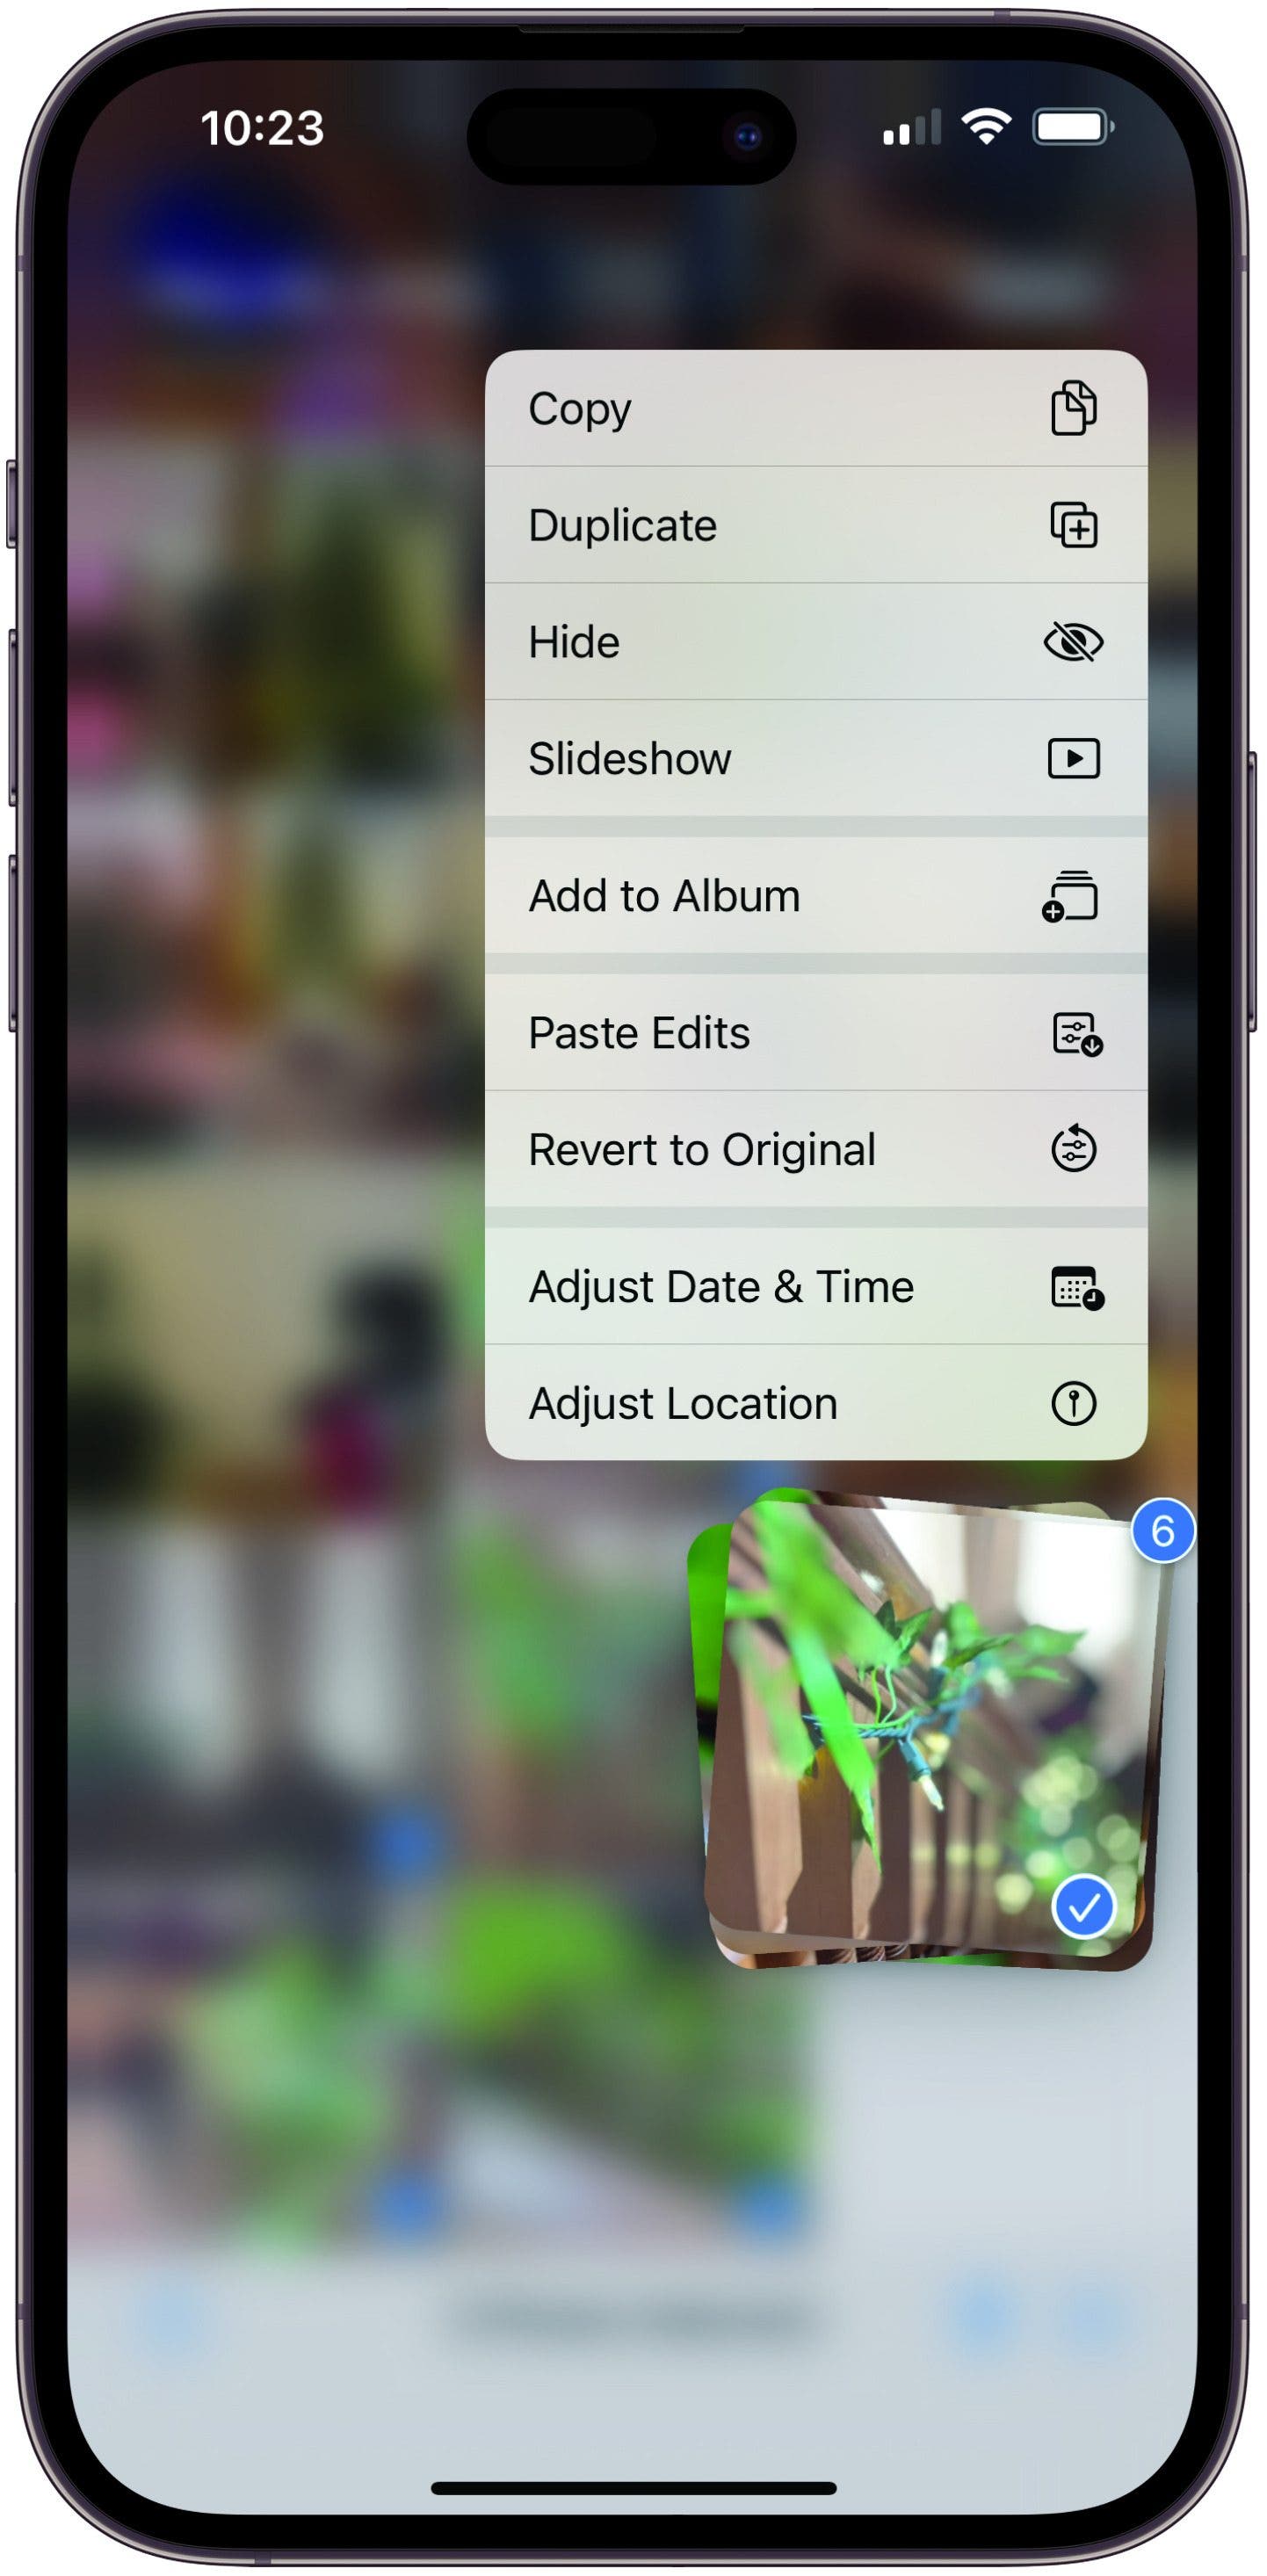
3. Copy Your Look to Other Photos
With iOS 16, you can apply the same effects you dialed in for a single shot to all the photos you want in a few quick taps, turning your whole weekend photography session from cottage core to noir in an instant. Once you’re finished editing a single photo, tap Done and return to your album. Then select that photo by tapping select, then tapping the photo. With it selected, tap the three-dot more icon at the bottom right and tap on copy edits. With the edits copied to your clipboard, you can then select all the images you want to apply those edits to, and in the same three-dot more menu, tap Paste Edits. Then watch as your images change to match.
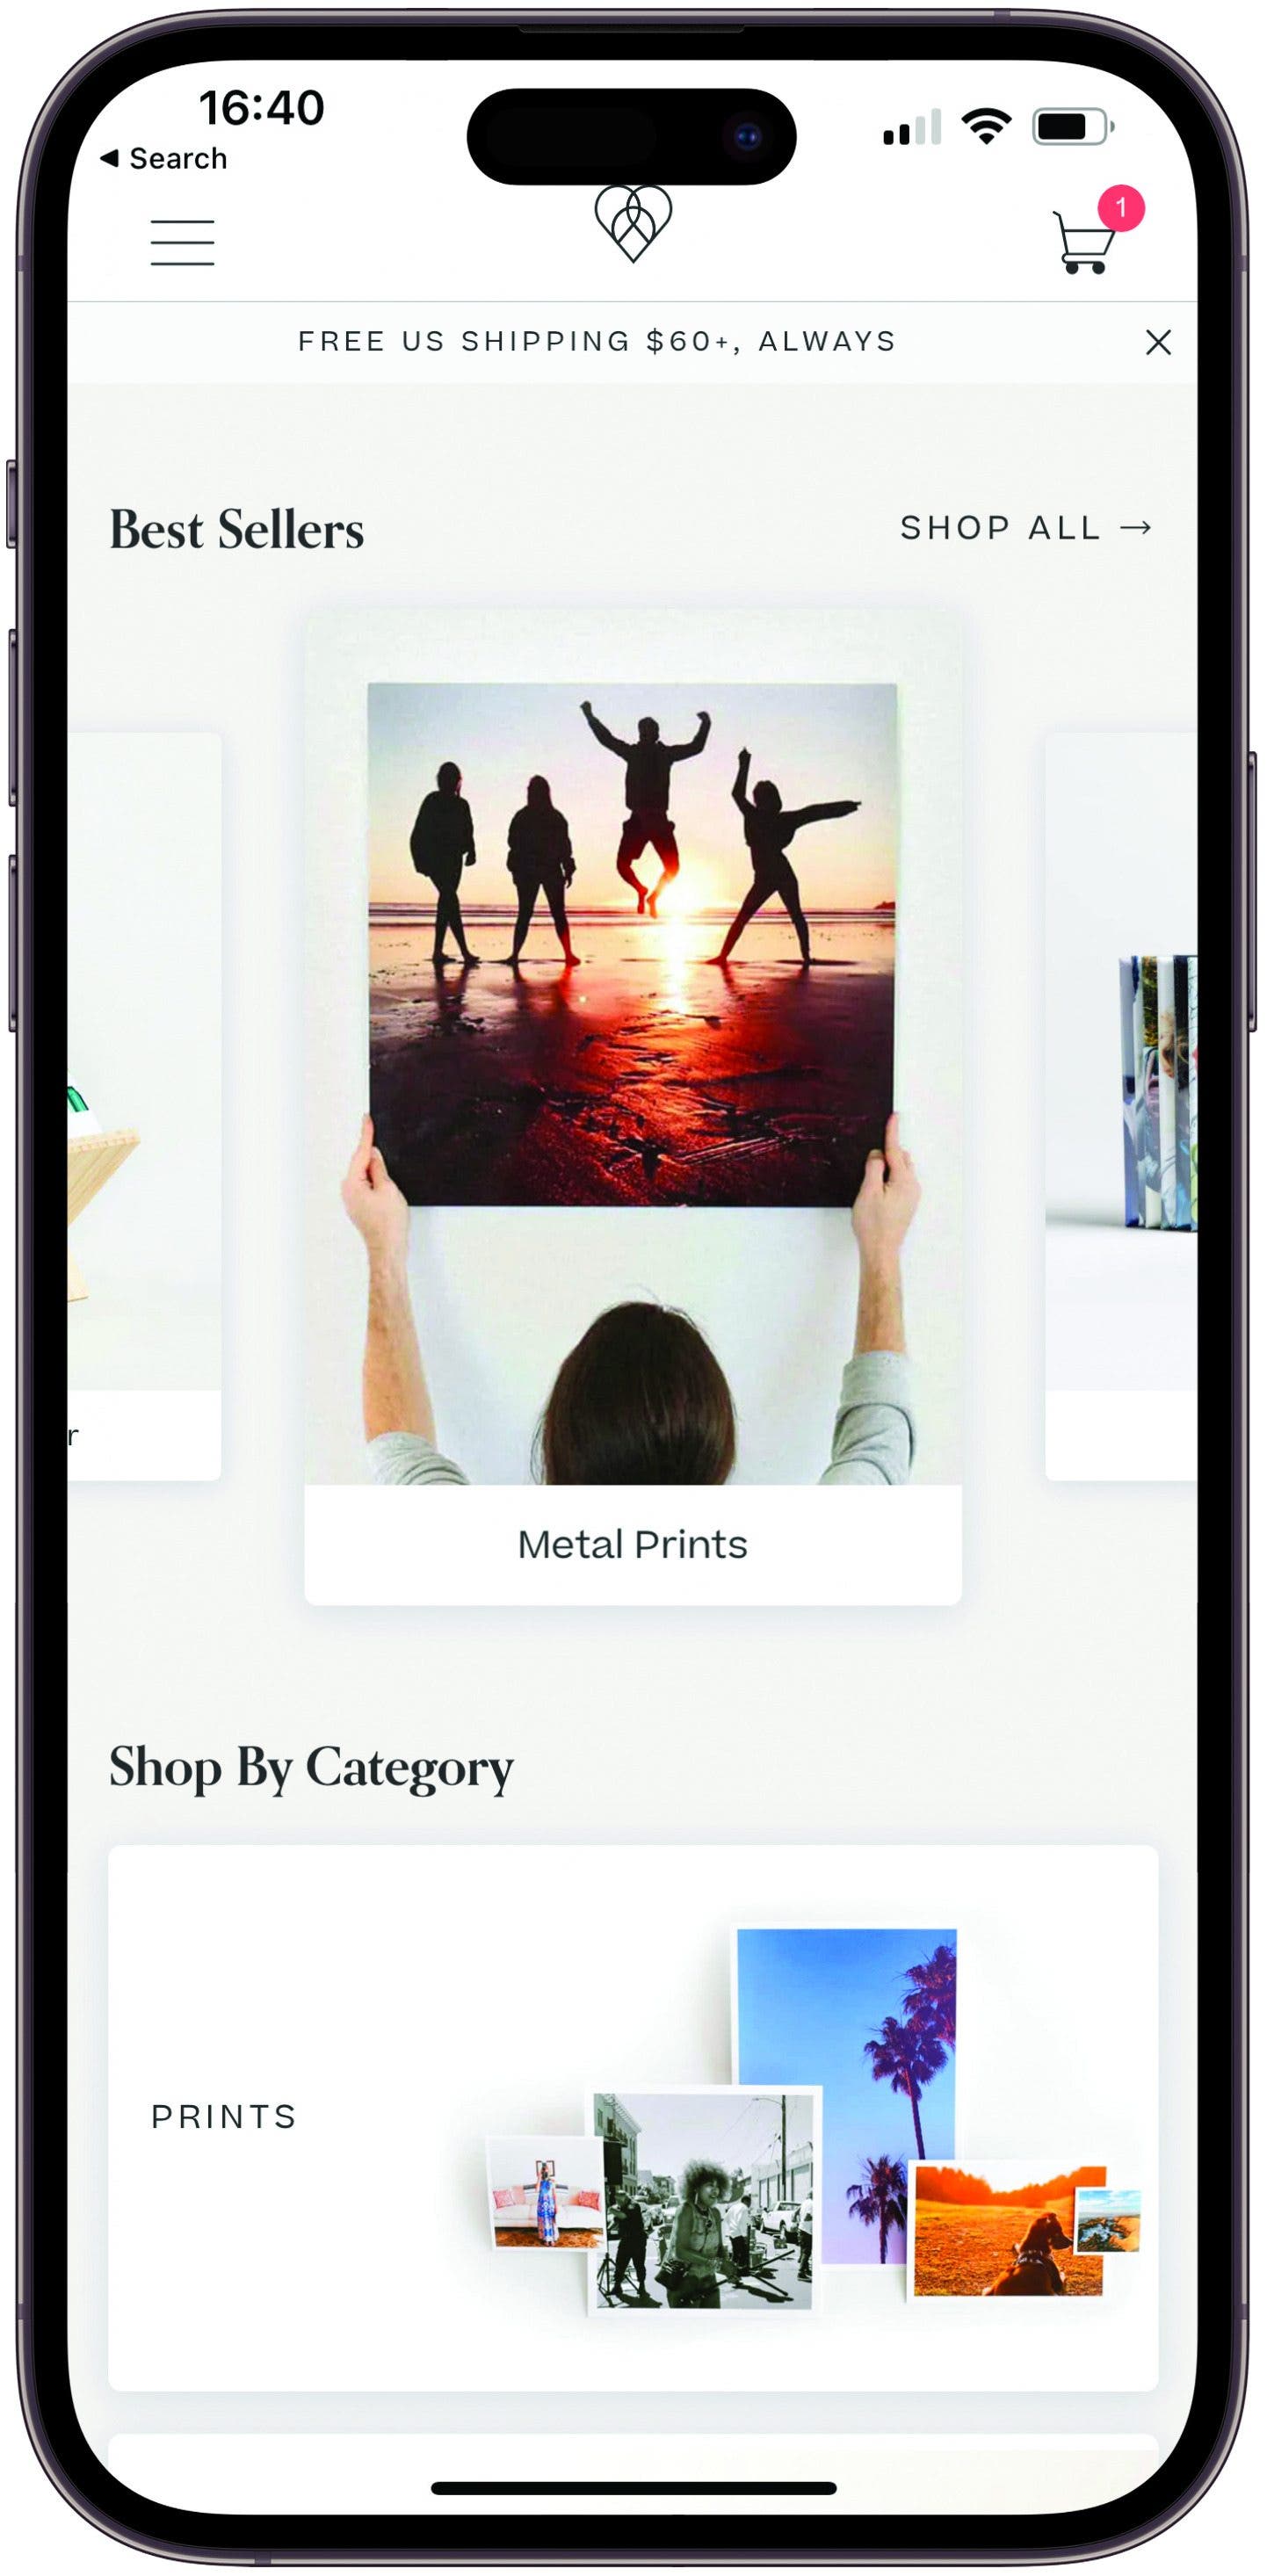
4. Try the Social Print Studio App for Awesome Art (Free, Print Costs Vary)
There are a ton of apps to print your favorite photos in a variety of beautiful ways, but the one I’m (still) wild about is Social Print Studio. It’s a clean and navigable interface, the prints are magnificent, the prices are reasonable, and their customer service is top notch. You really can’t do any better.
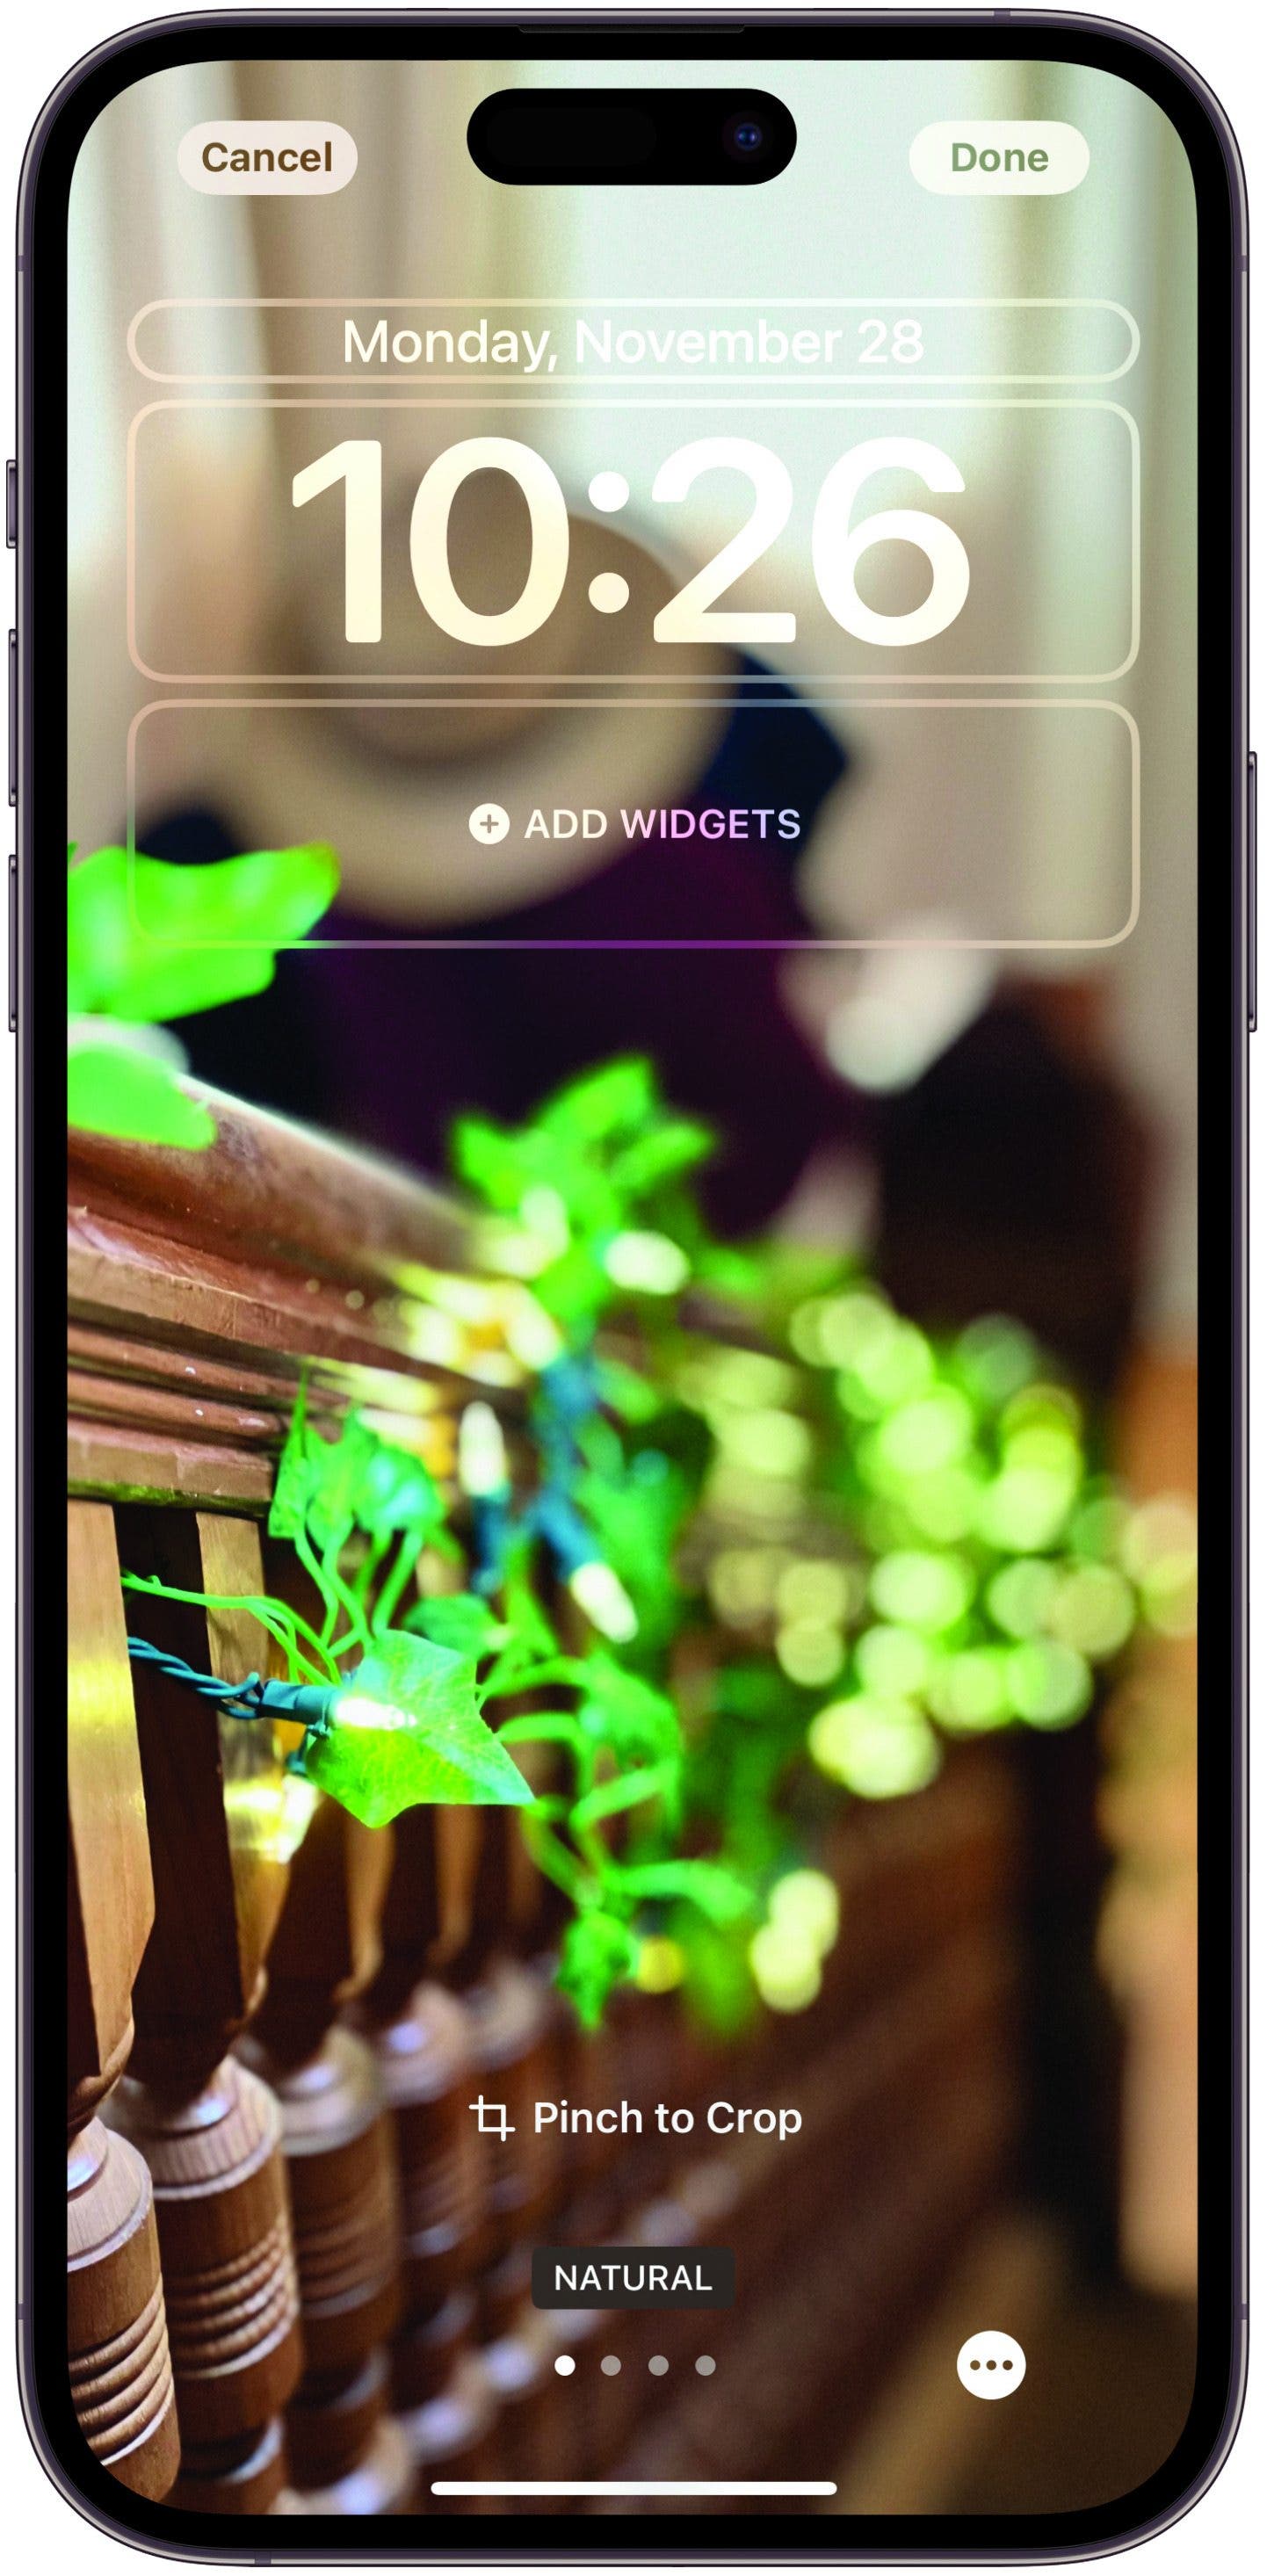
5. Use Photo Shuffle on Your Lock Screen
Now that we’ve got tons of carefully edited images on our iPhones, what do we do with them? There are digital picture frames of course, and you can always print them out, but now with iOS 16 we can use our iPhone Lock Screen as a digital picture frame, cycling through different images. To set it up, go to your Lock Screen and make sure it’s unlocked. Then, touch and hold the Lock Screen until you enter the Lock Screen gallery. From there, tap the plus icon to make a new Lock Screen. In the menu for creating a new Lock Screen, select Photo Shuffle. You can either use the automatically selected images or tap Select Photos Manually at the bottom. I prefer to select them myself, that way I can create individual Lock Screens with themes like Halloween, or Spring!
5 Tools to Take On Scenic Trips
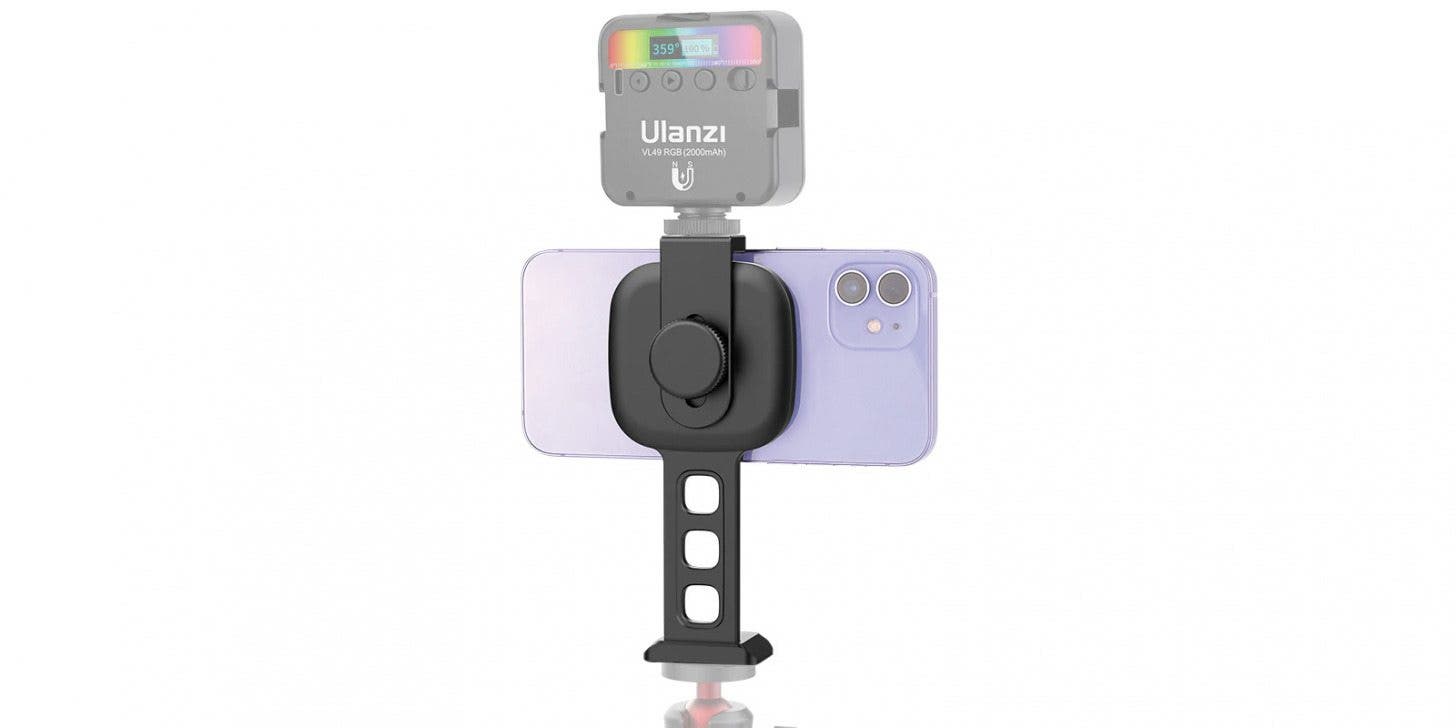
Ulanzi ST-28 Magnetic Phone Bracket
($29.95)
The single most important piece of equipment for an iPhone photographer is a lightweight tripod. A set of legs for your iPhone lets you do everything from getting yourself into a shot, to expertly framing a scene before the perfect moment arrives, to taking night shots with minimal camera shake. Any way you dice it, you want your tripod legs and you want your iPhone to clip to those legs quickly and easily. No method for securing your iPhone has ever been more convenient than MagSafe.
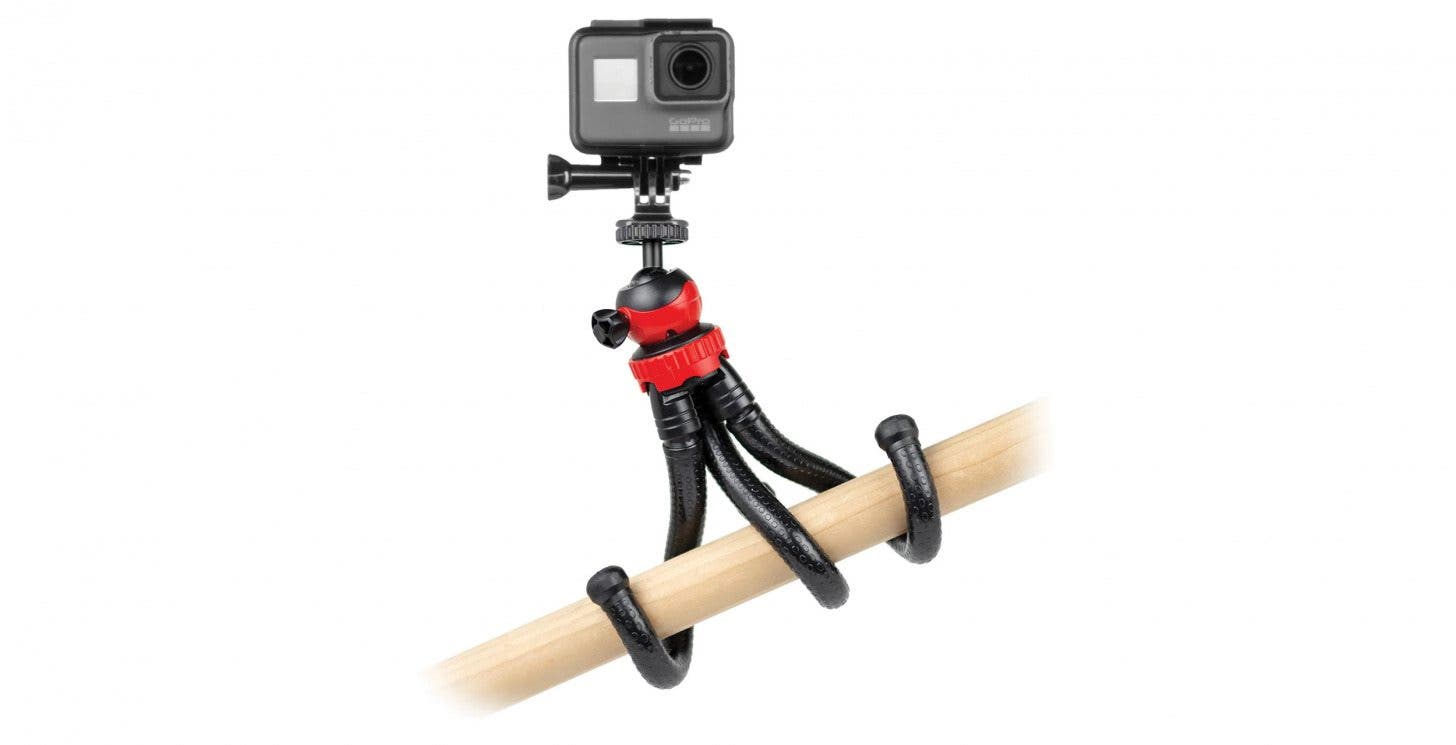
Spivo Flexible Tripod
($14.99)
This little gripper tripod bends to clutch trees or railings and weighs practically nothing. Use any iPhone tripod adapter (like the Ulanzi model above) and it’ll work great with your iPhone. These little bendy tripods tend to be a bit fiddly for night photography or carefully leveled shots, but there’s no substitute for quick photos on the go, perfect for epic landscape selfies, or chronicling the family circus.
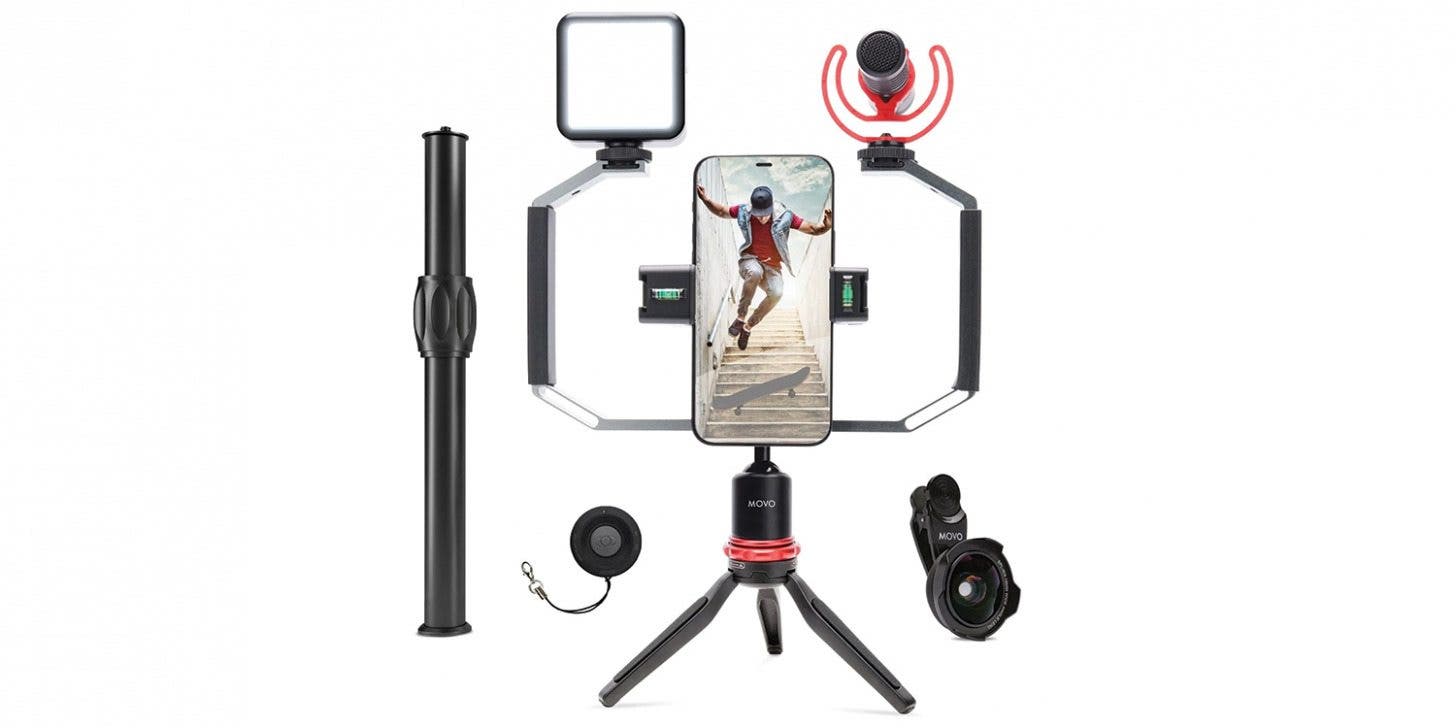
Movo iVlog3 Smartphone Video Kit
($139.95)
This kit offers a selection of useful accessories, from a desktop tripod for your iPhone, to a tiny light to help light your face during video calls, to a Bluetooth shutter control so you can take photos without touching your iPhone. The frame and legs are well built and robust, and you can make sure your phone is level with the iPhone stand’s built-in level. My favorite feature is how the stand adapter doesn’t use a spring to tighten the clip, which I’ve never quite trusted. Instead, it uses a thumb screw to gently tighten its grip on your iPhone.

Sandmarc Fisheye Lens
($99.99)
Your best tool is your tripod, but if you want a little extra flexibility, you might like the wide angle and zoom lenses from Sandmarc. There are a few options to pick from—I’m a fan of the fish-eye lens for wide angle shots that capture landscapes you couldn’t otherwise get, even with the most expensive iPhones. The other lenses from Sandmarc are excellent as well, including the telephoto for extra zoom, and the anamorphic for video.
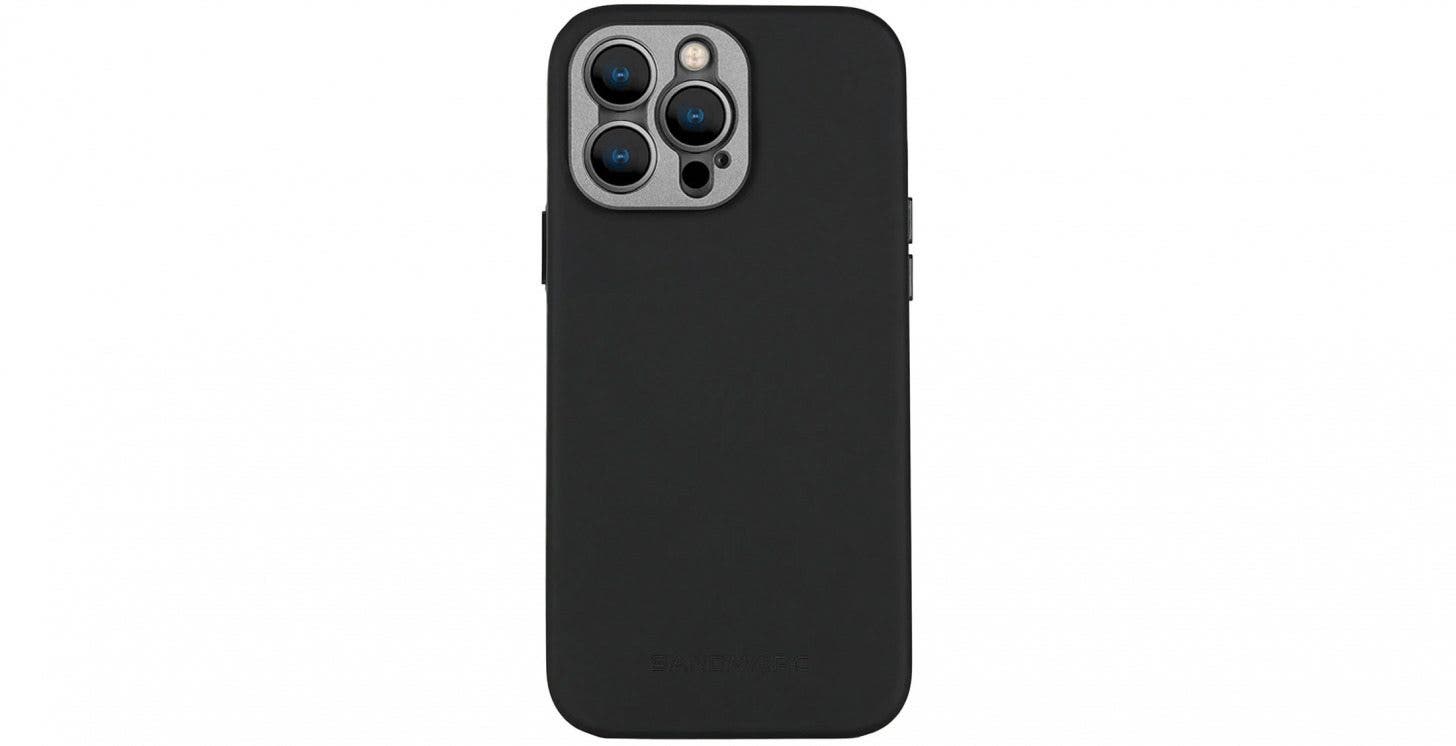
Sandmarc Pro Case
($39.99)
The Sandmarc lenses come with a convenient clothespin-like attachment for your iPhone camera, but that method leaves opportunity for a bump or a nudge to knock them out of alignment. The Sandmarc Pro case is a solid iPhone case with a lens mount attachment built in, so you can screw the extra lens on firmly so it won’t come free, and where it lines up perfectly every time. If you’re going to be using lenses for your iPhone, then make sure you get the matching case! Next, find out how to delete multiple photos on iPhone!


