* This article is from our Tip of the Day newsletter. Sign Up. *
Whenever I see a panoramic view, my first instinct is to take a photo. But a standard shot on the iPhone doesn't capture the view. Here's how to use Apple's Camera app to take panoramic pictures.
Related: How to Edit Slow-Motion Video on iPhone

Why You’ll Love This Tip
- Take beautiful landscape photos on your iPhone or iPad.
- Capture the best skyline photos ever!
How do you take a panoramic picture with your iPhone or iPad? We'll show you how to take gorgeous panoramic view photos, all shot on your iPhone or iPad; you don't need a special panoramic camera or photo joiner app to stitch pictures together!
To take a panoramic photo:
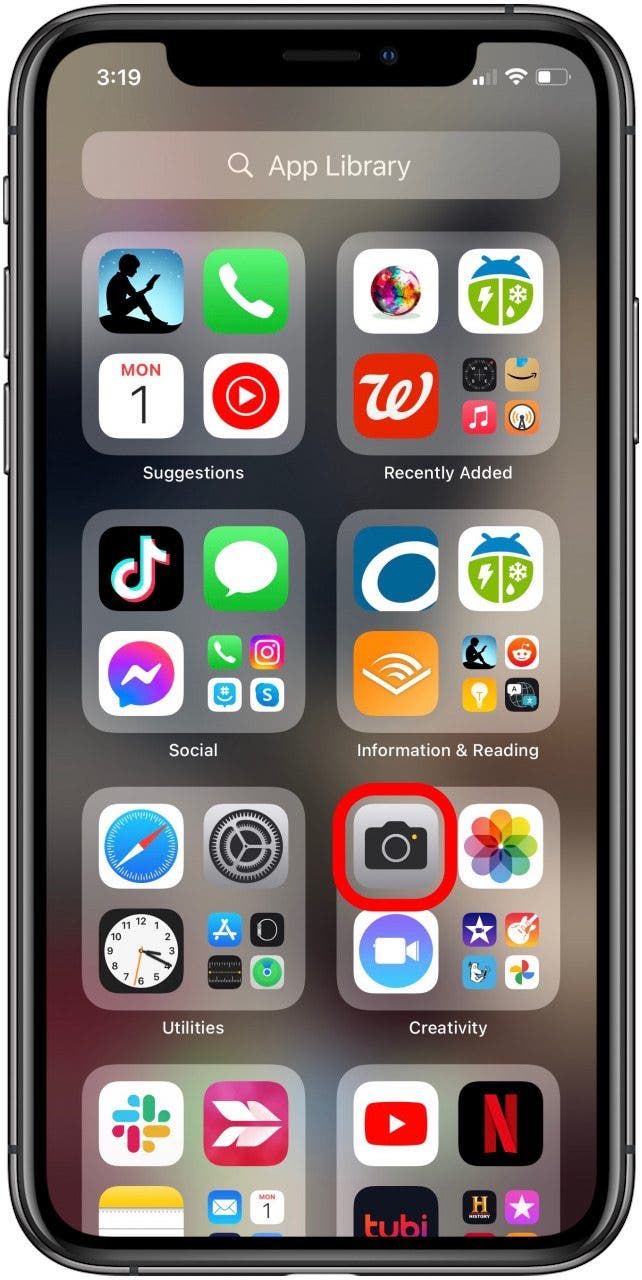
- Open the Camera app on your iPhone or iPad.
![apple camera app]()
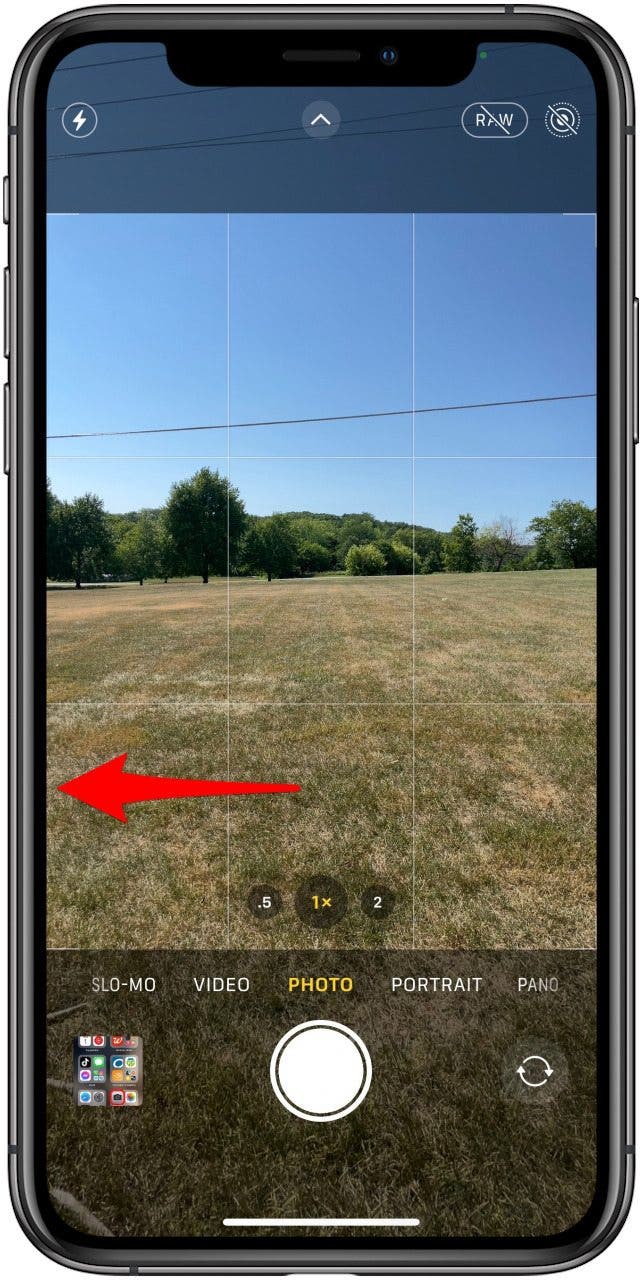
- Swipe to the left through your options until Pano appears highlighted in yellow.
![swipe to the left until the pano option appears in yellow]()
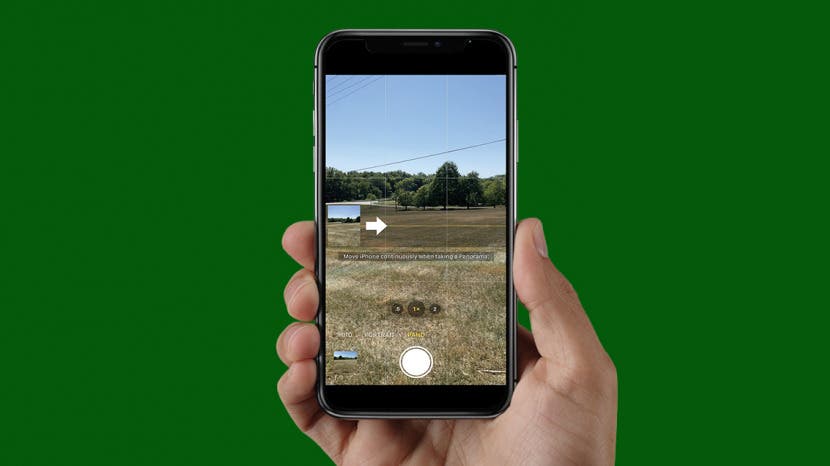
- Now you’ll see instructions appear on the screen.
- If you want to take your photo from left to right, make sure the arrow is pointing to the right; if you'd rather take your photo right to left, tap the arrow, and it will change directions.
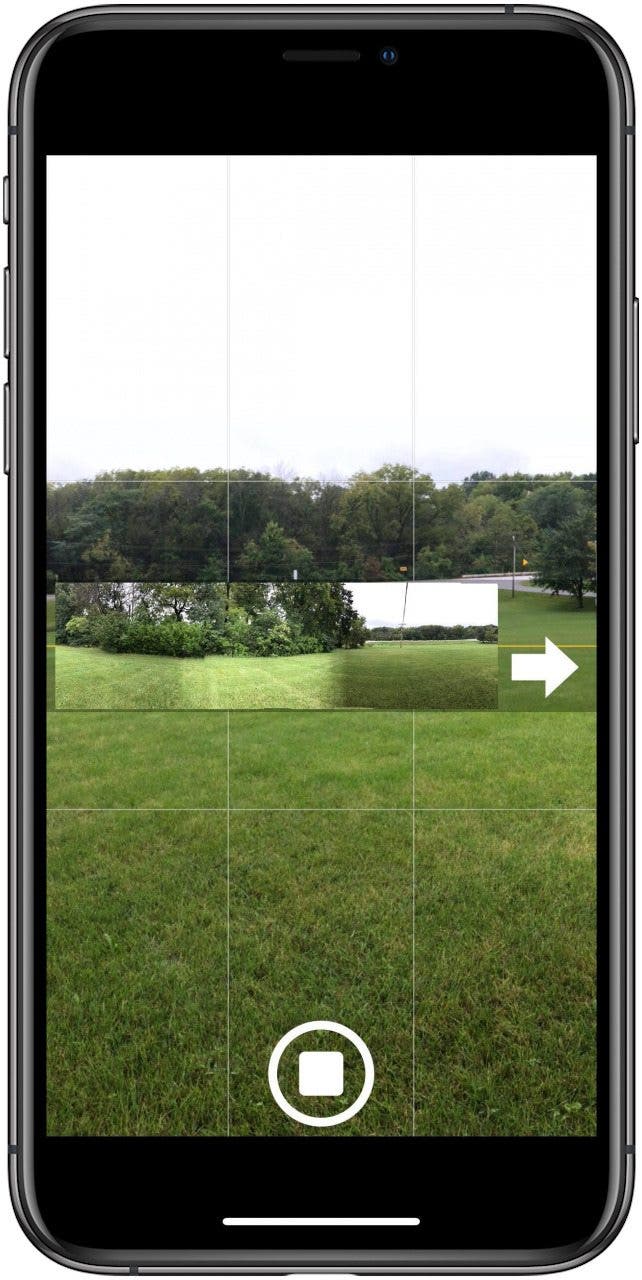
- Tap the shutter button, then move your iPhone slowly and steadily, keeping the arrow on the yellow line. Don’t get impatient and rush through the process, or your picture won’t turn out as well.
![photo joiner]()
- Carry on until you reach the right or left side of the screen if you want a full 240-degree photo.
![panoramic pictures]()
- If you want a panoramic photo but feel that the 240-degree photo is overkill, you can stop taking your picture at any desired point by tapping the Shutter button.
Here's my completed panoramic photo! If you enjoyed this tip, you may also want to learn how to make side-by-side photos on your iPhone, and how to take a timed photo on your iPhone.

