* This article is from our Tip of the Day newsletter. Sign Up. *
Now that we’re regularly using our iPhones to take videos, you may want to trim out unwanted frames to reduce file size. There are also those moments when you record preemptively in order to catch your shot, but afterward, you want to edit out the excess footage. Read on to learn how to cut a video on your iPhone or iPad to shorten it.
Related: 6 Easy Ways to Transfer Photos from iPhone to PC or Mac

How to Shorten a Video on iPhone or iPad Photos App
If you're curious about photography and want to learn how to make full use of your iPhone Photos app, I recommend signing up for our free Tip of the Day. Here's how to trim a video in your Photos app.
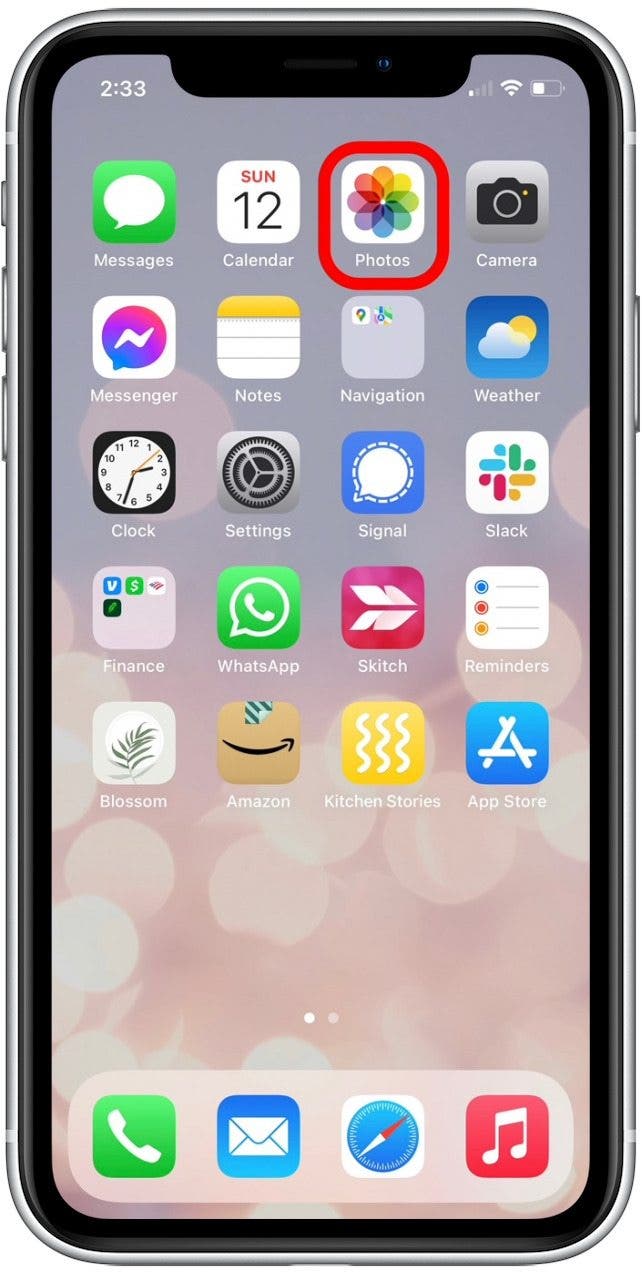
- Open the Photos app.
![]()
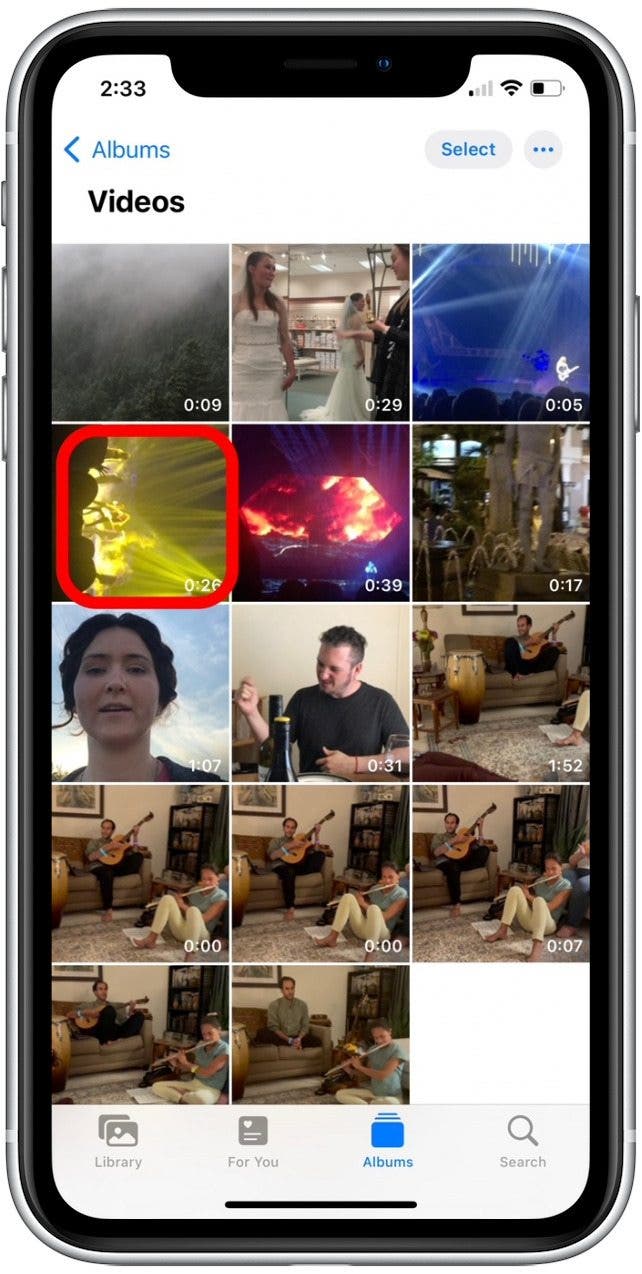
- Locate the video you want to edit and tap on it.
![]()
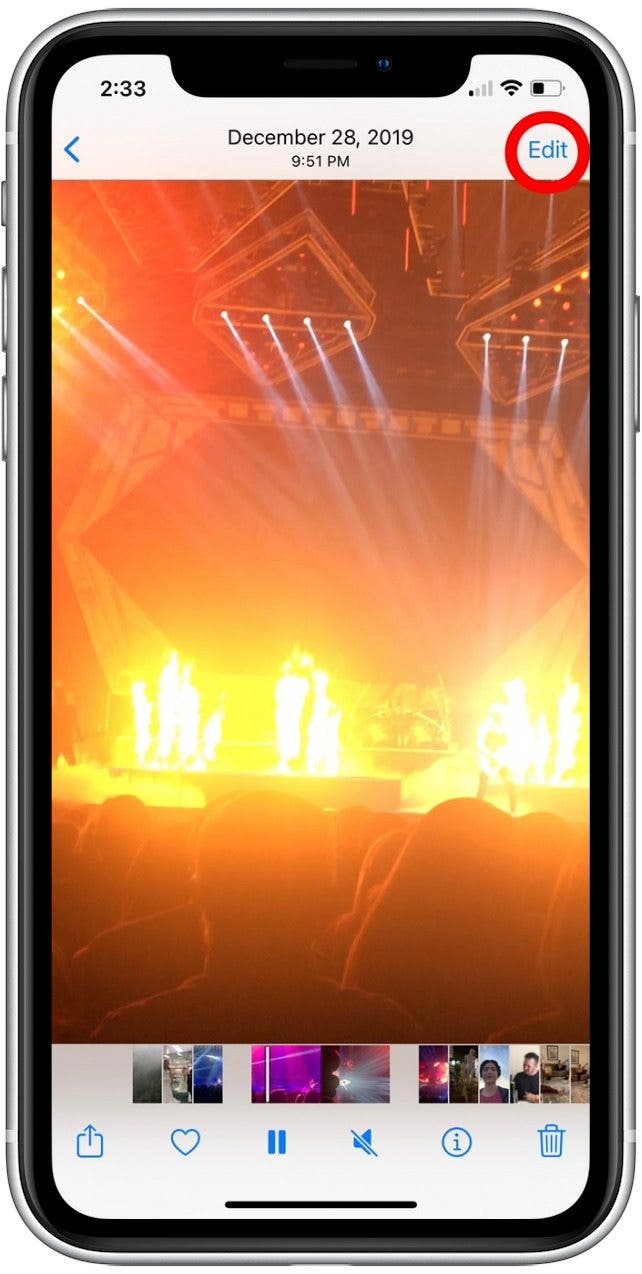
- Select Edit.
![]()
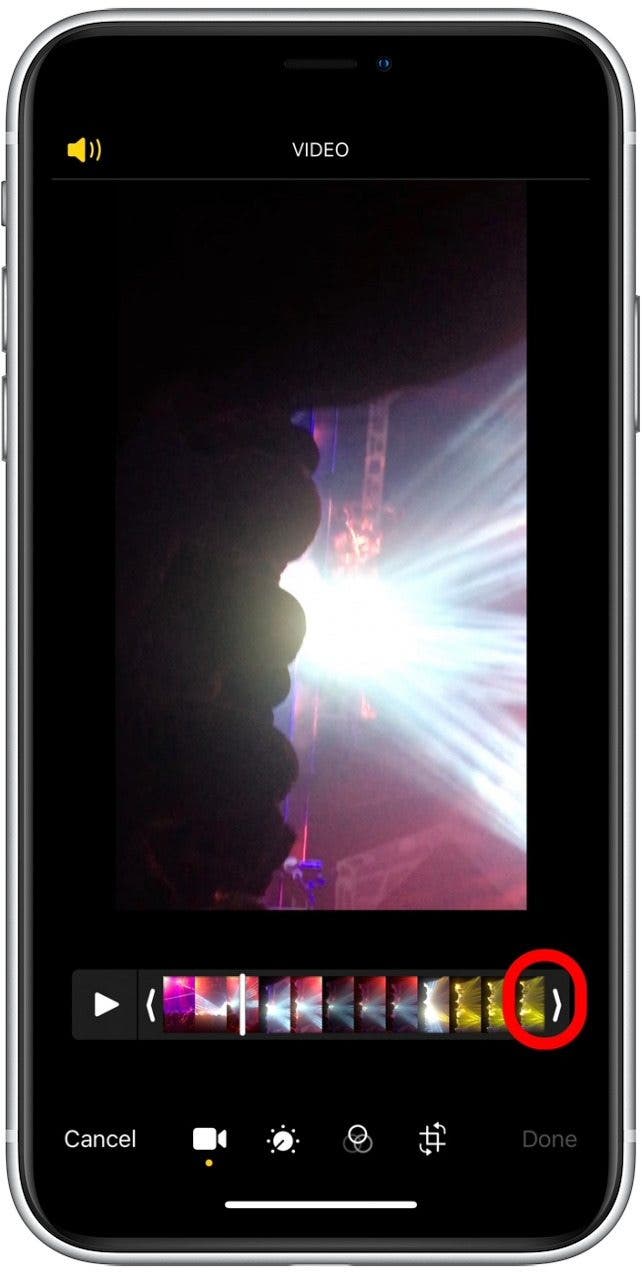
- You’ll see the sequence of still images with arrows on either side.
- Long press and drag on one of the arrows until the solid black bar around the sequence of shots turns yellow.
![]()
- Move one or both arrows to trim footage.
![]()
- Press the play button at any time to see which part of the video you’re keeping.
![]()
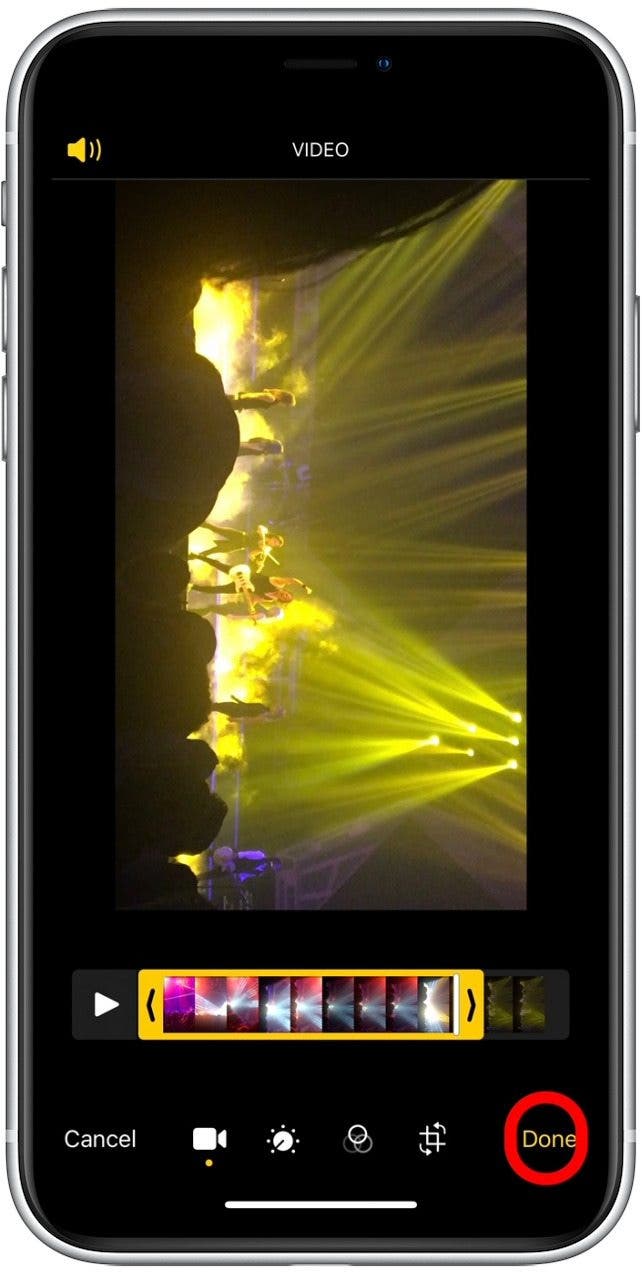
- Tap Done when finished.
![]()
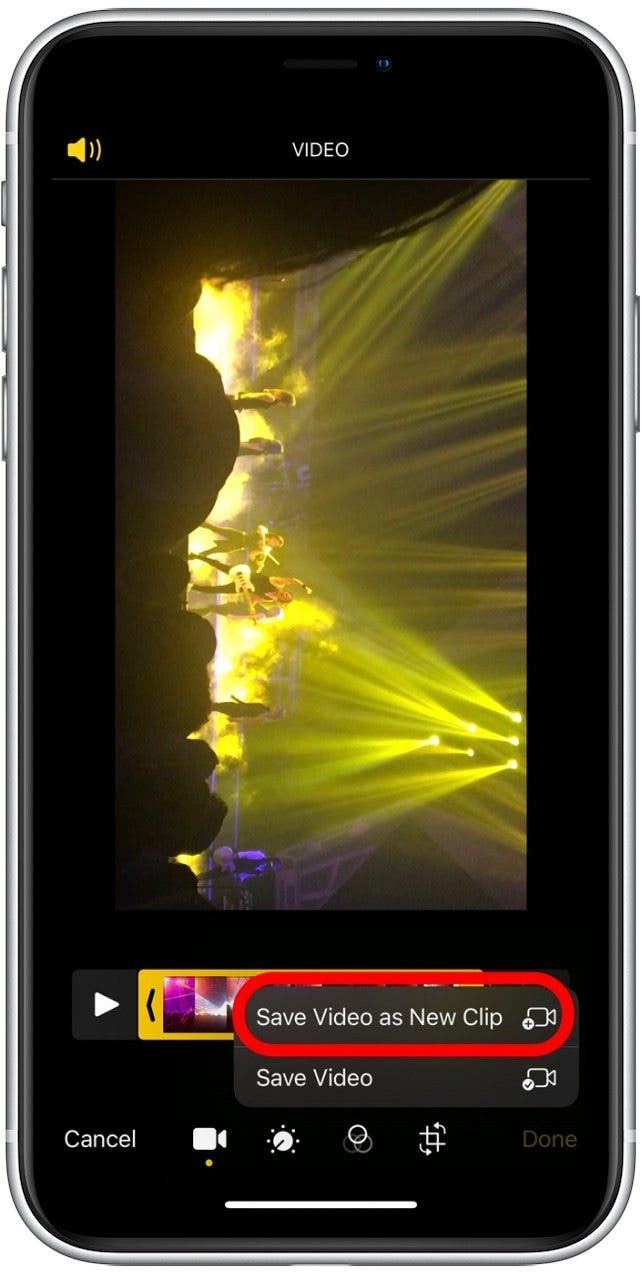
- Tap Save Video as New Clip to save both the original video and your new, shortened video separately.
![]()
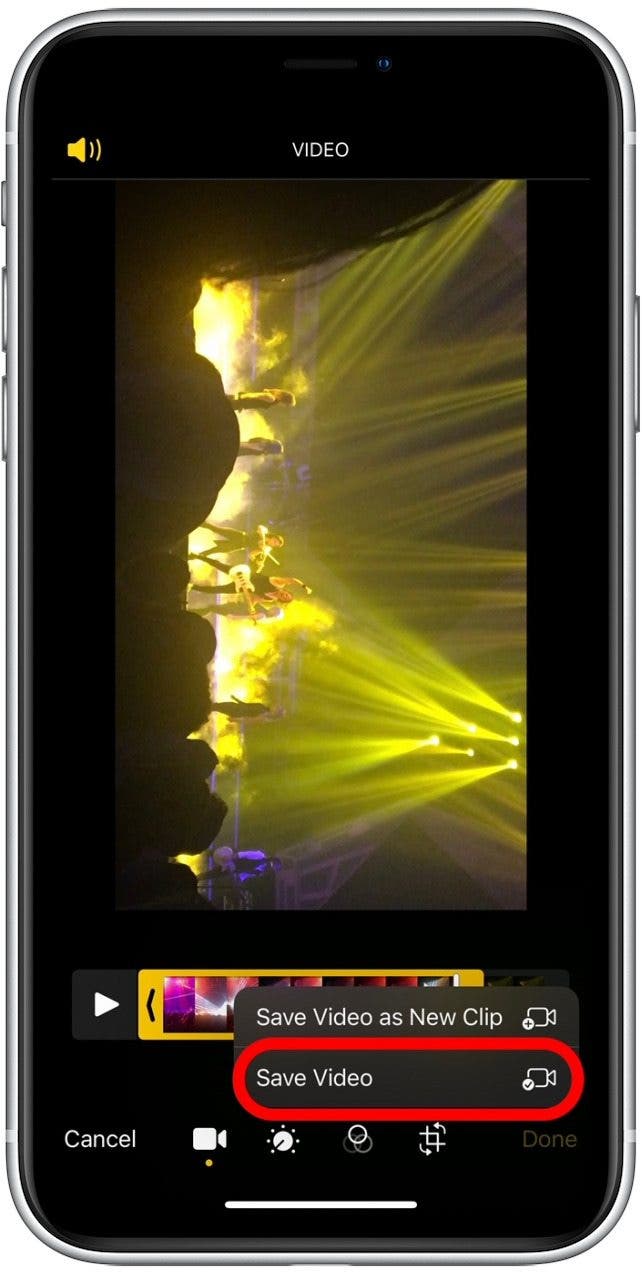
- Tap Save Video if you want to just save your newly shortened version.
![]()
For the most part, I like to save shortened videos as a new clip, then I can keep both the original and the shortened version. However, if you're trying to save a bit of storage space, choosing to only save the shortened version is your best option.
