* This article is from our Tip of the Day newsletter. Sign Up. *
We've already gone over how to take and share a screenshot on an iPhone. With iOS 12 or later, the screenshot appears in the lower-left corner of the screen for a few seconds. If you want to use Apple's Markup feature on the screenshot, you can tap on the fleeting image to instantly make your changes, adding text, drawings, and more. If you accidentally took the screenshot, you can also immediately delete the image by tapping on it. We'll cover how to mark up screenshots with iOS 13 on your iPhone below.
Related: How to Mark Up Image Attachments in the Mail App

How to mark up screenshots on your iPhone:
First, take a screenshot. As soon as you do, a smaller version of the screenshot will appear in the lower-left corner of the screen. Tap on it. From here, you can use Markup on your screenshot.
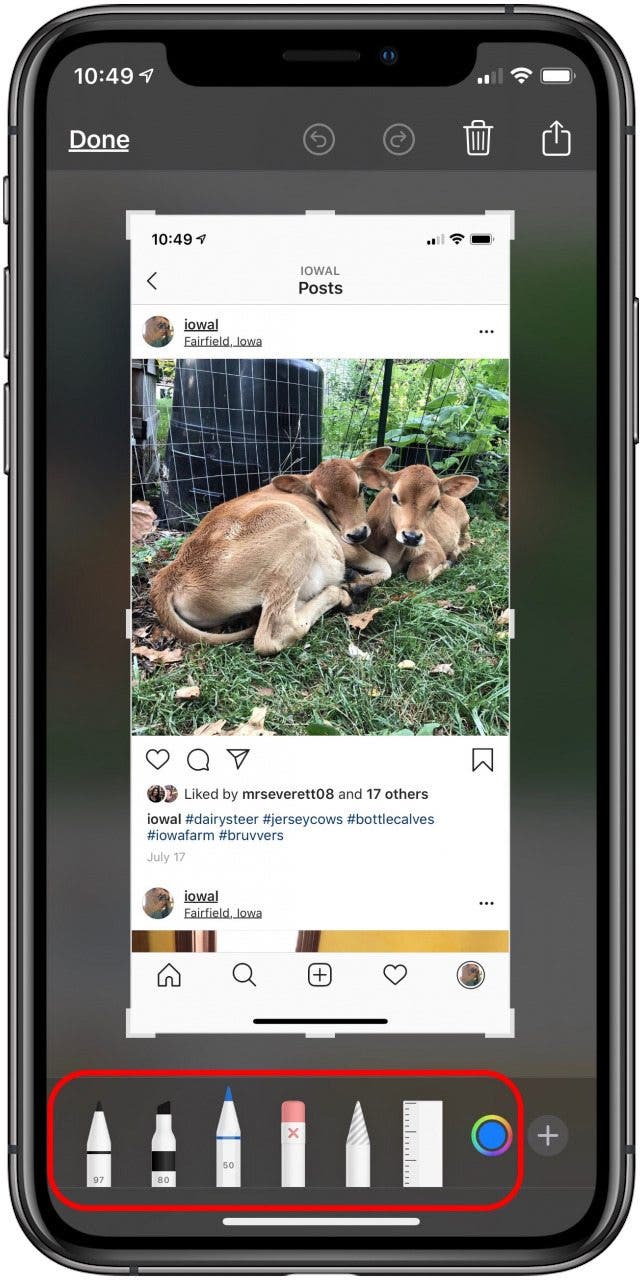
- At the bottom center of the screen, you’ll see seven different tools: a pen, a marker, a pencil, an eraser, a selecting tool, a ruler, and the color selection.
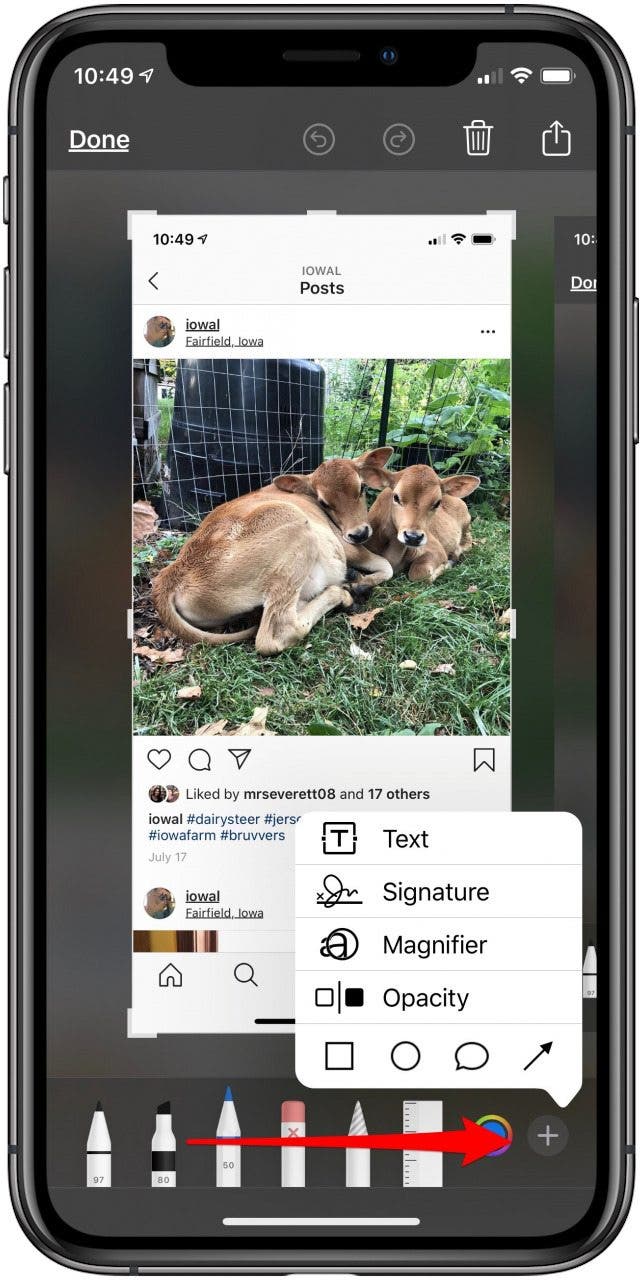
- At the bottom right of the screen is a plus sign in a circle; tap on it.
- Here you can insert Text, a Signature, or a Magnifier, which allows you to magnify a selected area of the image.
- You can also choose a square, circle, quote bubble, or arrow to place on the image.
![markup tools on iphone]()
![add text to screenshot]()
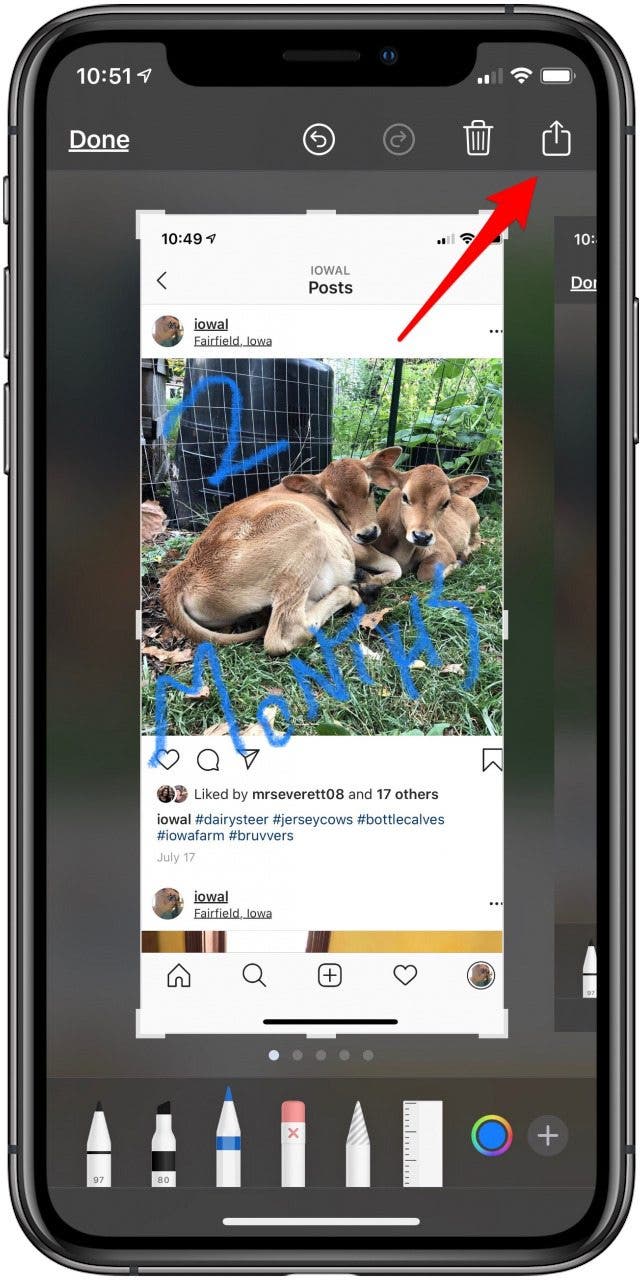
- At the upper-right of the screen is a Share icon, which allows you to instantly share the screenshot without necessarily saving it to your photos.
- You'll have several sharing options, including AirDrop, Messages, Reminders, Mail, and more.
![tap the share icon to share your mark up screenshot]()
![share options for screenshots]()
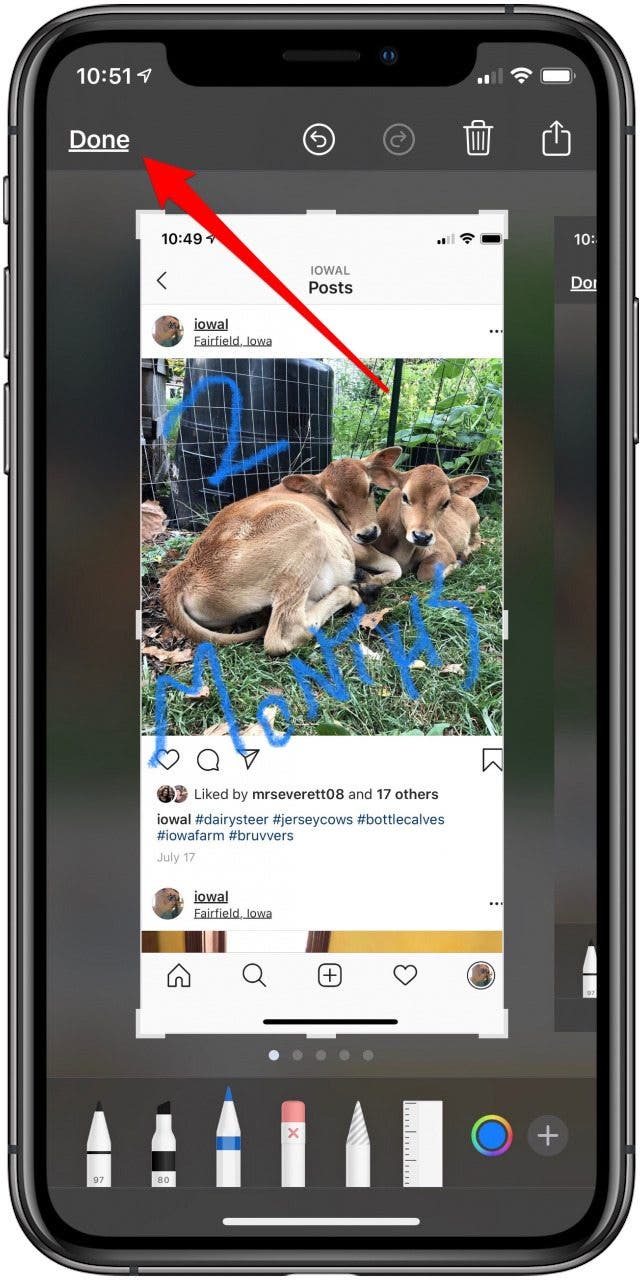
- When you’re finished marking up your screenshot, tap Done in the upper-left corner.
- You’ll have four options: Save to Photos, Save to Files, Delete Screenshot(s), or Cancel. Tap one.
![tap done when you're finished marking up your screenshot]()
That's all there is to it! If you're looking for a convenient way to organize your various screenshots, you can also learn how to rename your iPhone screenshots.
