Perhaps you decided to enroll your macOS in the Apple Beta Software Program only to find that it is a bit too buggy. In this case, you'll likely want to remove the macOS beta and restore your Mac to Monterey. The downside of doing this is that you will also need to restore your device with the backup you made before installing the macOS public beta. For those having serious software issues, we'll cover how to delete the Apple beta profile and restore your Mac to previous default settings.
Related: How to Sign Up for the Apple Beta Program for iOS 16
Jump To:
How to Delete the macOS Beta Profile
Deleting the macOS Beta Profile not only restore default update settings, but will also unenroll your device from the Apple beta software program. Once you've completed the steps below, your Mac will no longer receive Apple beta program updates.

- Open System Preferences.
- Click on Software Update.
- On the left side of the window, click the Details button below 'This Mac is enrolled in the Apple Beta Software Program'.
- Click on Restore Defaults to restore default update settings.
Now, when the next non-beta version of macOS Ventura becomes available, you can install it, and the Apple beta update will be removed from your device. If you don't want to wait for the public version of macOS Ventura to be released, you can restore your device. This is where the backup you made before downloading and installing the beta software comes in.
How to Restore Your macOS
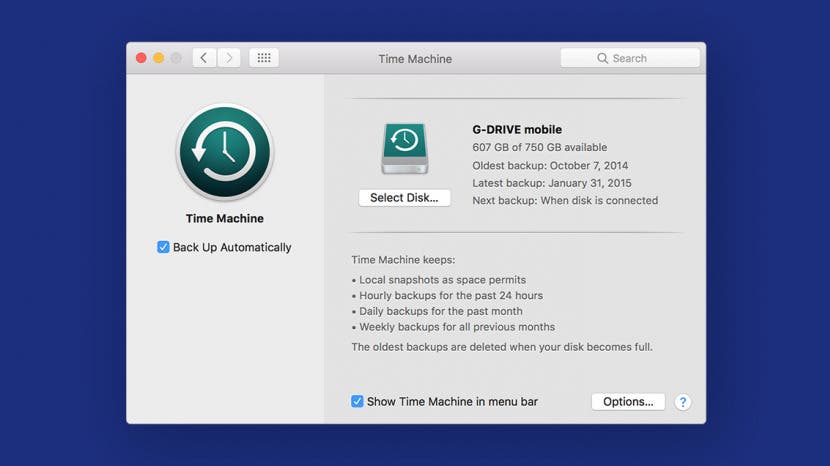
If you want your Mac back to how it was before you downloaded and installed macOS Ventura beta, you'll need to restore your device from the backup you made prior to your beta fling. In this section, we'll cover how to restore your device with a Time Machine backup. Follow the steps below, or read our article for further details on how to restore your device from the Time Machine backup or the external hard drive backup you made before installing the macOS public beta.
- Make copies of the files you've created and want to keep since your last backup. Load these files onto a USB drive or other external disk.
- Open System Preferences to turn off Find my Mac.
- Select Apple Account.
- Uncheck the Find My Mac box.
- Enter your Apple ID password.
- Now, you'll want to place your macOS in Recovery Mode. To do so, click on the Apple Menu.
- Select the Command and R keys. Release the keys when the Apple logo appears.
- Your options from macOS Utilities will appear. Select Restore From Time Machine Backup.
- Click Continue.
- Click your most recent backup and select Continue to begin the restore process.
- Choose Restore, and Time Machine will reset your Mac to the way it was prior to your beta update.
- Once your Mac restore has completed, copy the files from the first step back onto your computer.
That's it! Your Mac has now been reset to the features and settings prior to your enrollment in the Apple beta software program. Don't forget to keep your eye out for regular updates as they can help fix known bugs and bring you exciting new features.


