* This article is from our Tip of the Day newsletter. Sign Up. *
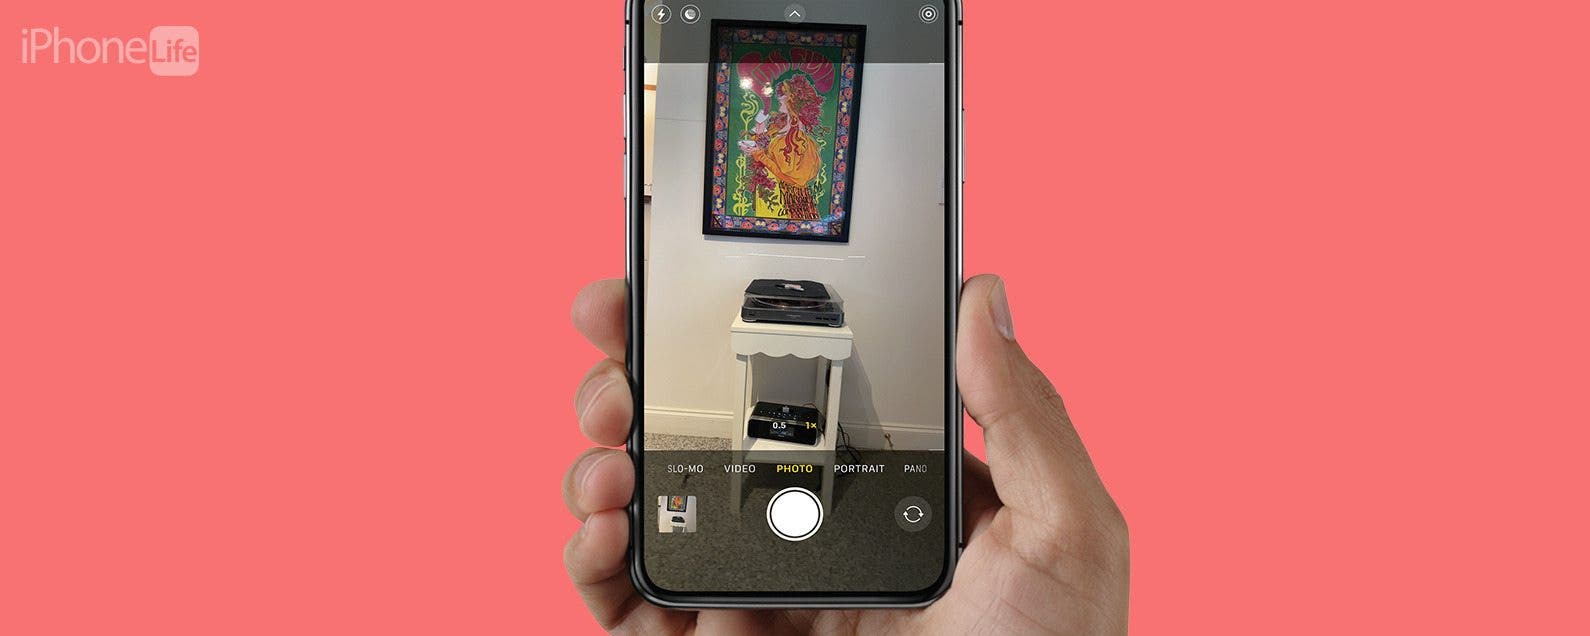
A cool new feature added to the Camera app in iOS 17 is a level. It appears on the iPhone screen as you are taking your photo. The level will help you ensure that the photos you take are as straight as possible without obstructing too much of the picture while you're taking it. Here's how it works!
Why You'll Love This Tip:
- Always take level photos with the leveler right on the screen in the Camera app.
- Instead of straightening your image in the editing process, take the photo straight the first time.
How to Use Level in the Camera App
Software Requirements:
This tip works on iPhones running iOS 17 or later. Find out how to update to iOS 17.
The level feature is really helpful and simple to use. One of the cool things about it is that it understands whether you're taking the image in landscape or portrait and will automatically adjust. It also disappears if the photo you're taking is intentionally off-level. If you like being kept up to date about Apple's most recent software releases, be sure to subscribe to our free Tip of the Day!

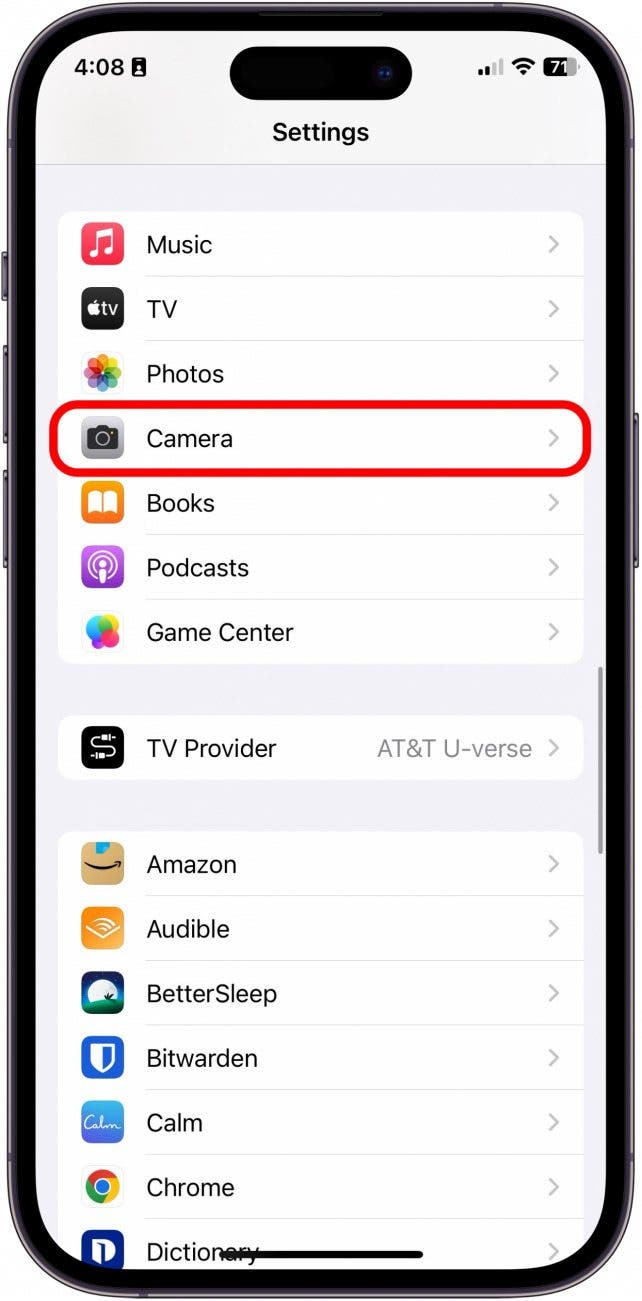
- On your iPhone, open Settings.
![ios 17 camera level]()
- Tap Camera.
![ios 17 camera feature]()
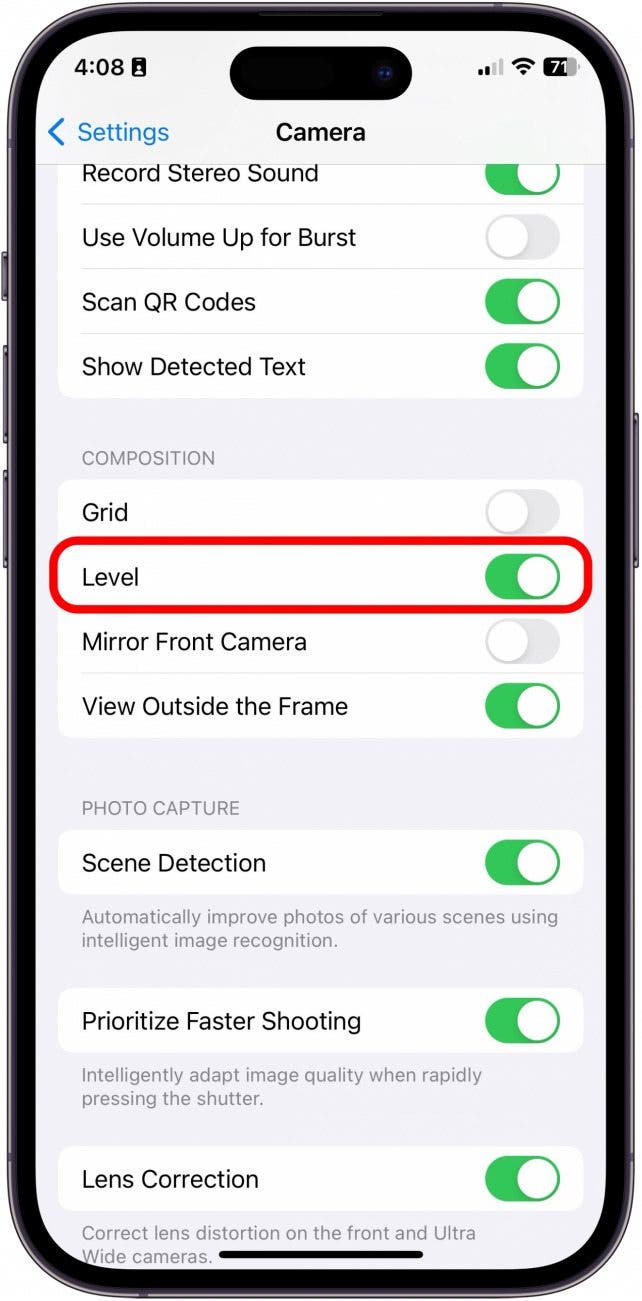
- Under Composition, toggle on Level.
![camera level feature]()
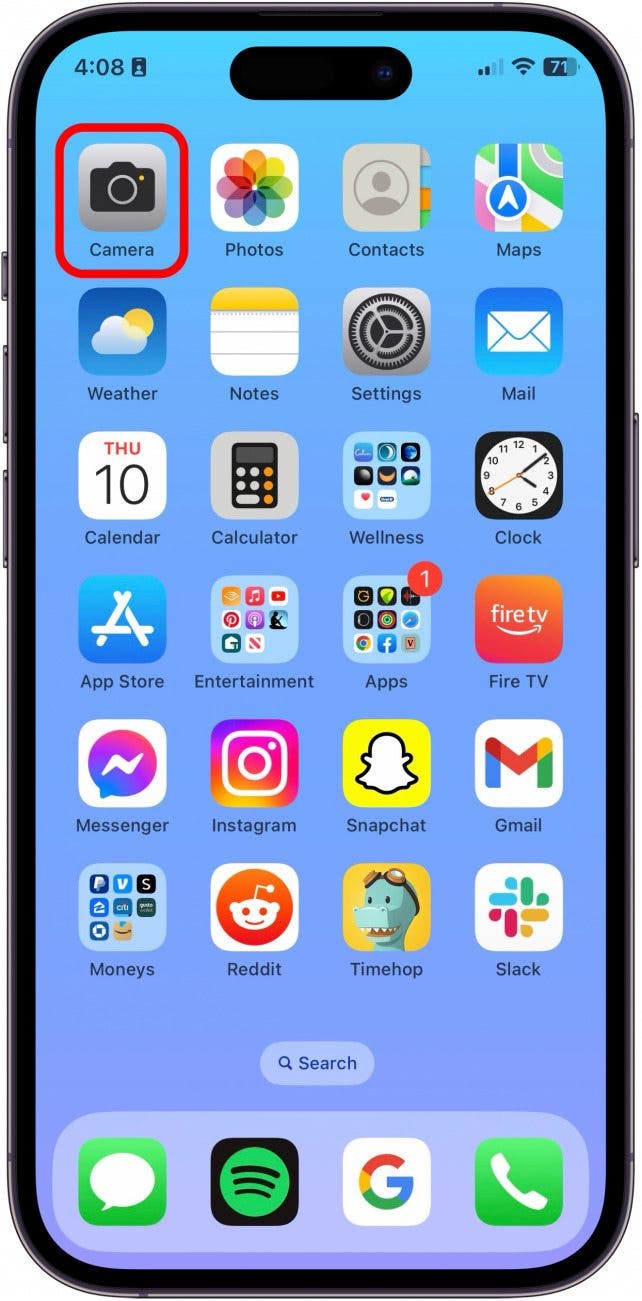
- Now, open the Camera app.
![ios camera level]()
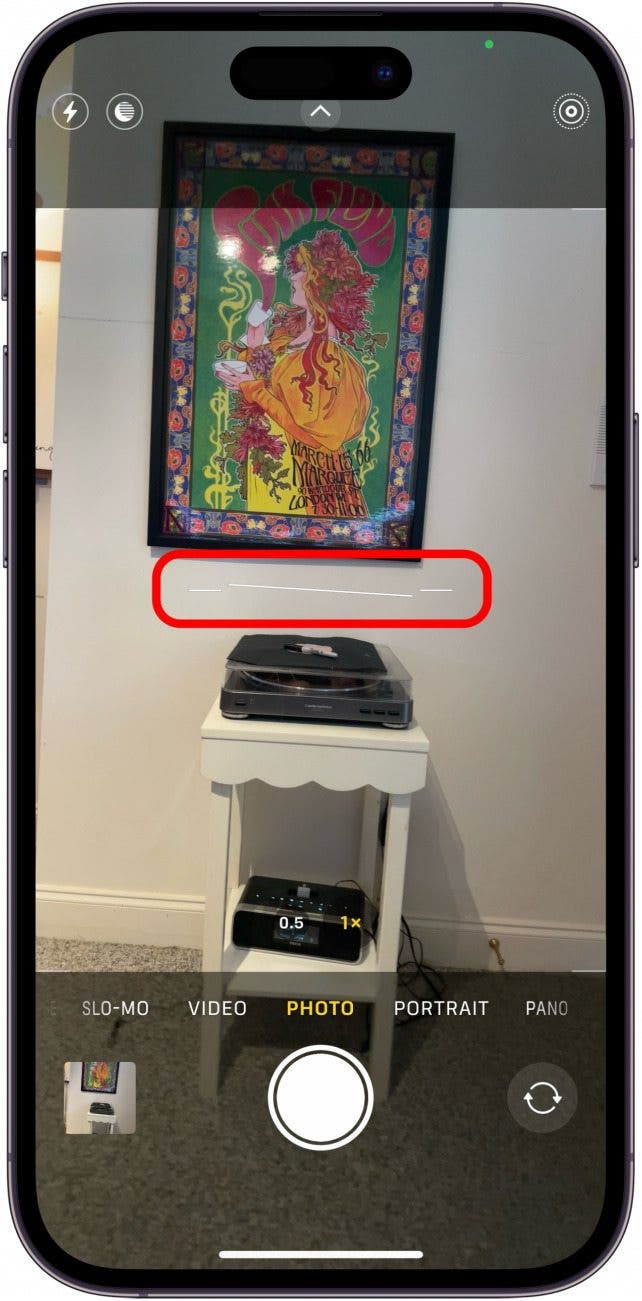
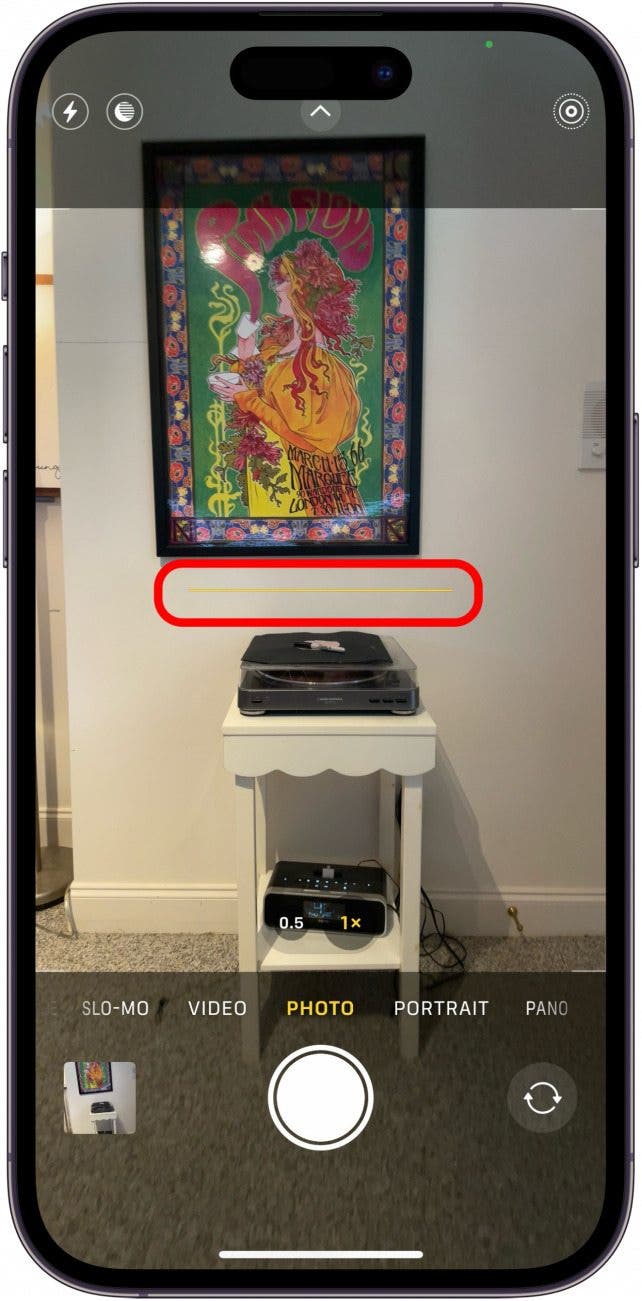
- You will see a white line in three segments. Note: The level will only appear if you are holding the camera upright; if you are taking a bird's eye view picture, a cross will appear to help you hold your phone level.
![iphone level]()
- When the three segments connect and turn yellow, this is how you know the image is straight. There may also be a slight vibration to indicate that it is level.
![camera level for iphone]()
And that's how to use the new Level feature in the Camera app!

