* This article is from our Tip of the Day newsletter. Sign Up. *
HDR, or High Dynamic Range, is a photography feature that quickly captures several images and then combines them together to try to get better photos in high-contrast situations. Your iPhone will normally control this automatically, but depending on the model, you may be able to take manual control.
Why You'll Love This Tip
- Take manual control over HDR and decide when your camera will and won't use the feature.
- Save storage space by only taking larger HDR photos when you think it will really be beneficial.
- Force HDR to be on when you want it to be, such as when photographing landscapes or in low-light conditions.
What Is HDR Photography?
HDR (High Dynamic Range) is a photography feature most smart phones, including any iPhone since the iPhone 8, will manage automatically when the Camera app believes it will be most effective. What it does is take multiple photos in quick succession at different levels of exposure and then combine them to take advantage of the best features of each. This can help even things out when there is a lot of stark contrast, such as in a landscape with a bright sky overhead, or in a shot with a lot of harsh light on the subject. It can, however, also result in photos being blurry if its used to take photos of moving subjects. Also, since HDR photos are composited from multple images, they can take up more space in storage than a normal image.

How to Turn HDR Photos On & Off
First it's important to know that not all iPhone models give you the ability to control HDR directly. You can take manual control of HDR in the iPhone 8, iPhone 8 Plus, iPhone X, iPhone XS, iPhone XR, iPhone 11 models, iPhone SE (2nd generation), and iPhone 12 models. For iPhone 13 and iPhone 14 models, you'll have to be satisfied with the built-in automatic control of HDR in the Camera app.
For more information on making the best use of the Camera app, be sure to check out our in-depth guide, and sign up for our free Tip of the Day newsletter for short guides like this on all kinds of features of your Apple devices.
Now, here's how to control HDR on your iPhone.
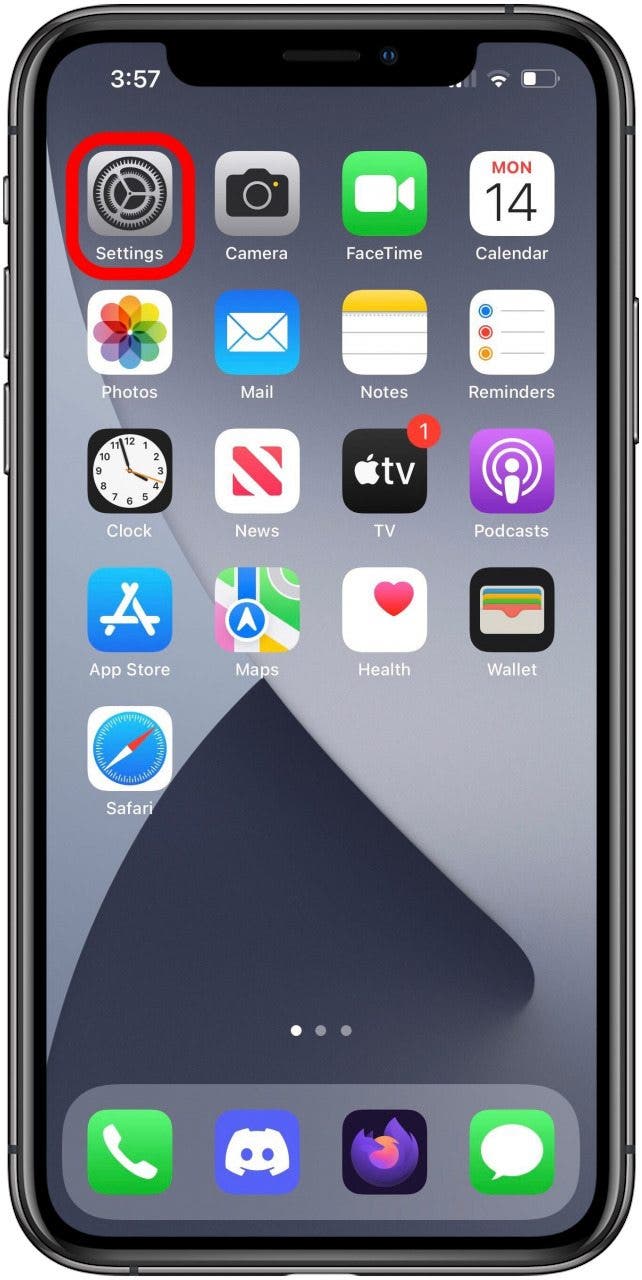
- First, tap the Settings icon on you Home screen to open the Settings app.
![Home screen with Settings app icon marked.]()
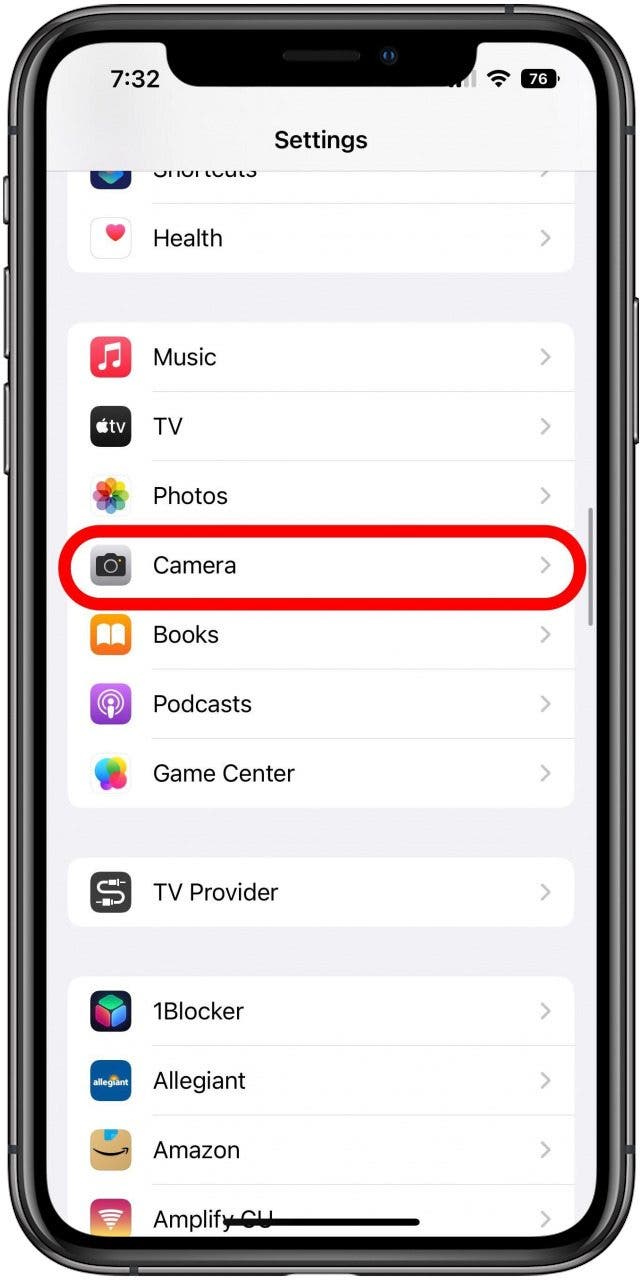
- Next scroll down to find the Camera option and tap it.
![Settings screen with the Camera option marked.]()
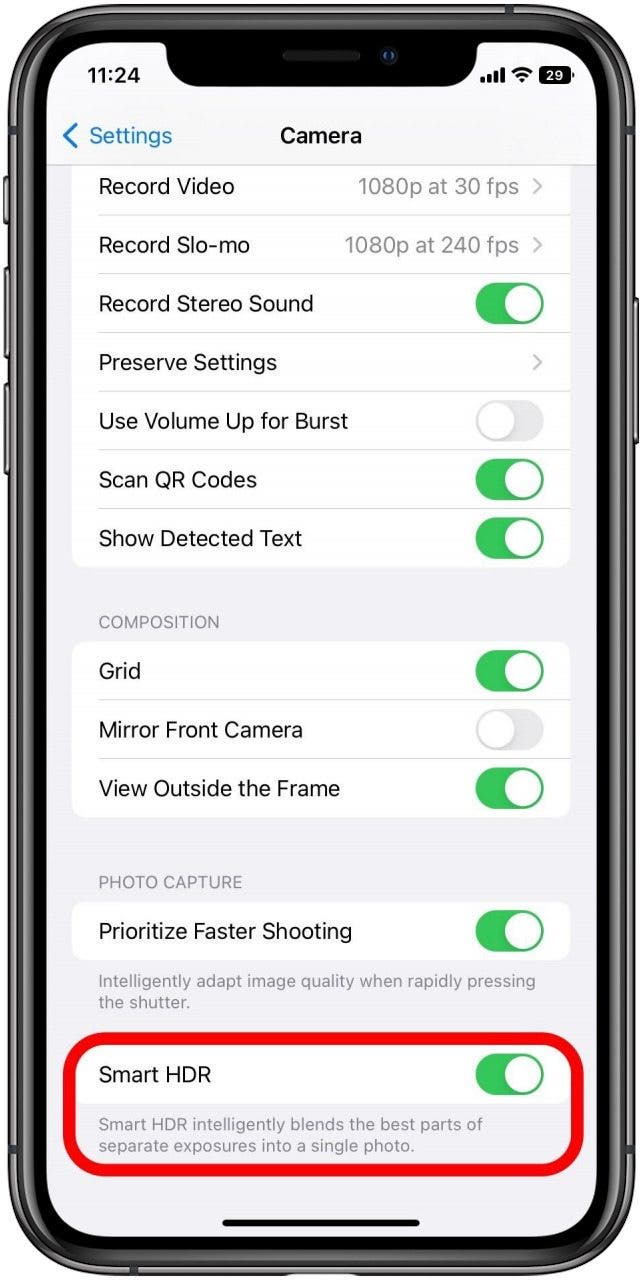
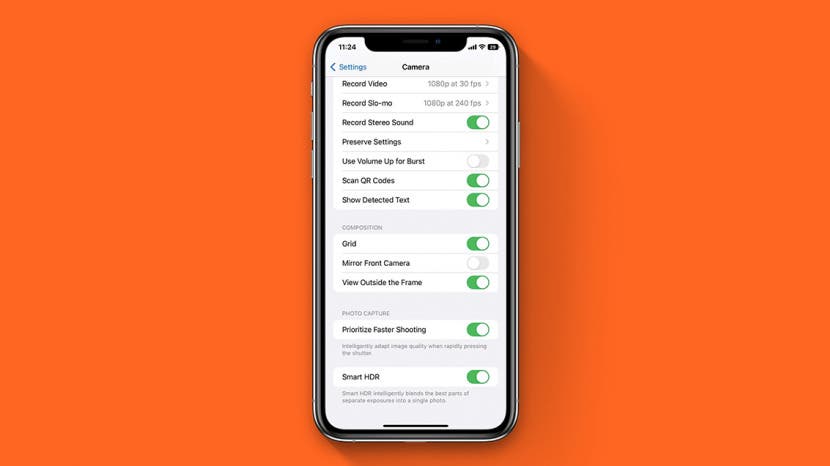
- On this screen there should be an option labeled either Smart HDR or Auto HDR. Make sure this option is toggled off (gray), if you want manual control.
![Camera Settings screen with the Smart HDR toggle marked.]()
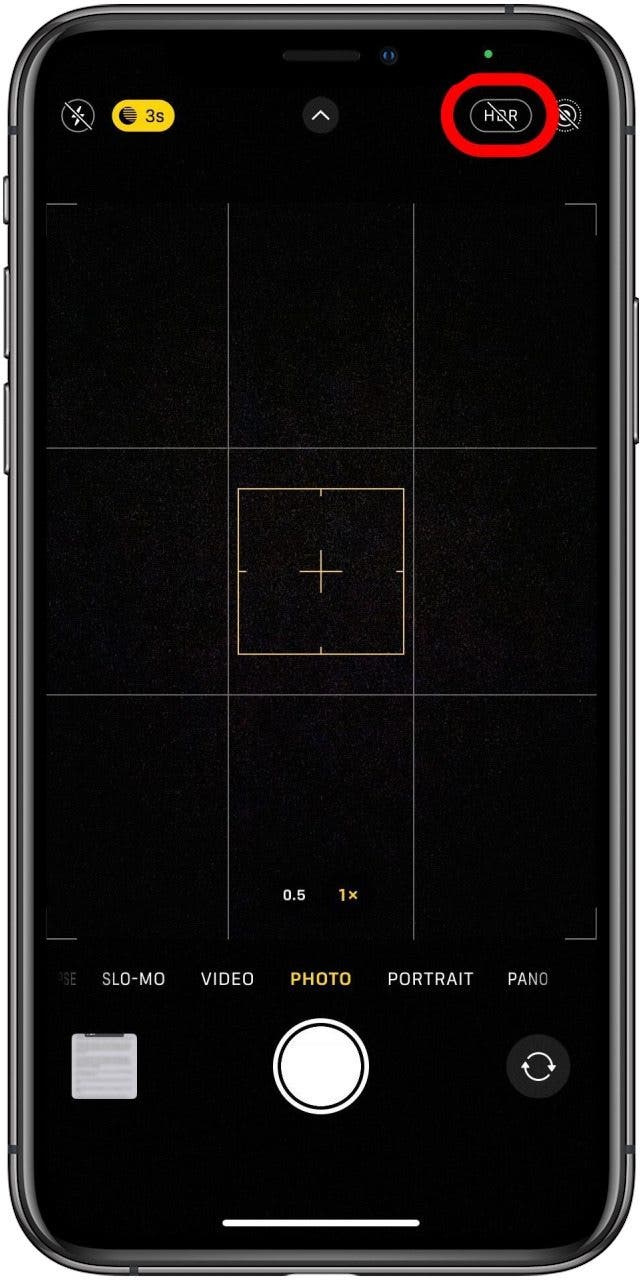
- Next, open the Camera app. In Photo mode, you should see a small HDR icon in the upper right. It will be crossed out to indicate that HDR is currently off, or not if it is currently on, and you can tap it to switch modes.
![Camera app in Photo mode with the HDR option marked.]()
That's all there is to it! If you'd like to return to automatic HDR controls, you can just go back to the Camera Settings screen and toggle Smart or Auto HDR back on.
